What is a digital certificate?
A digital certificate, also known as an SSL/TLS certificate or public key certificate, is a digital document that verifies the identity of a website, server, or other digital entity, and allows secure communication between two parties by encrypting data sent over the internet. It contains information about the identity of the certificate holder, such as their name and public key, and is issued by a trusted third-party Certificate Authority (CA).
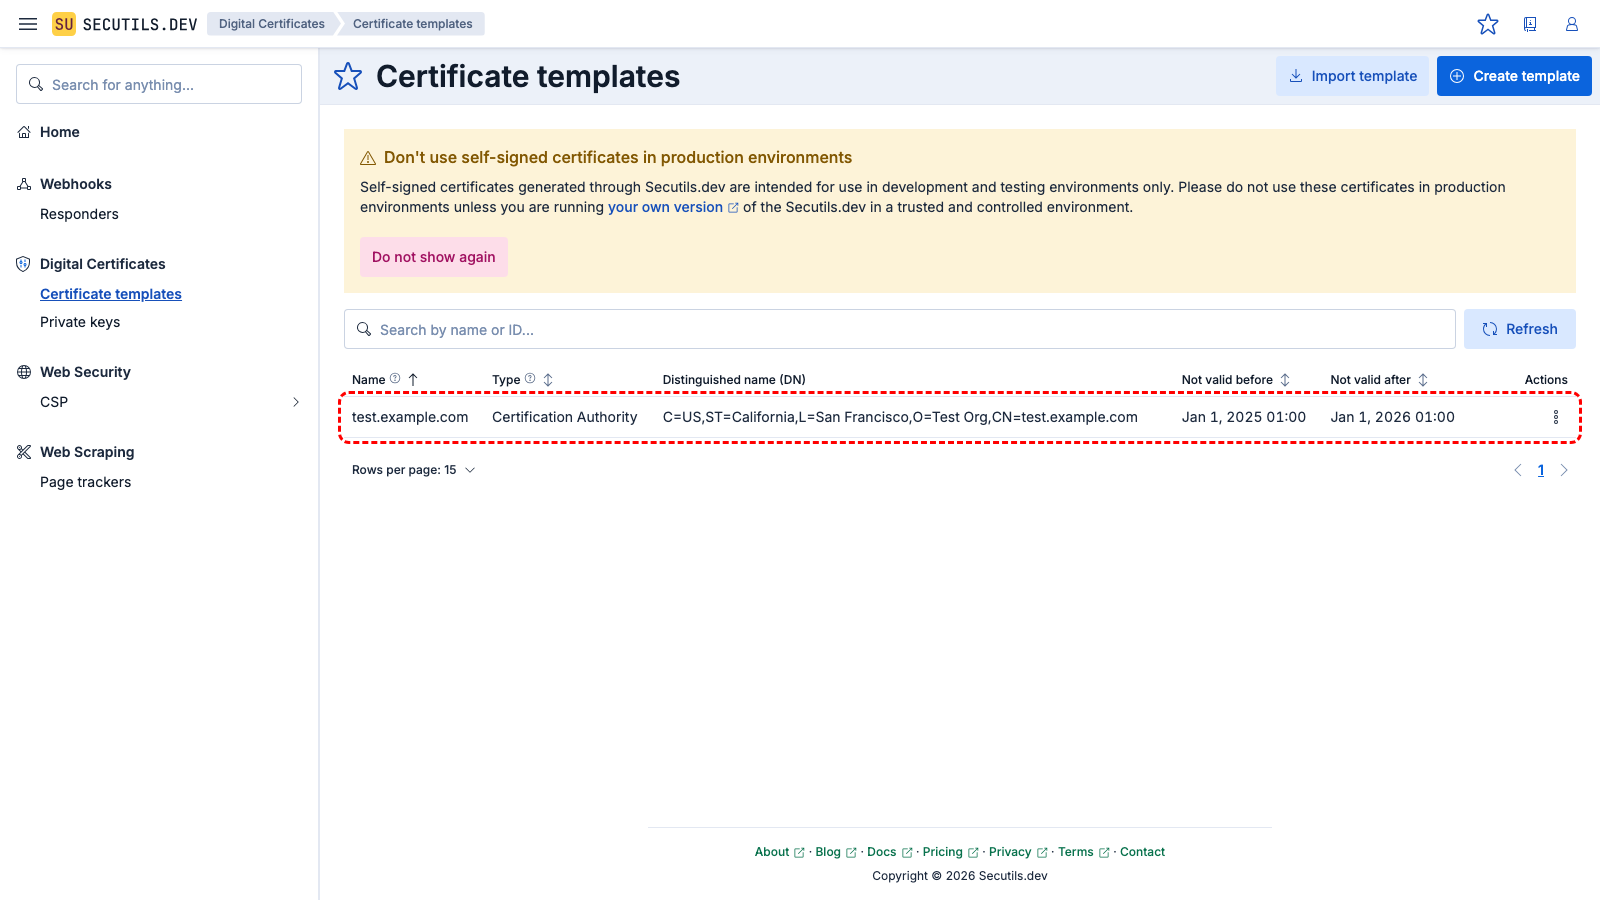
There are different types of digital certificates that can be generated with various parameters. Certificates can be password-protected, can be bundled with the keys, can rely on different cryptographic algorithms, and eventually expire. Considering these factors, it can be challenging to develop and test web applications that rely on digital certificates.
On this page, you can find guides on creating digital certificate templates with parameters that match your specific needs.
Generate a key pair for a HTTPS server
In this guide you'll create a template for generating a private key and self-signed certificate for a Node.js HTTPS server:

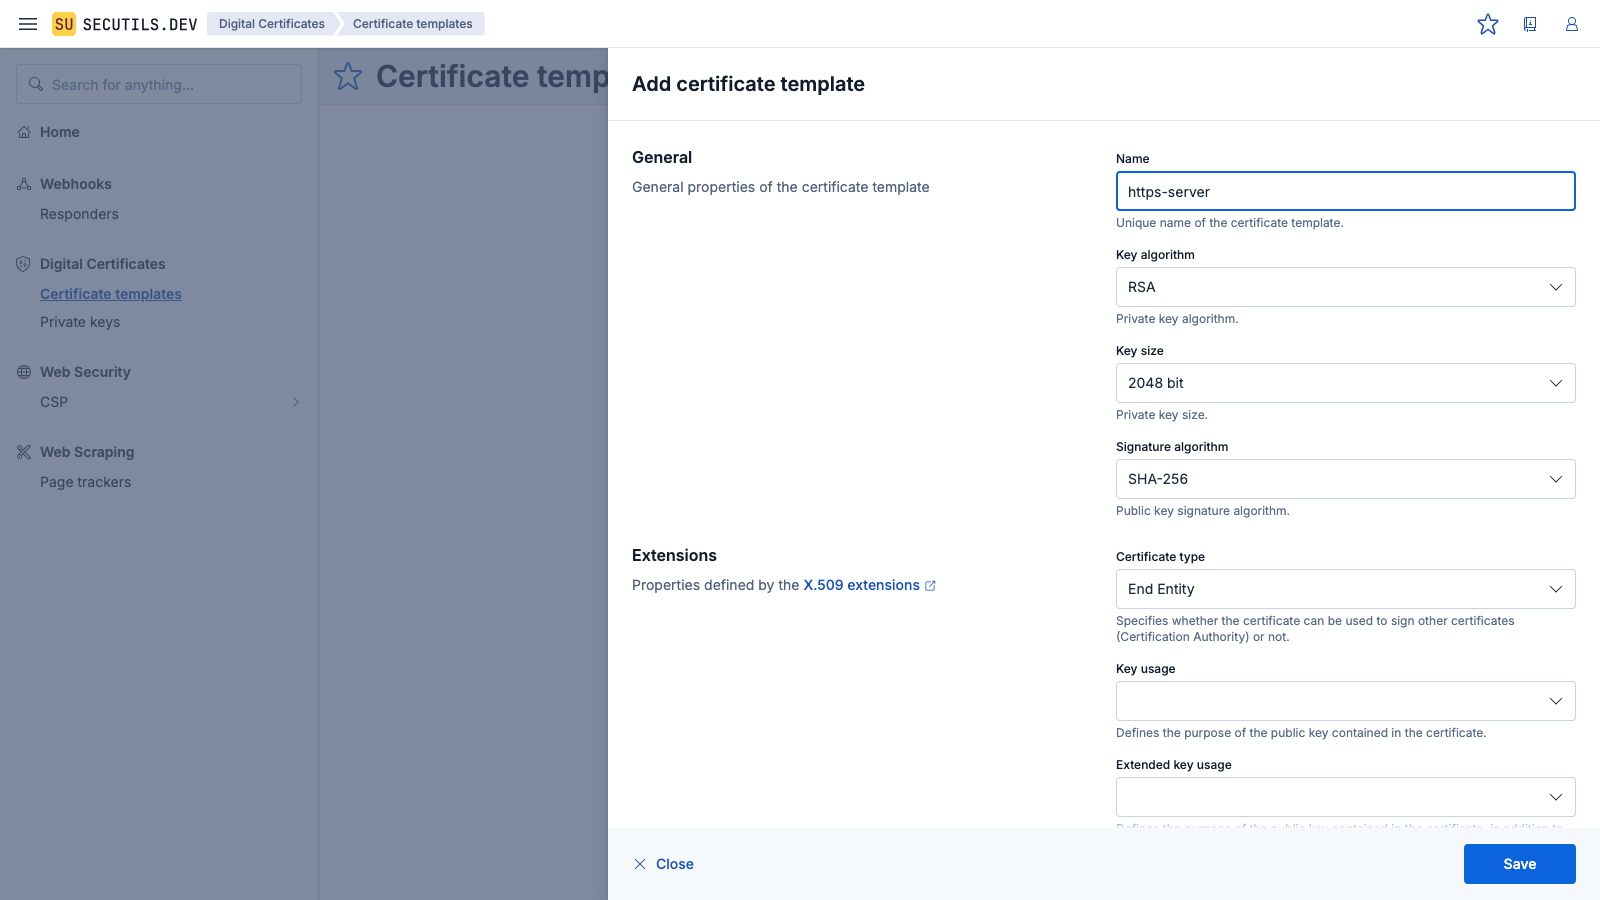
| Name | |
| Key algorithm | |
| Key size | |
| Signature algorithm | |
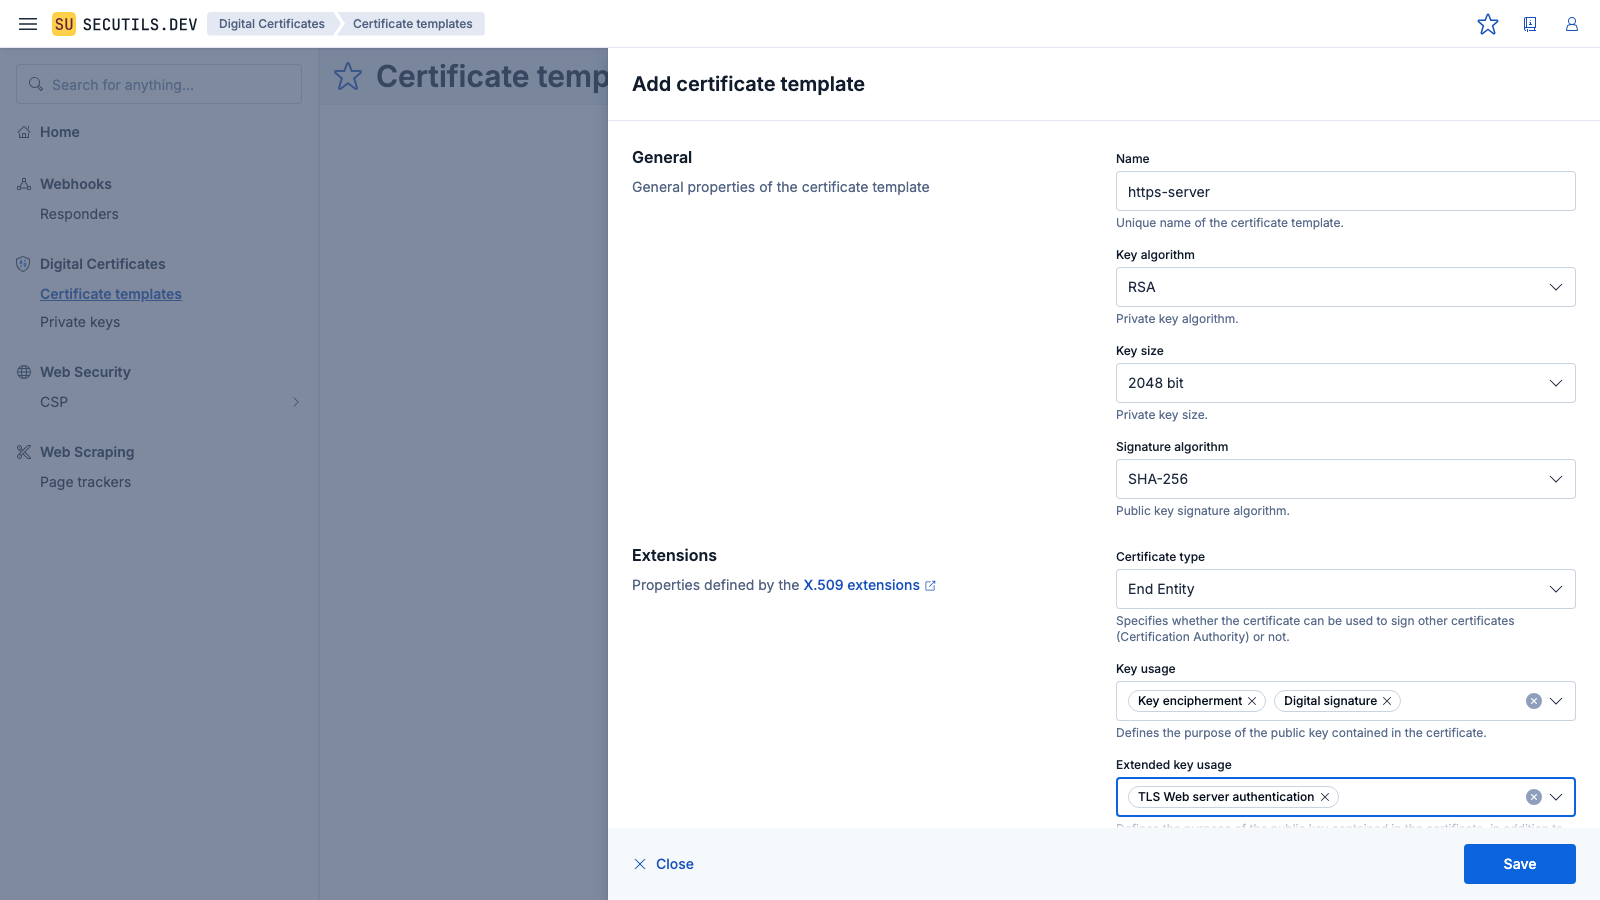
| Certificate type | |
| Key usage | |
| Extended key usage | |
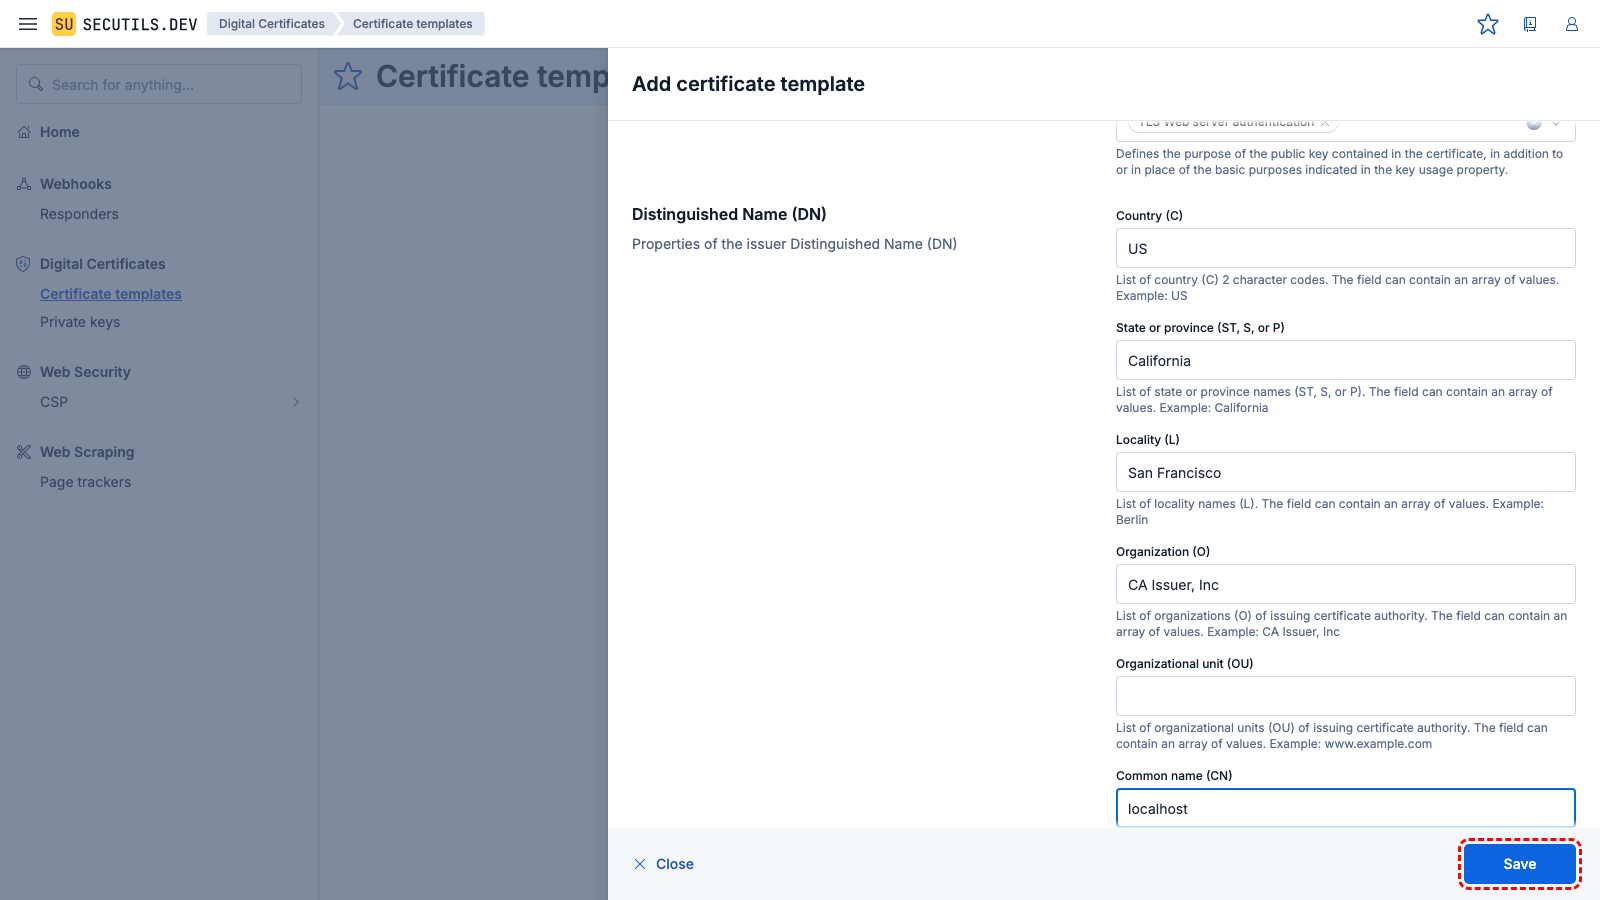
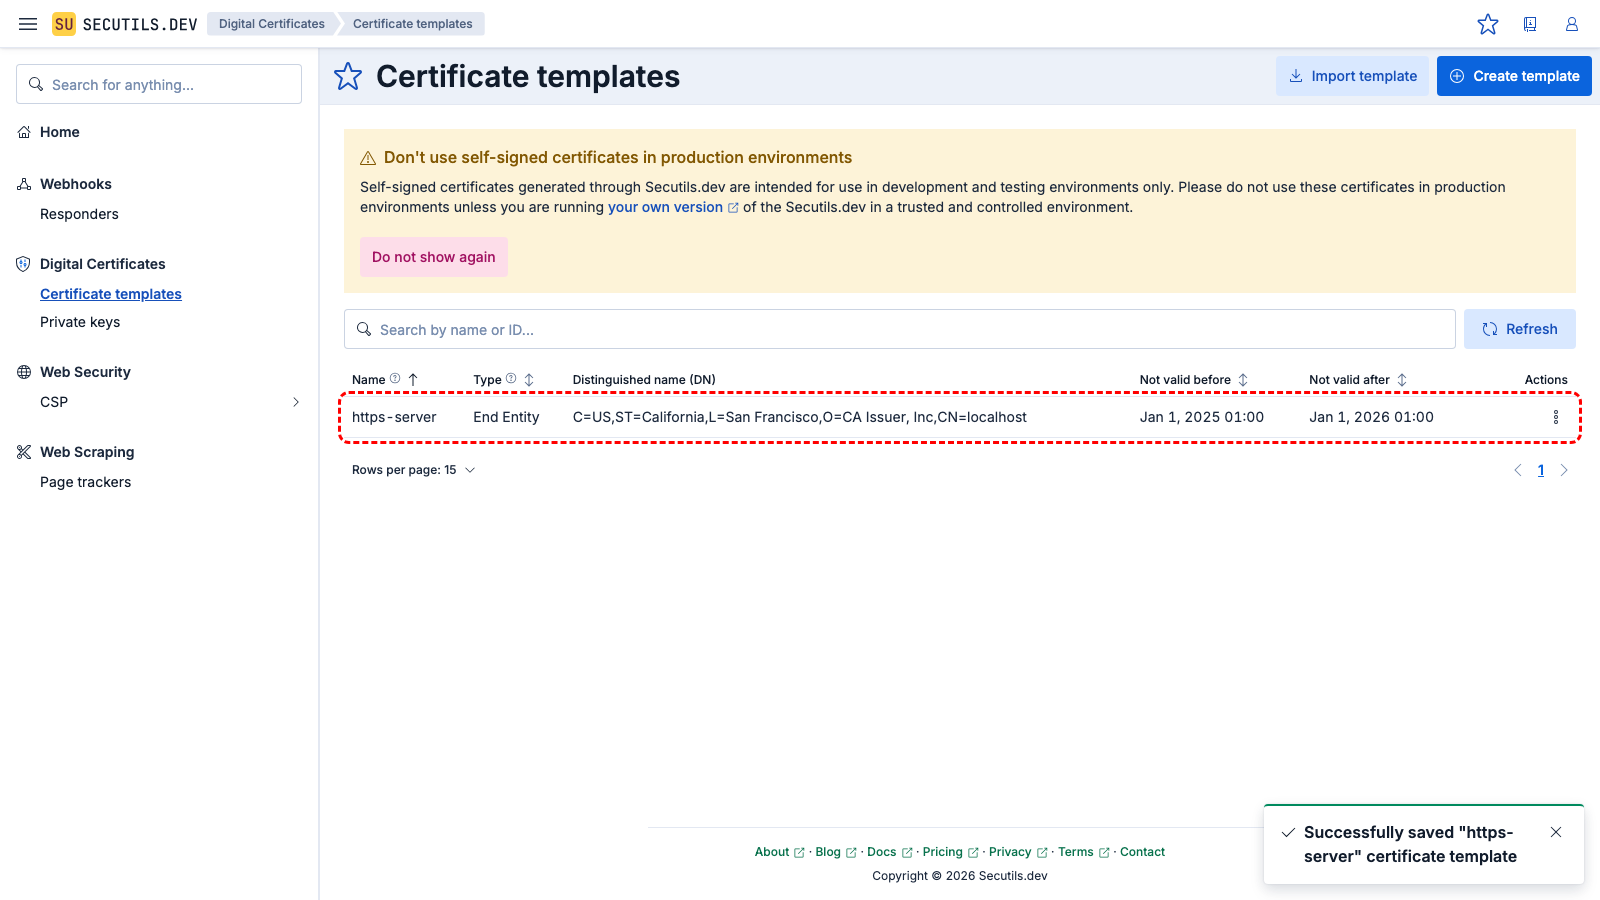
localhost. Click Save when done.| Common name (CN) | |
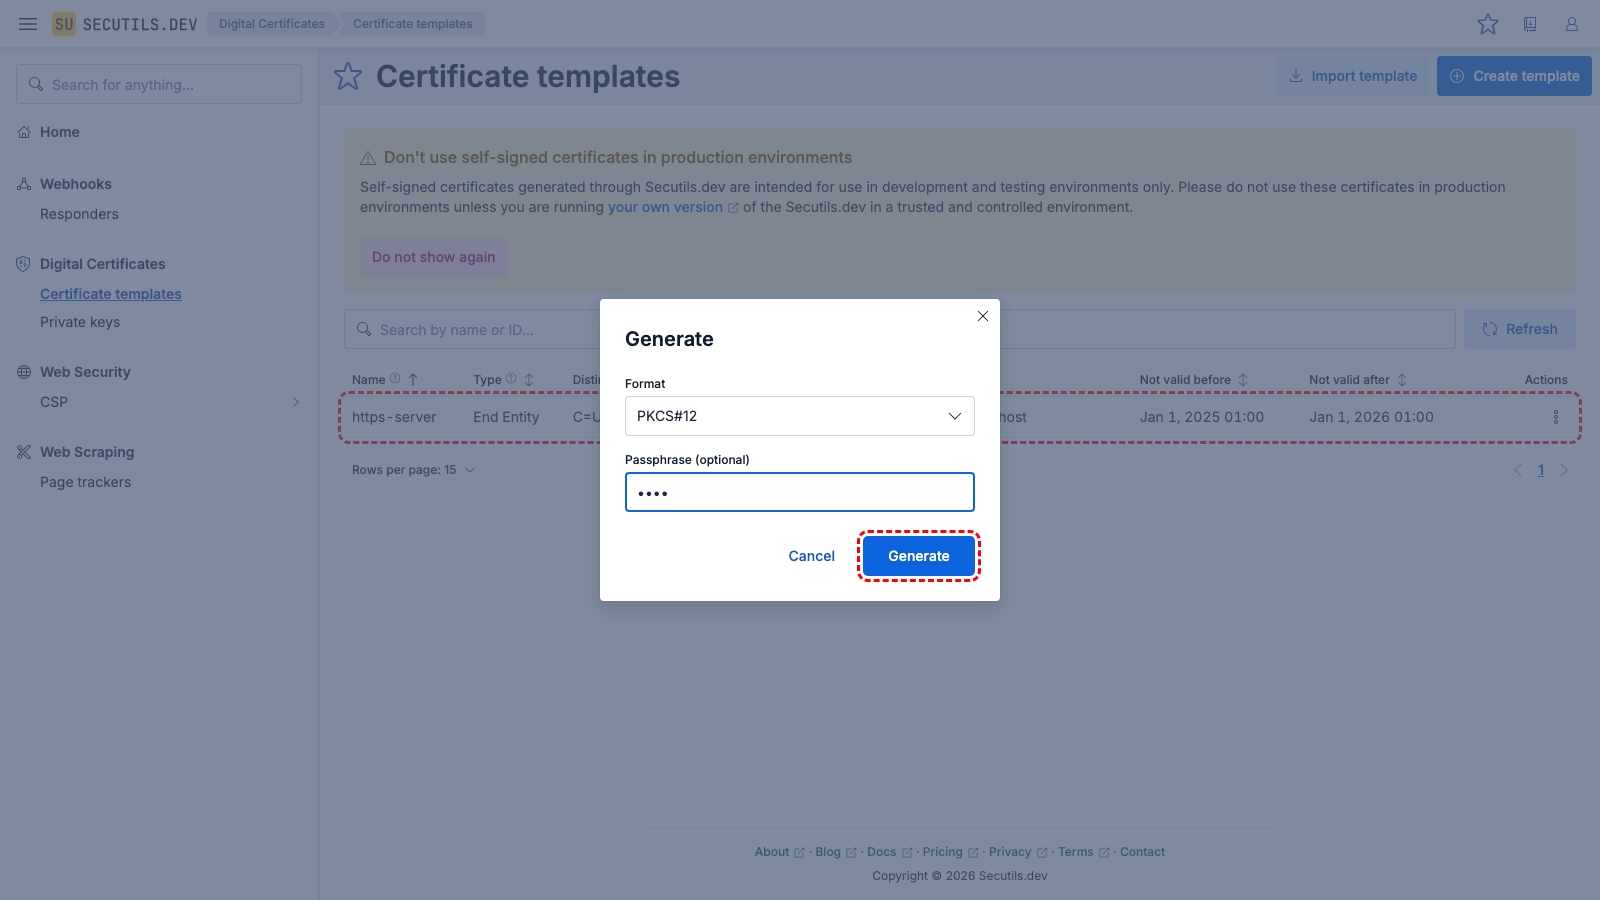
| Format | |
| Passphrase | |
Use the downloaded https-server.pfx file to configure a Node.js HTTPS server:
(async function main() {
    const https = await import('node:https');
    const fs = await import('node:fs');

    const httpsOptions = {
        // The name of the certificate bundle and the passphrase that was set in the generation dialog
        pfx: fs.readFileSync('https-server.pfx'),
        passphrase: 'pass'
    };

    https.createServer(httpsOptions, (req, res) => {
        res.writeHead(200);
        res.end('Hello World\n');
    }).listen(8000);

    console.log(`Listening on https://localhost:8000`);
})();
Run the server and query it with cURL or a similar HTTP client:
// Start server
$ node index.js
Listening on https://localhost:8000

// Query the server with cURL
$ curl -kv https://localhost:8000
*   Trying 127.0.0.1:8000...
...
* Server certificate:
*  subject: CN=localhost; C=US; ST=California; L=San Francisco; O=CA Issuer, Inc
*  ...
*  issuer: CN=localhost; C=US; ST=California; L=San Francisco; O=CA Issuer, Inc
*  SSL certificate verify result: self-signed certificate (18), continuing anyway.
...
> GET / HTTP/1.1
> Host: localhost:8000
> User-Agent: curl/7.88.1
> ...
< HTTP/1.1 200 OK
< ....
<
Hello World
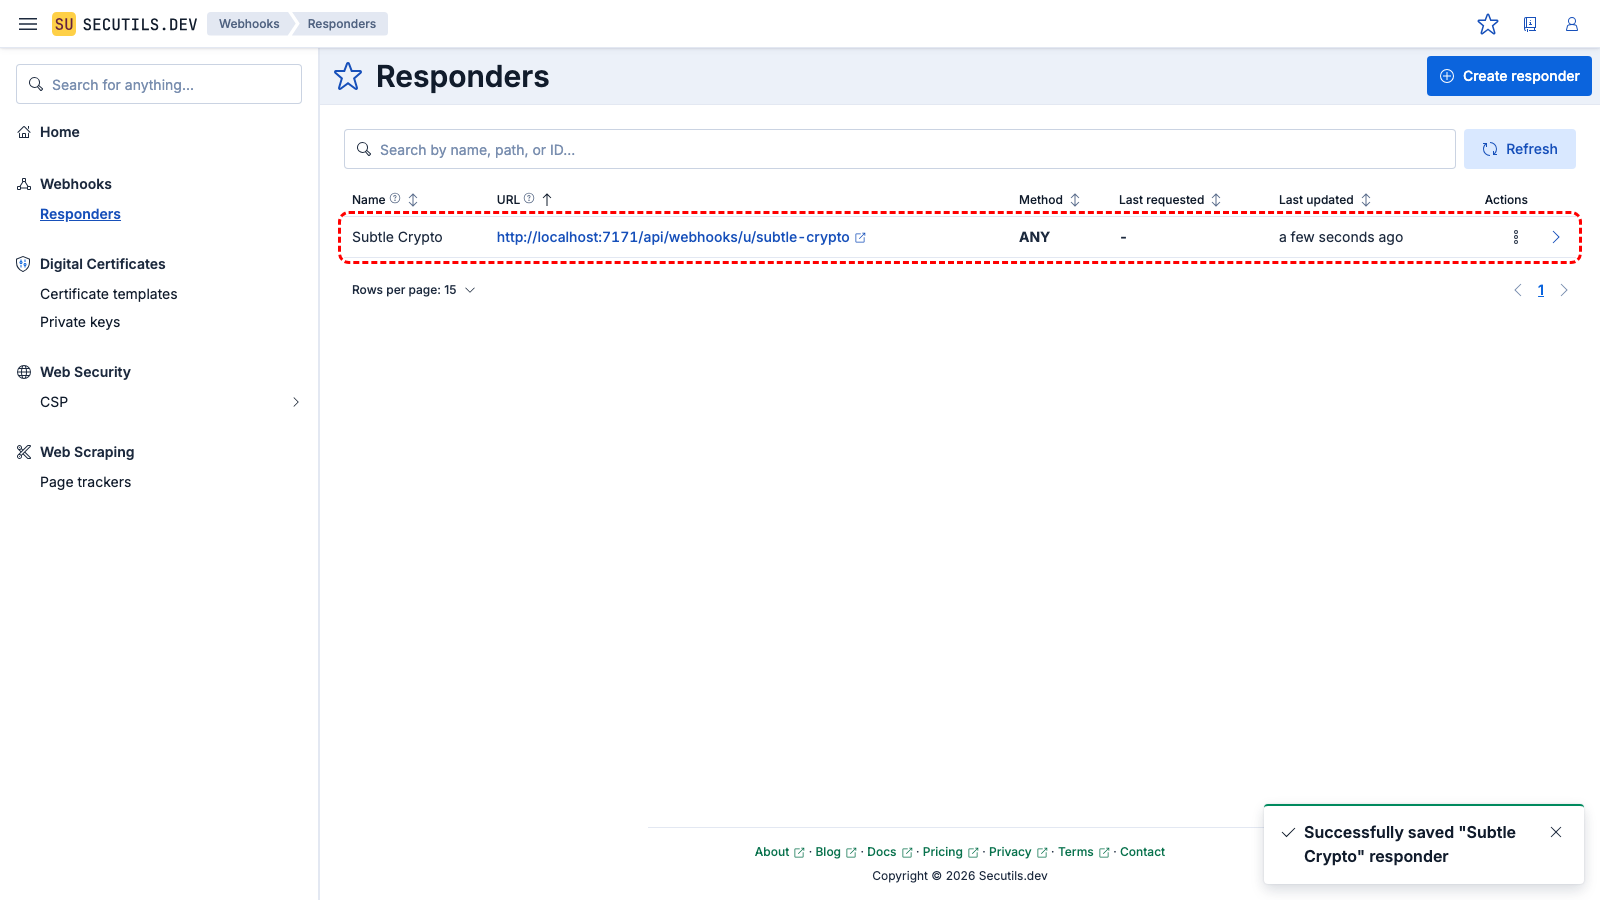
Export a private key as a JSON Web Key (JWK)
In this guide, you will generate a private key in PKCS#8 format and then export it to a JSON Web Key (JWK) using a custom responder and the browser's built-in Web Crypto API:

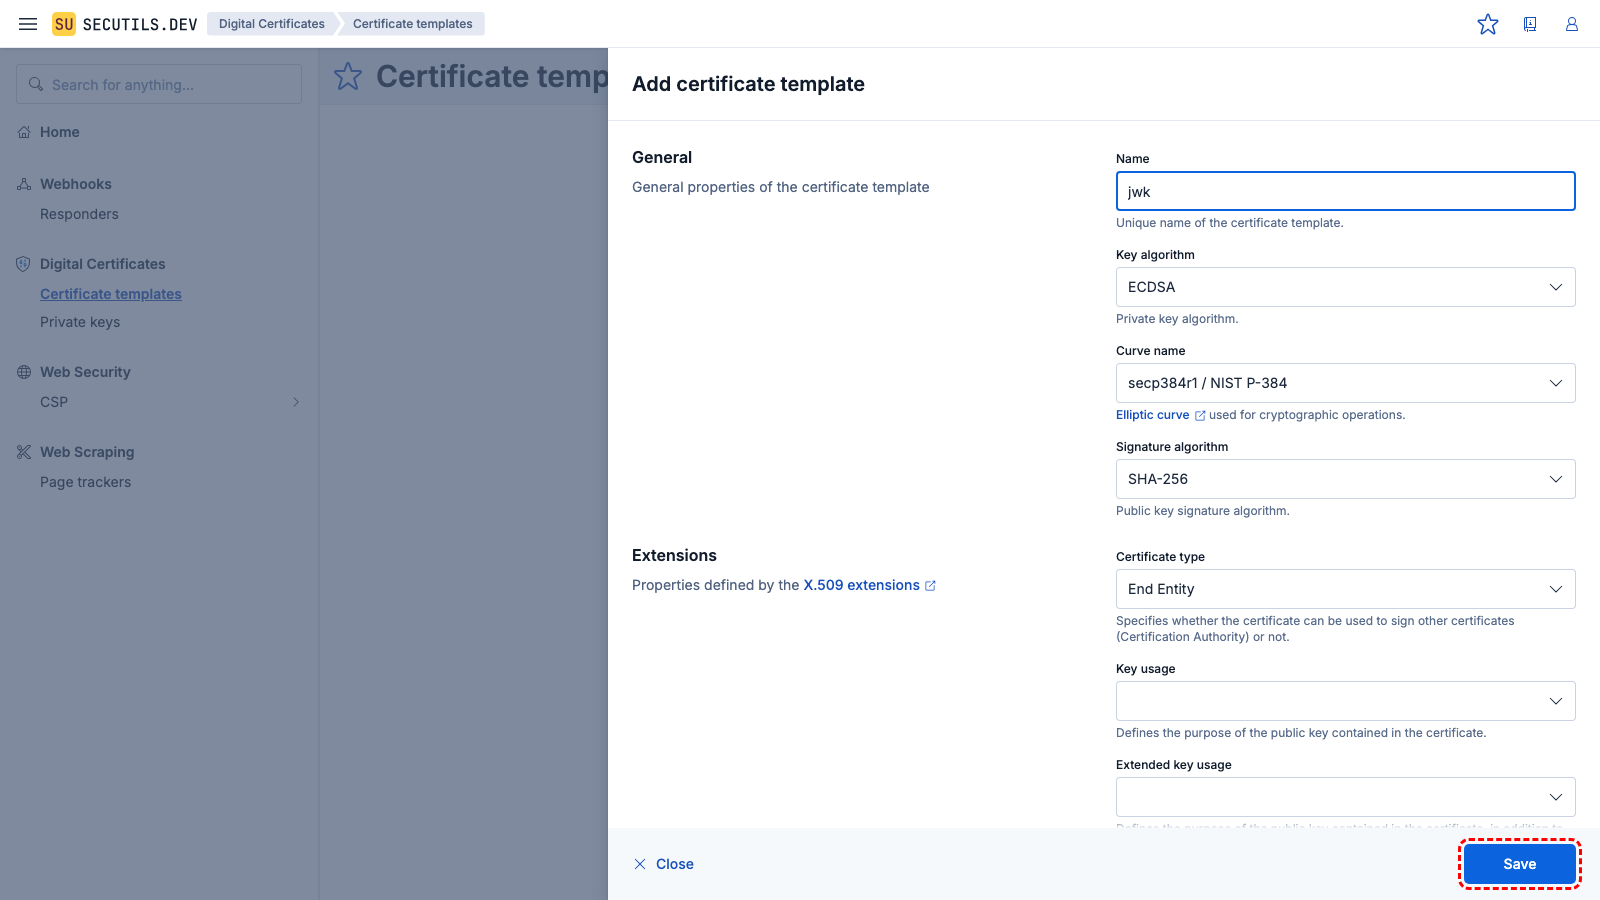
| Name | |
| Key algorithm | |
| Curve name | |
| Signature algorithm | |
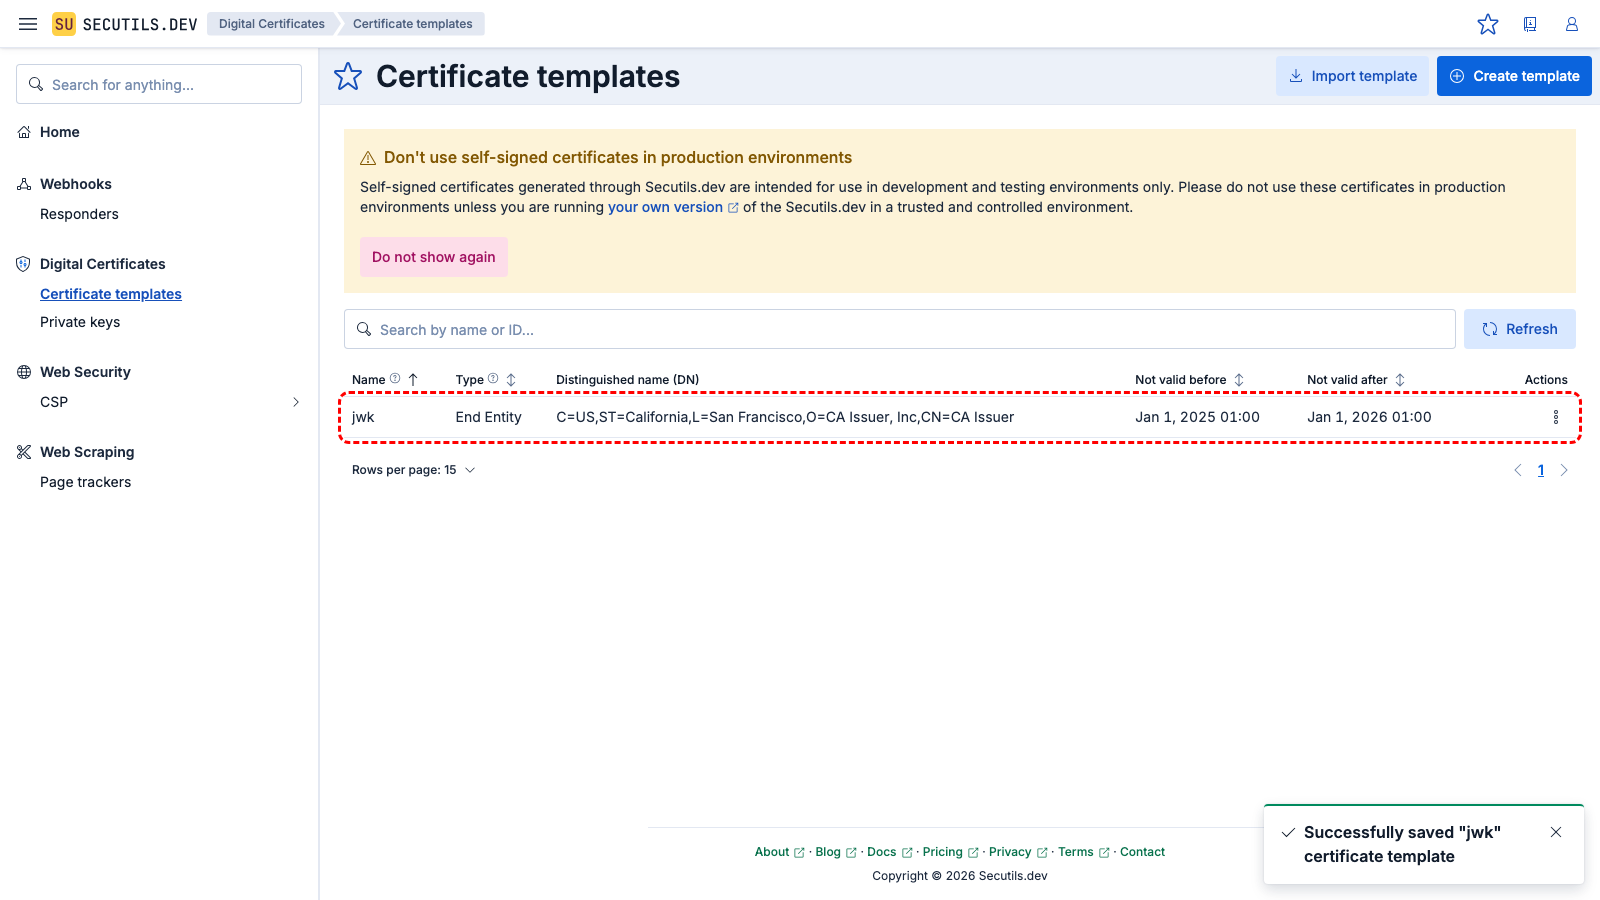
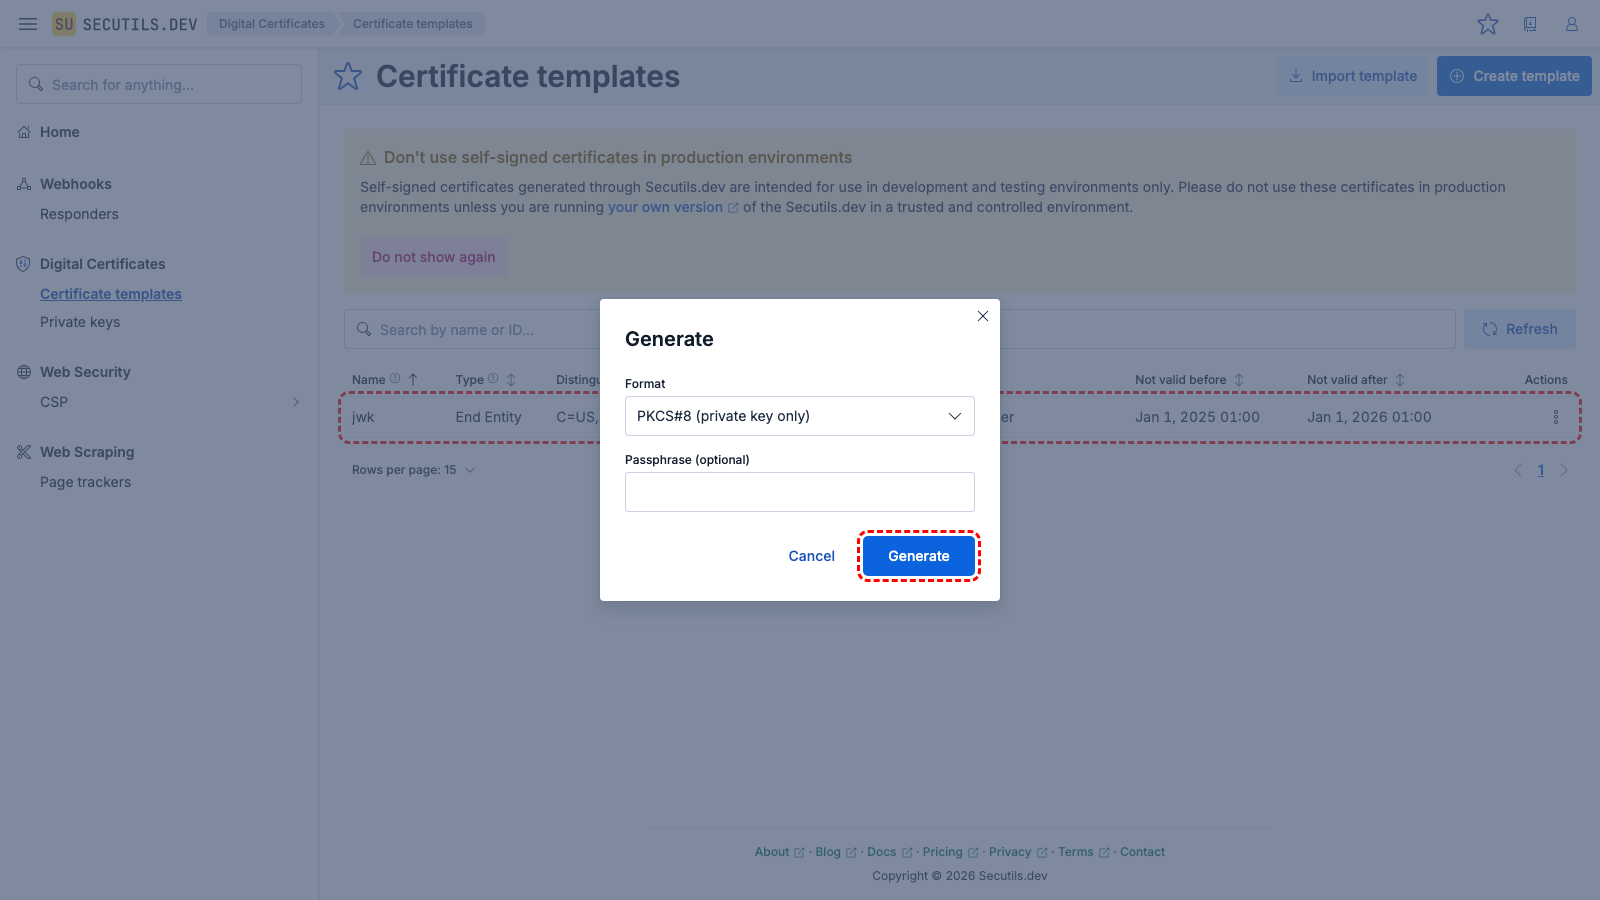
jwk.p8.| Format | |
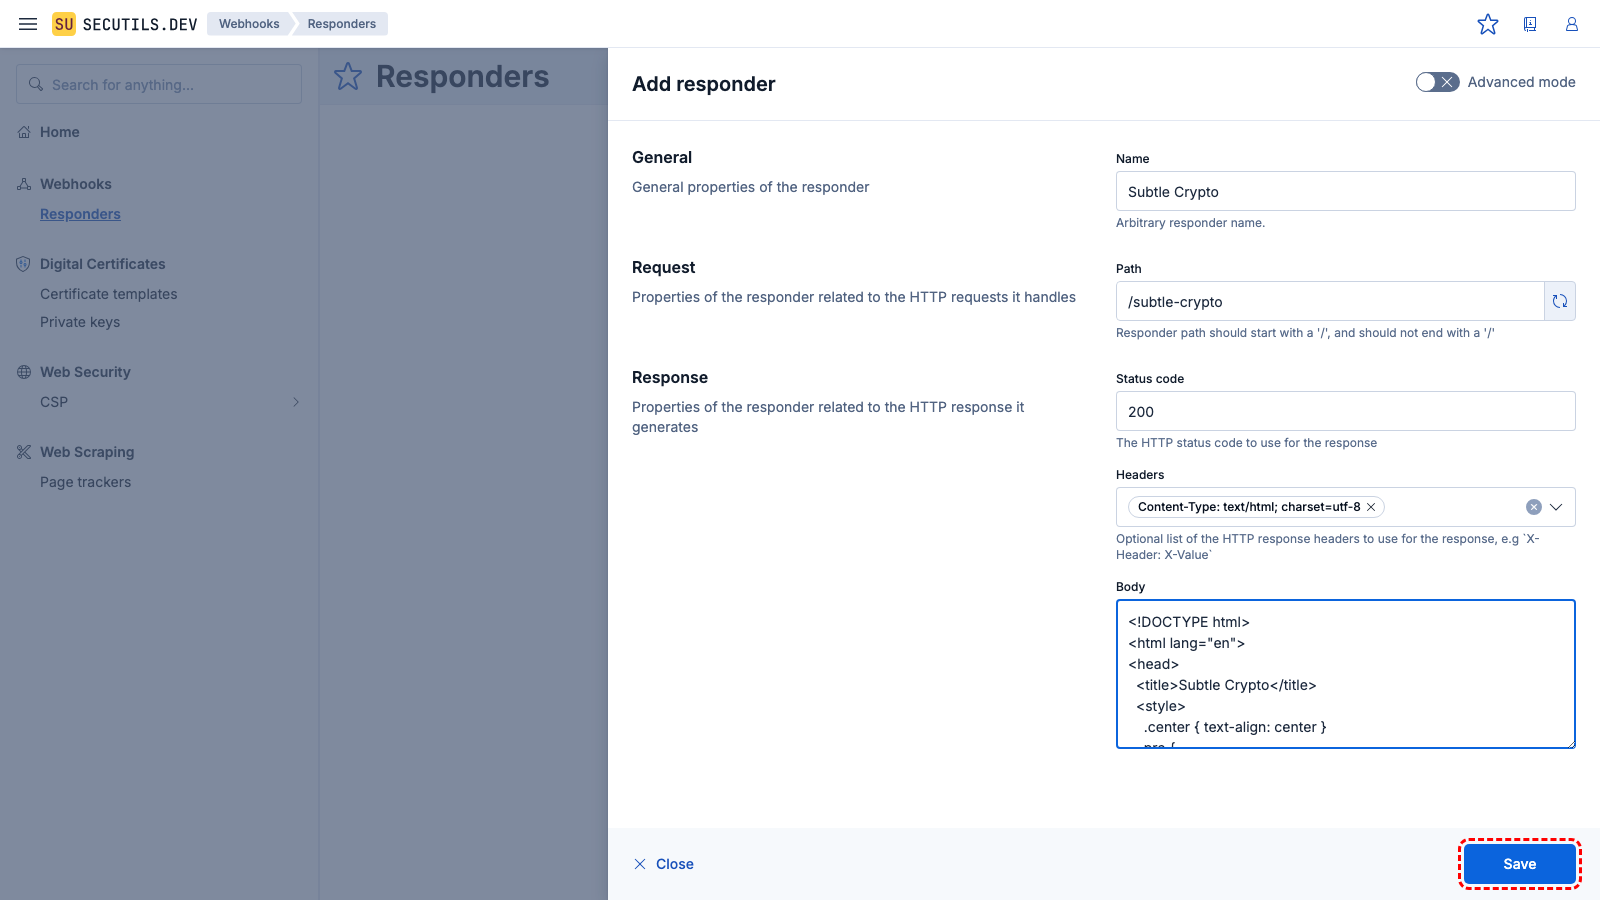
| Name | |
| Path | |
| Headers | |
| Body | |
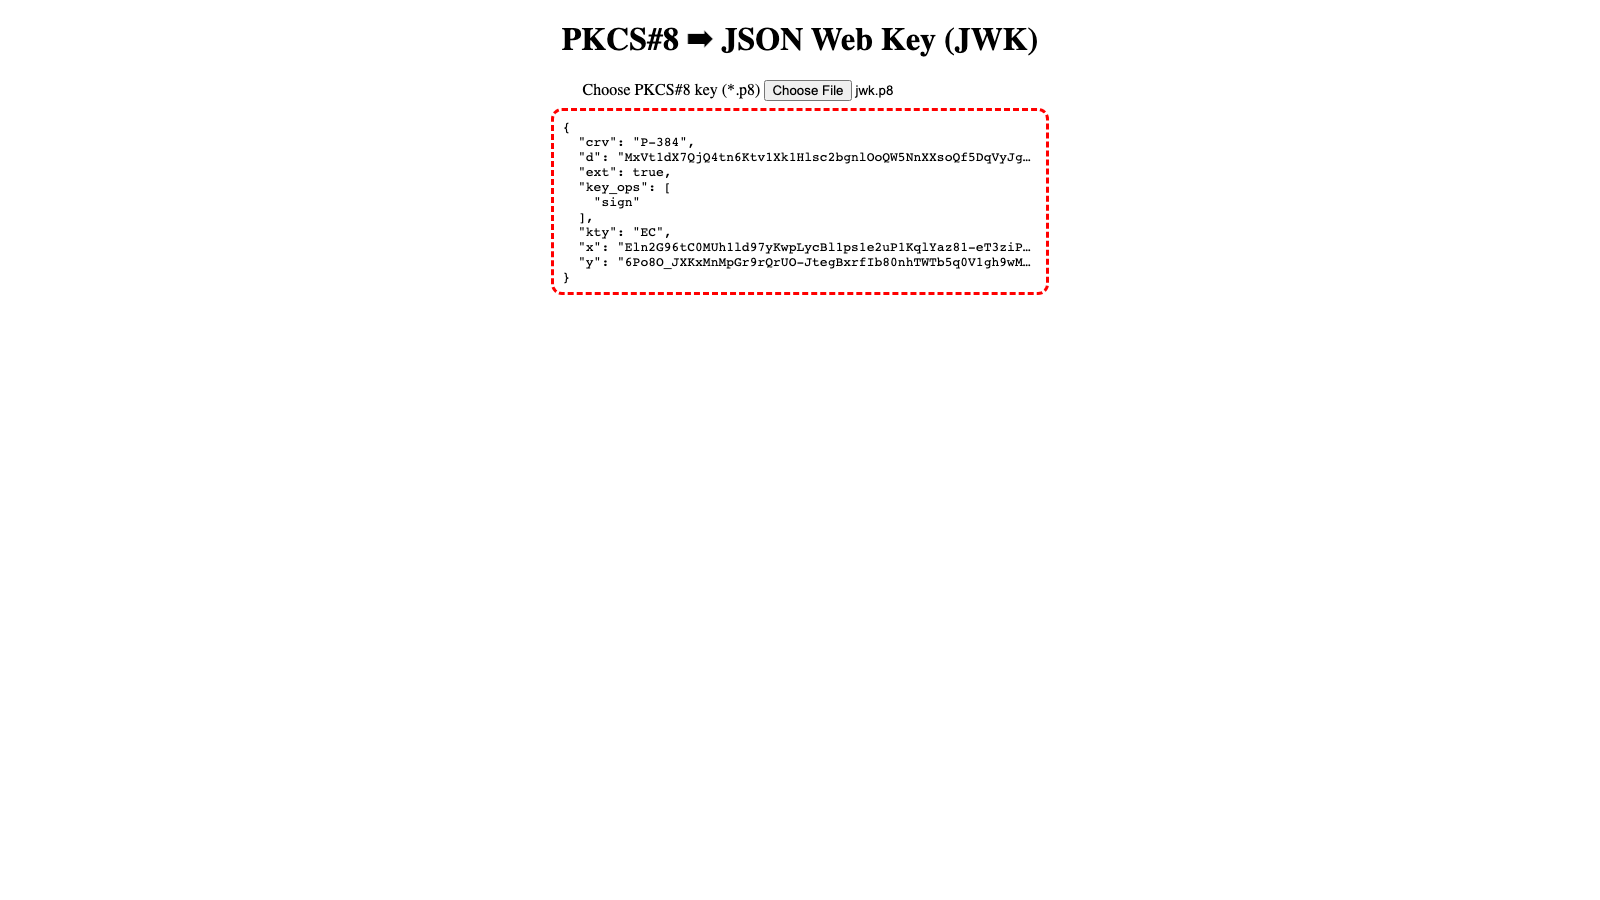
jwk.p8 file, and observe the JSON Web Key (JWK) derived from your ECDSA key.Import a certificate template from a string
In this guide you'll import a certificate template by pasting PEM-encoded certificate content:

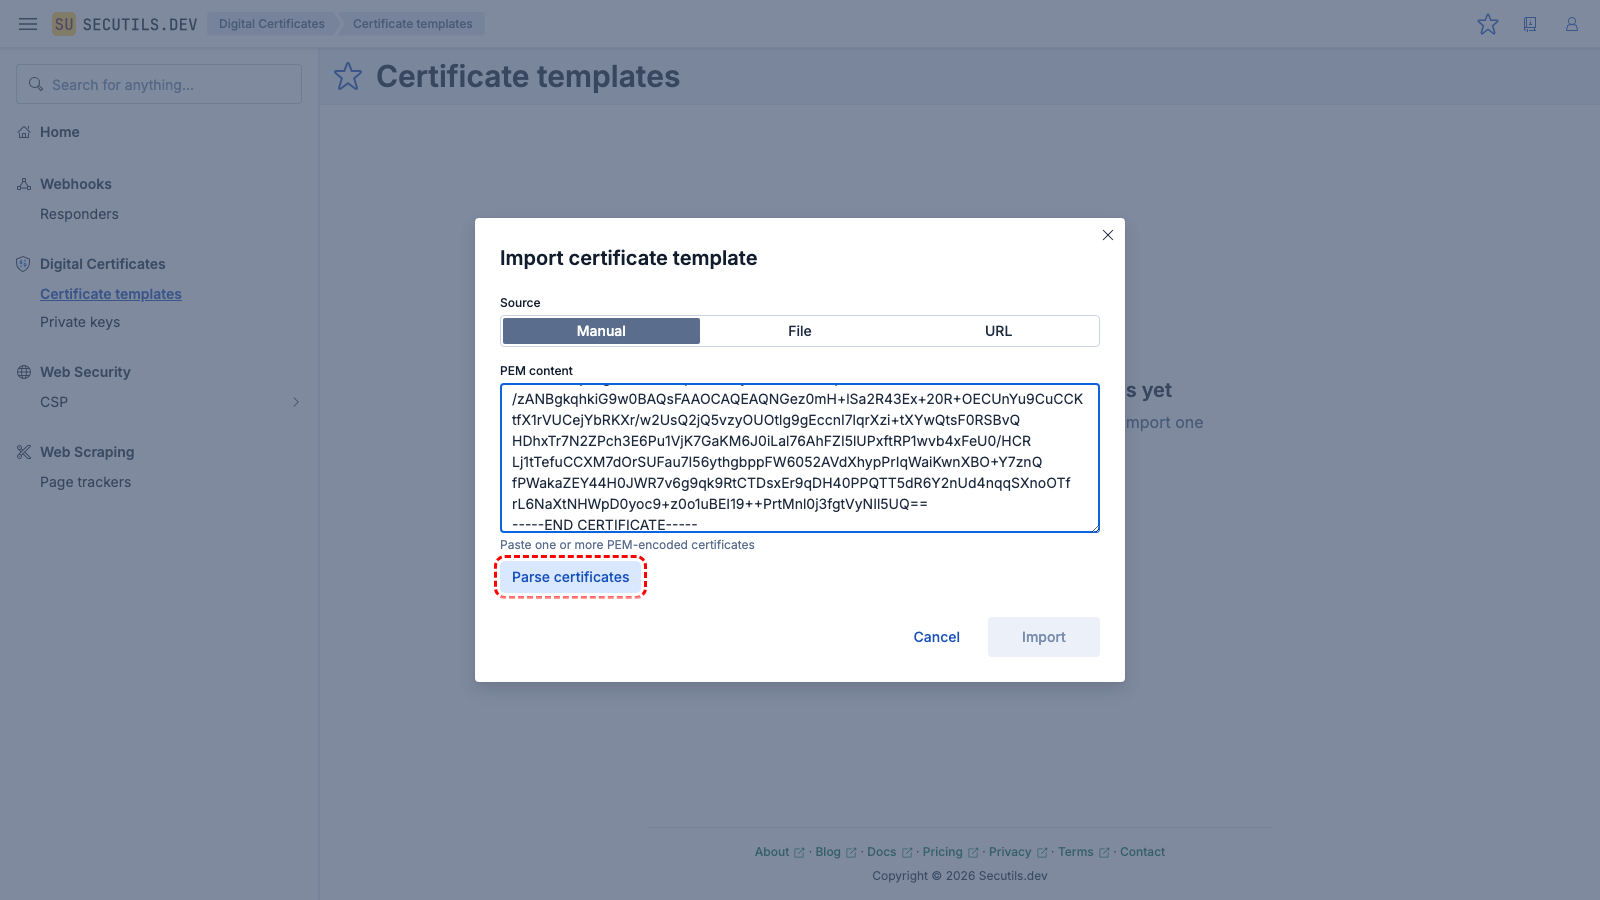
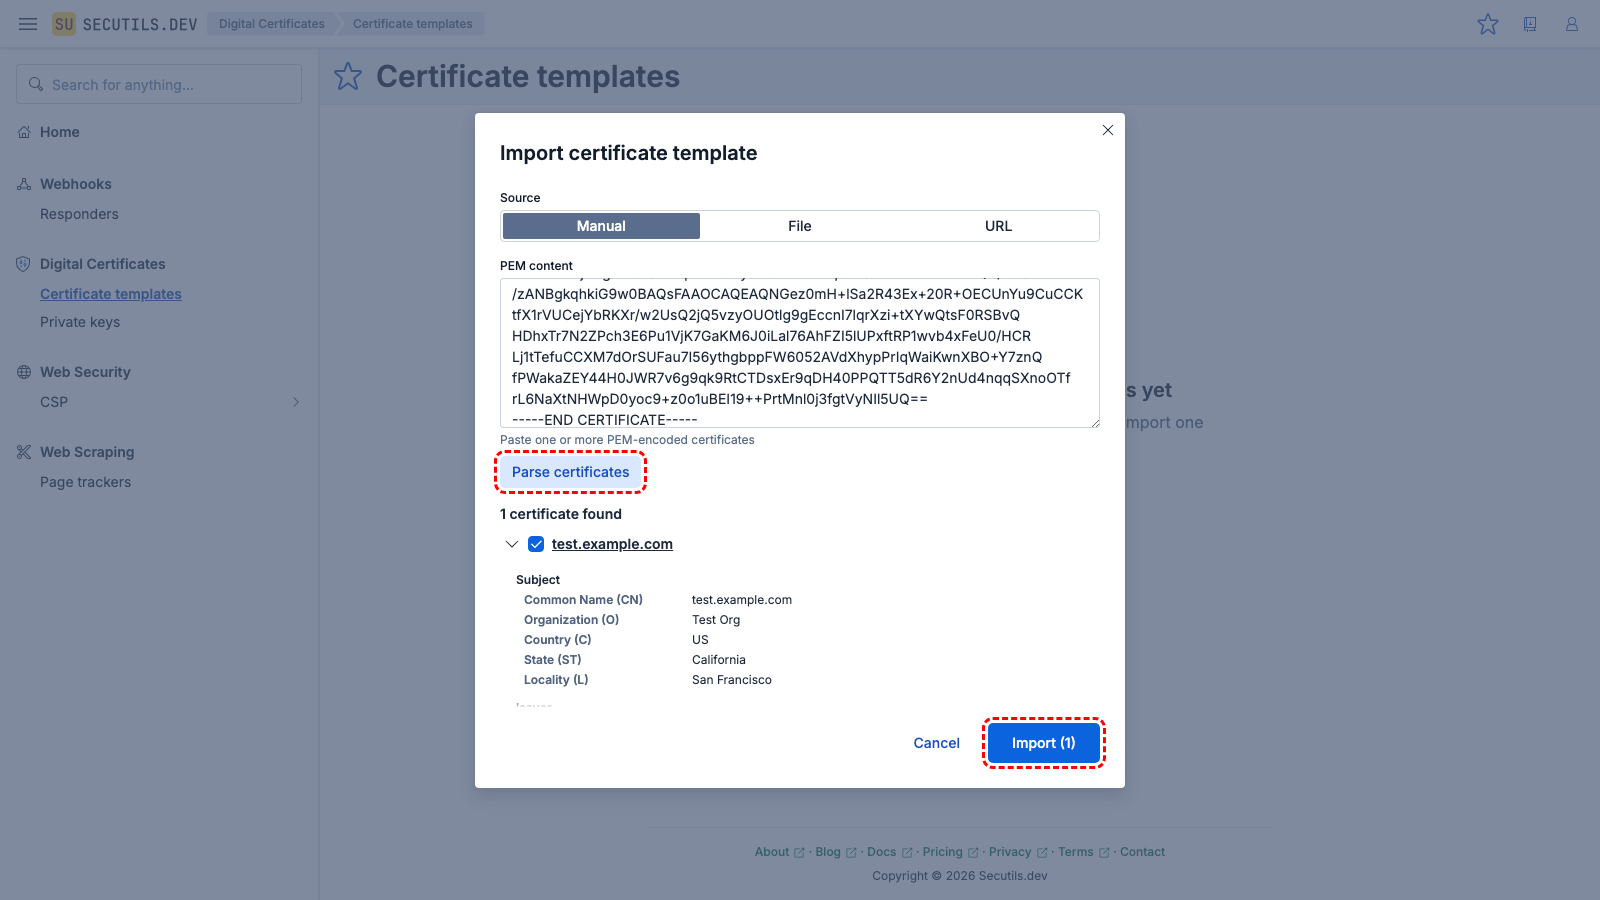

You can also import certificates by selecting the File source and uploading a .pem, .crt, .cer, or .cert file.
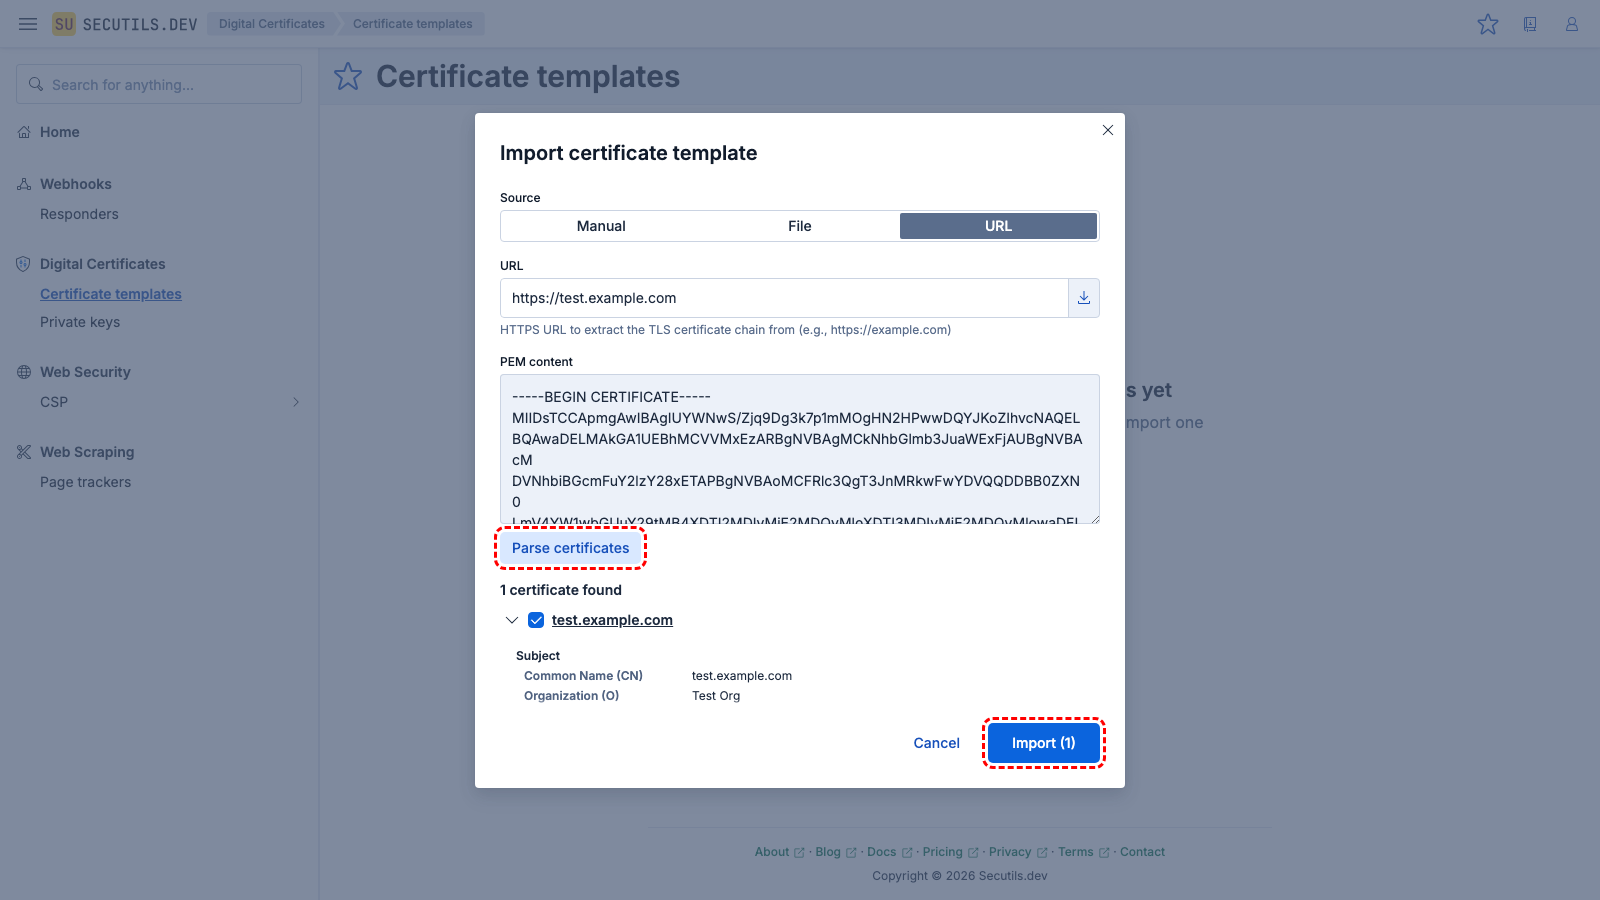
Import a certificate template from URL
In this guide you'll import a certificate template by extracting the TLS certificate chain from a website:
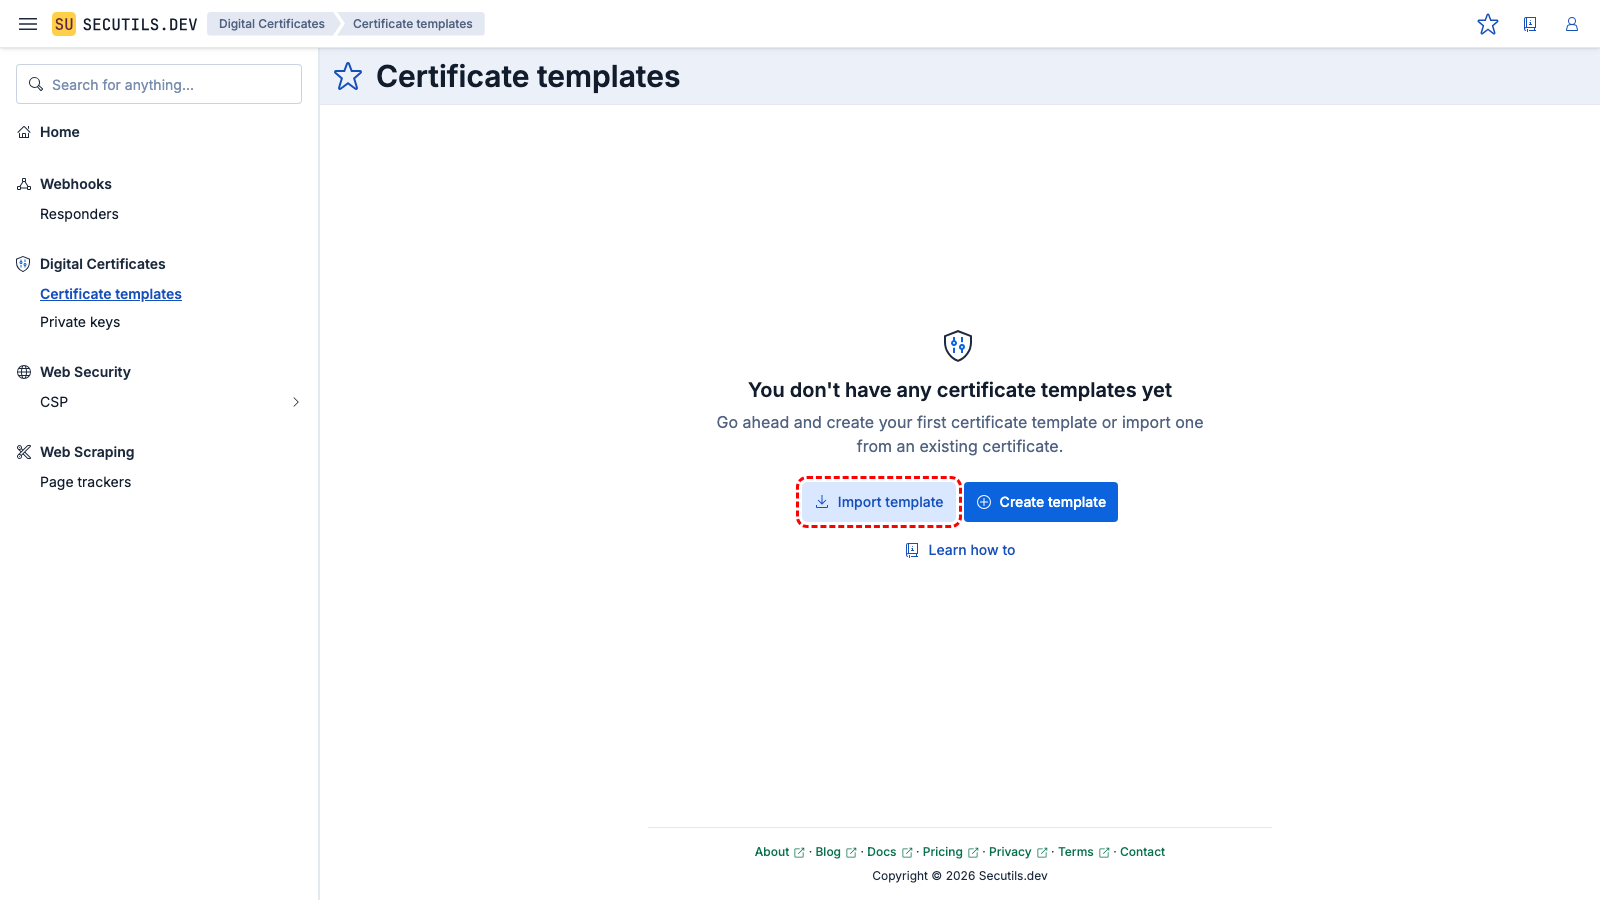
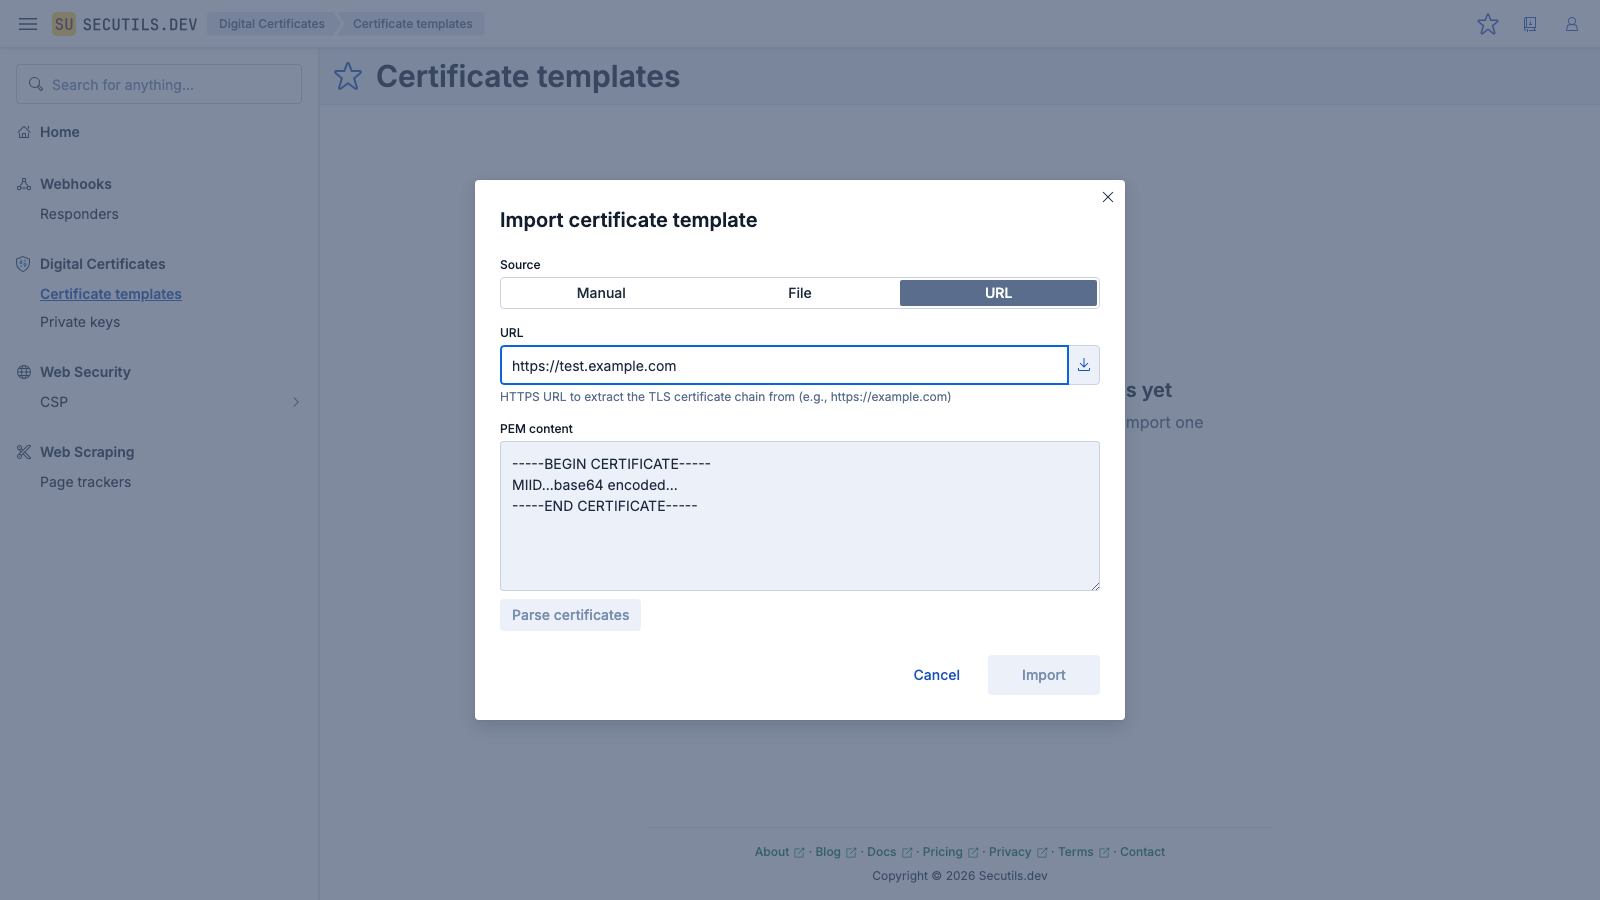
https://test.example.com), and click the Fetch button.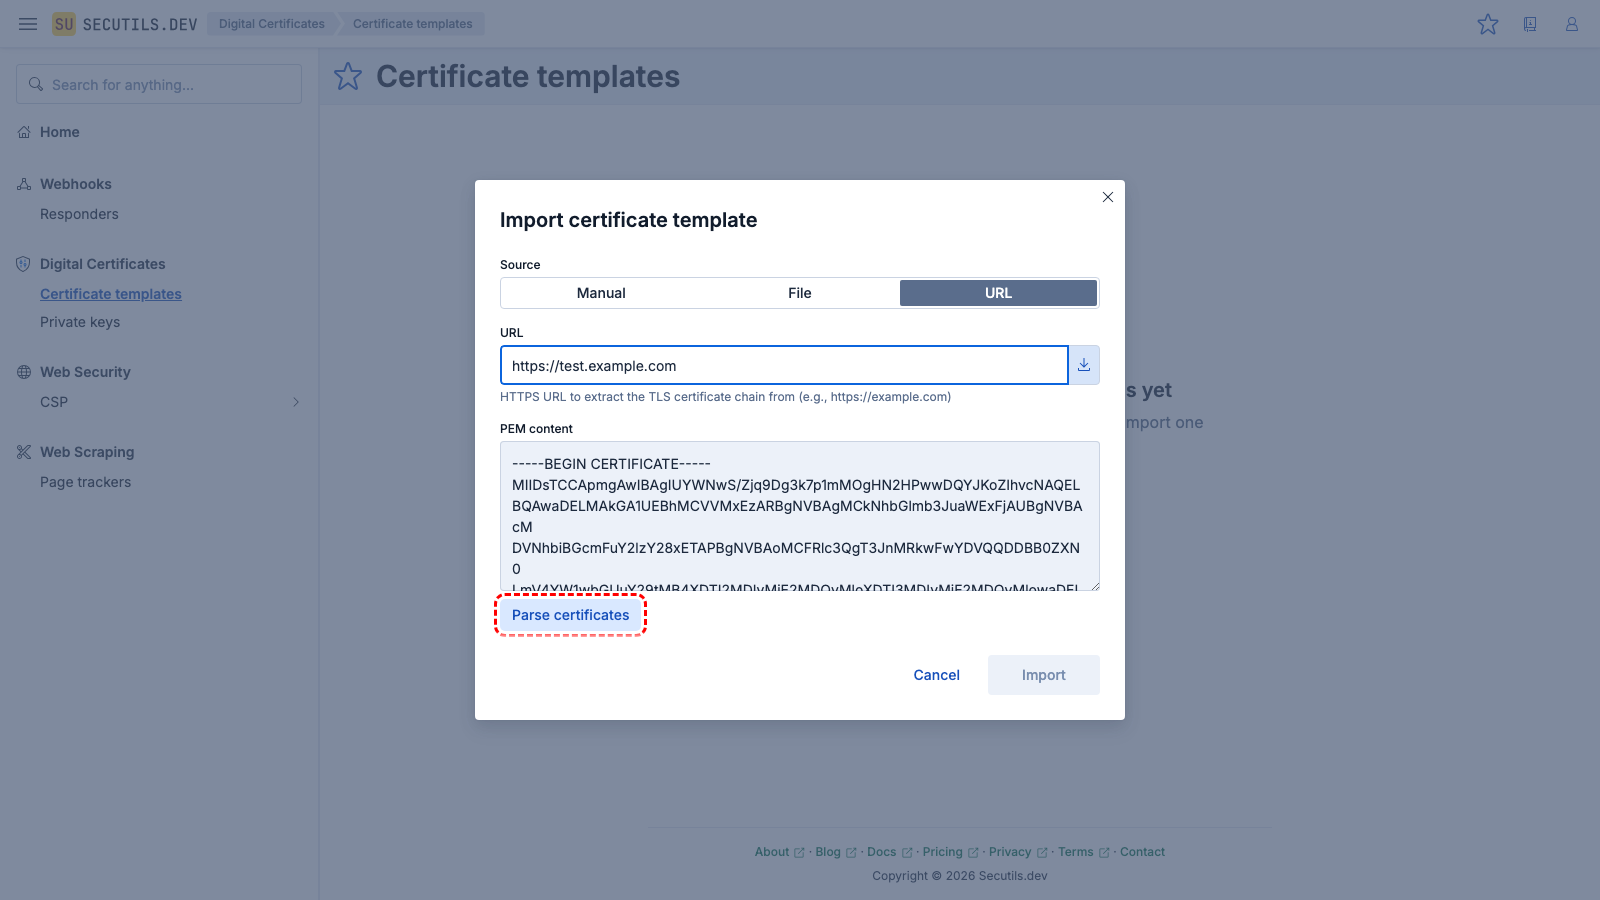
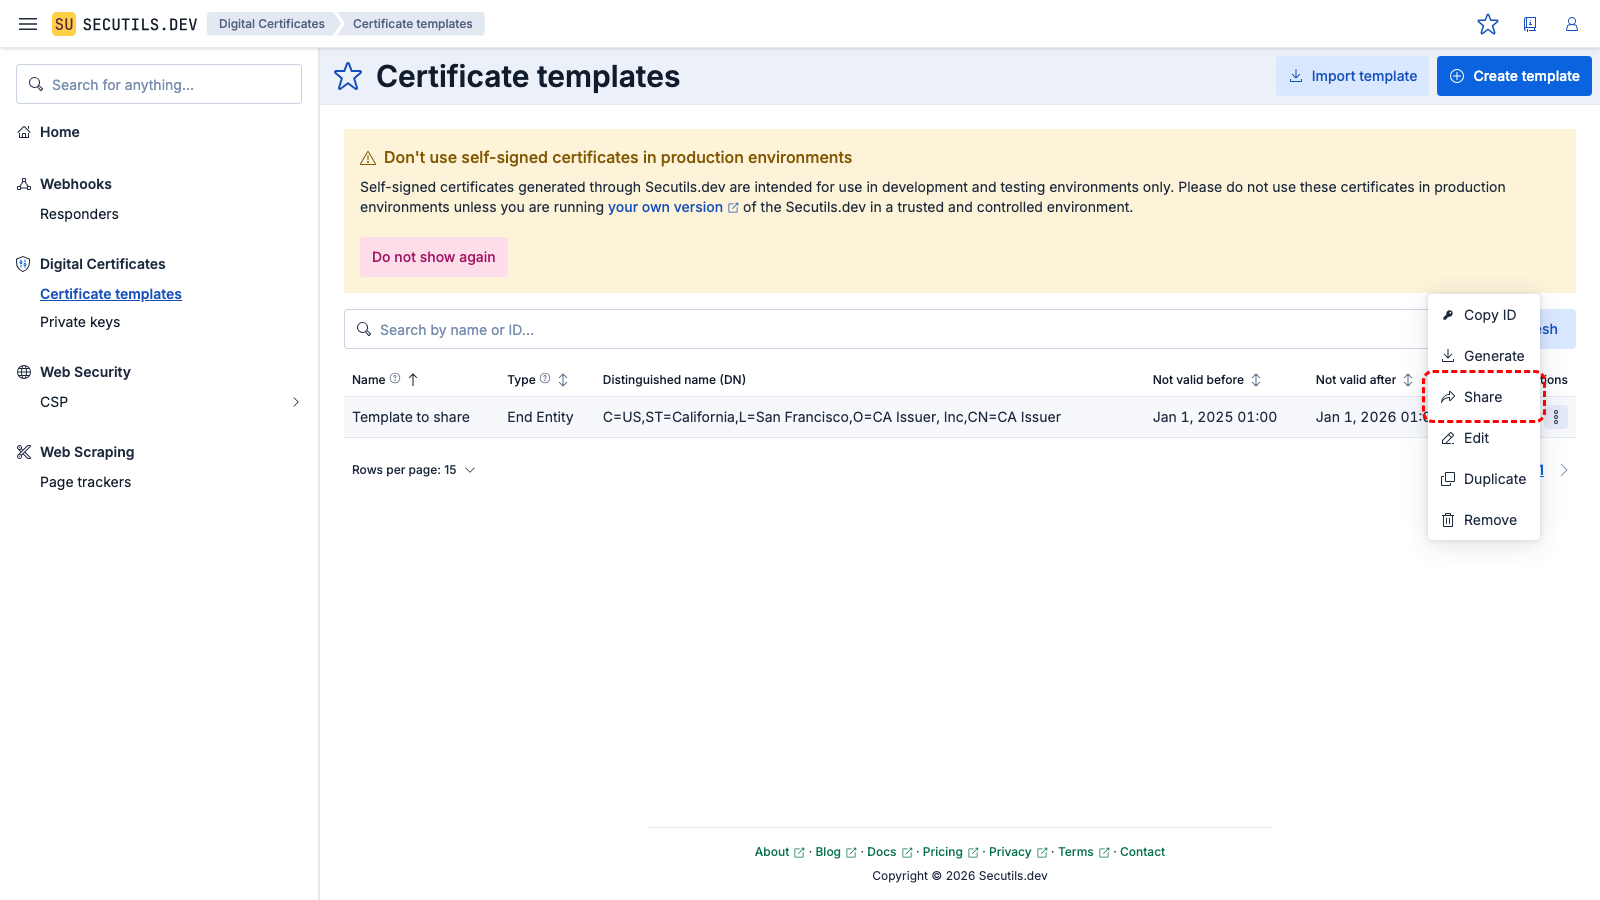
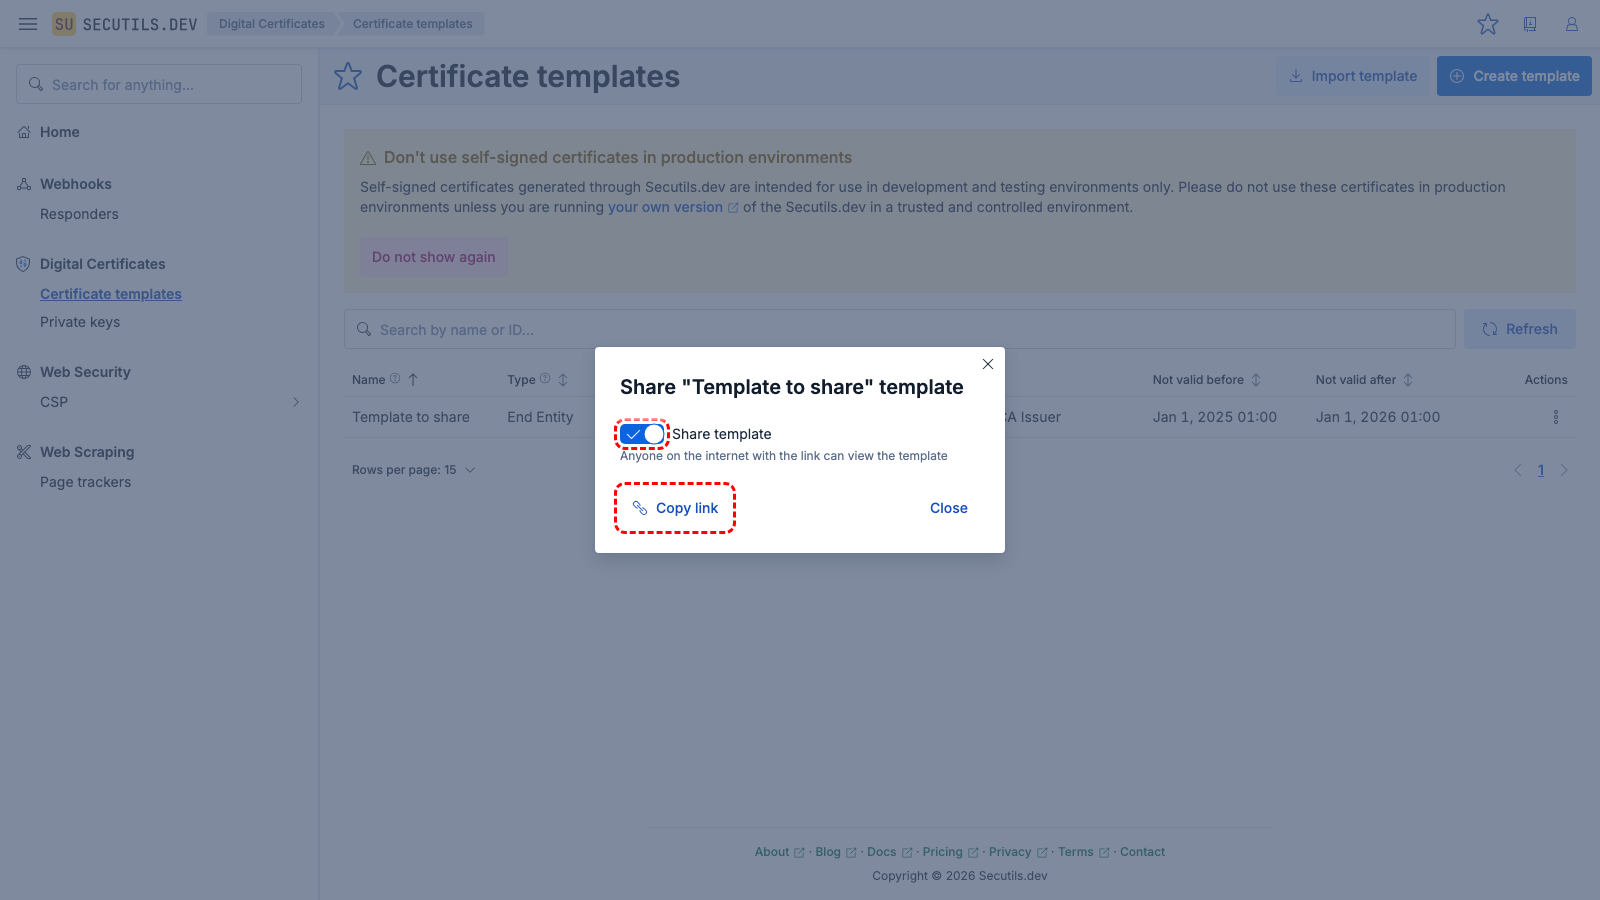
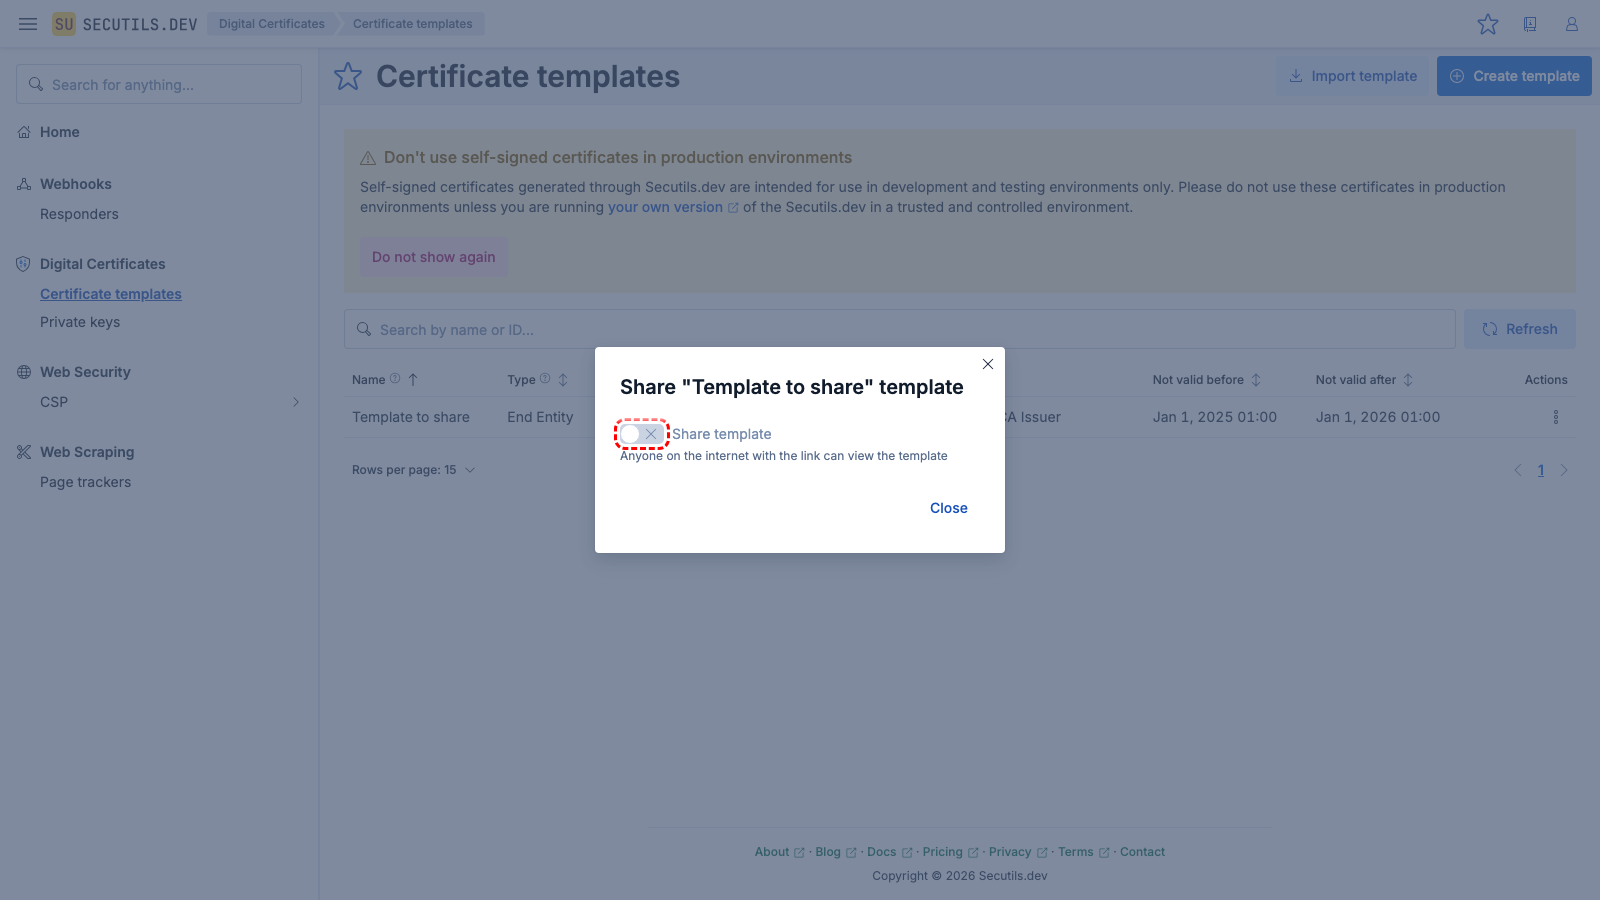
Share a certificate template
This guide will walk you through sharing a certificate template publicly, allowing anyone on the internet to view it: