What is a Content Security Policy?
Content Security Policy (CSP) is an added layer of security that helps to detect and mitigate certain types of attacks, including Cross-Site Scripting (XSS) and data injection attacks. These attacks are used for everything from data theft, to site defacement, to malware distribution.
Generally, to enable CSP, you need to configure your web server to return the Content-Security-Policy HTTP header or HTML meta tag. For more details, refer to MDN and OWASP.
On this page, you can find guides on creating Content Security Policies that match your specific needs.
Create a Content Security Policy
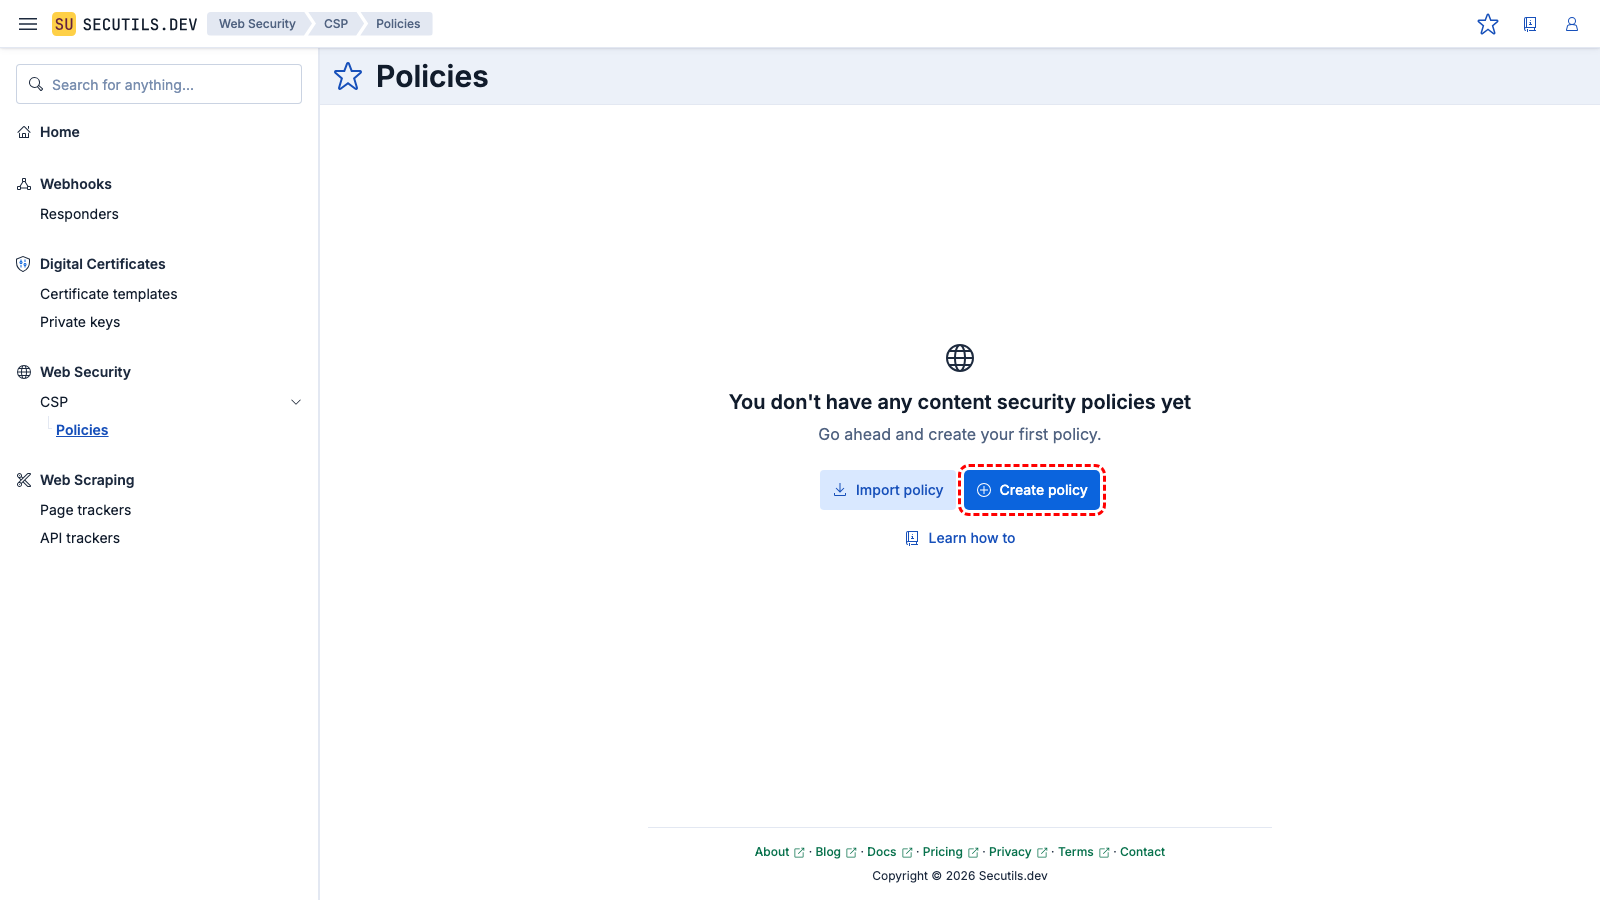
In this guide you'll create a simple Content Security Policy template that allows you to generate policies that are ready to be applied to any web application:
2
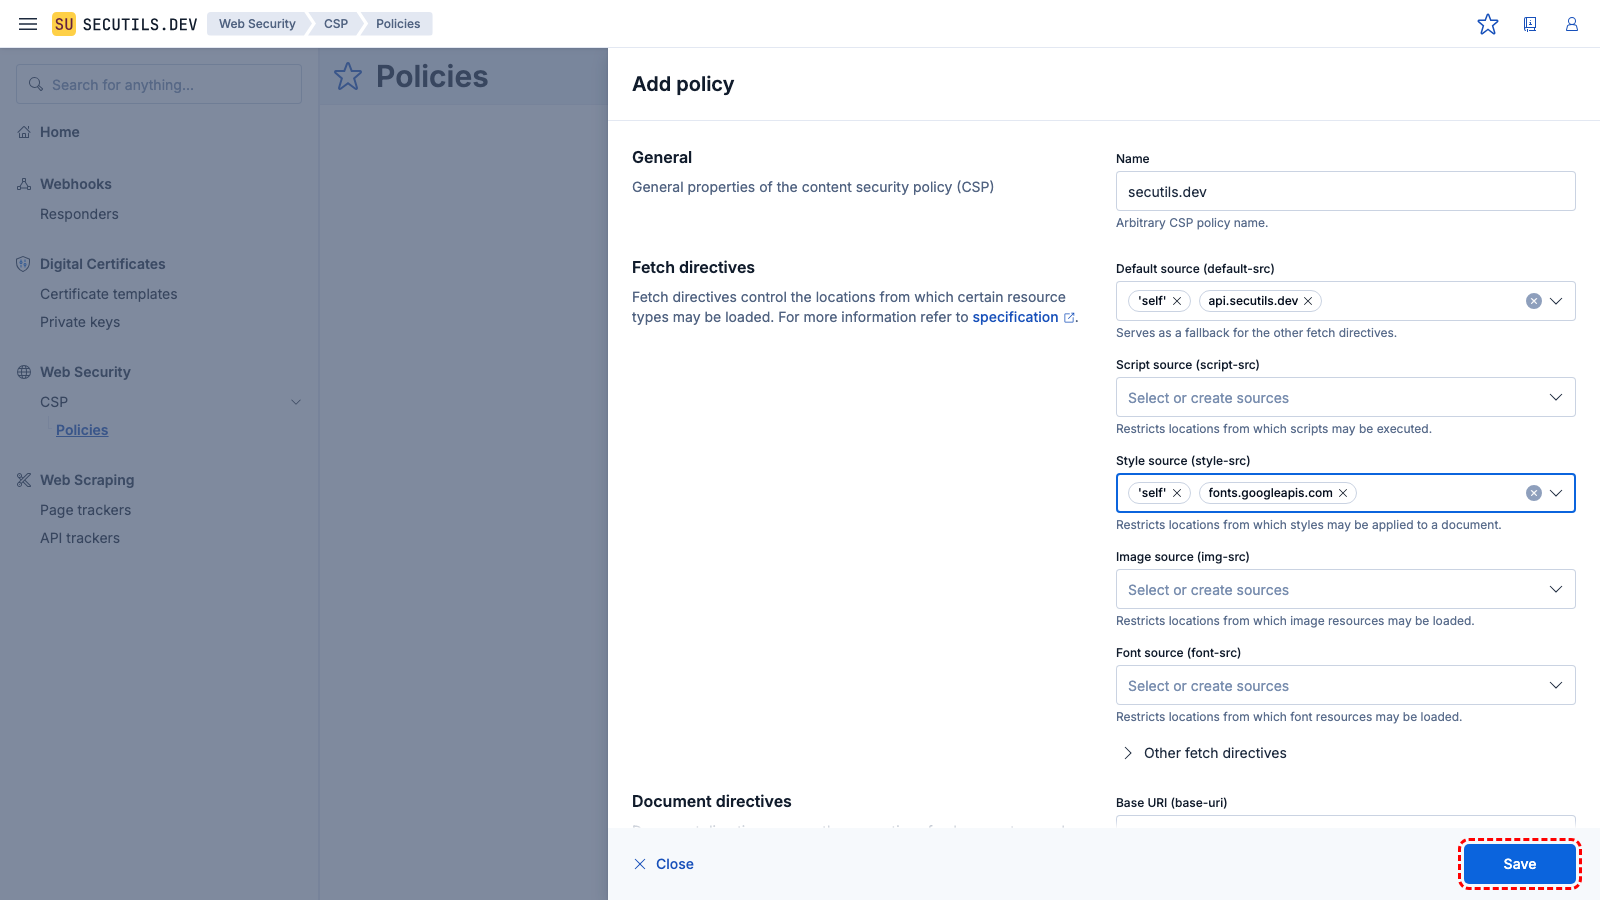
Enter the policy name, configure directives, and click
Save to save the policy.
| Name | |
| Directives | default-src 'self' api.secutils.dev
style-src 'self' fonts.googleapis.com
|
Import this sample3
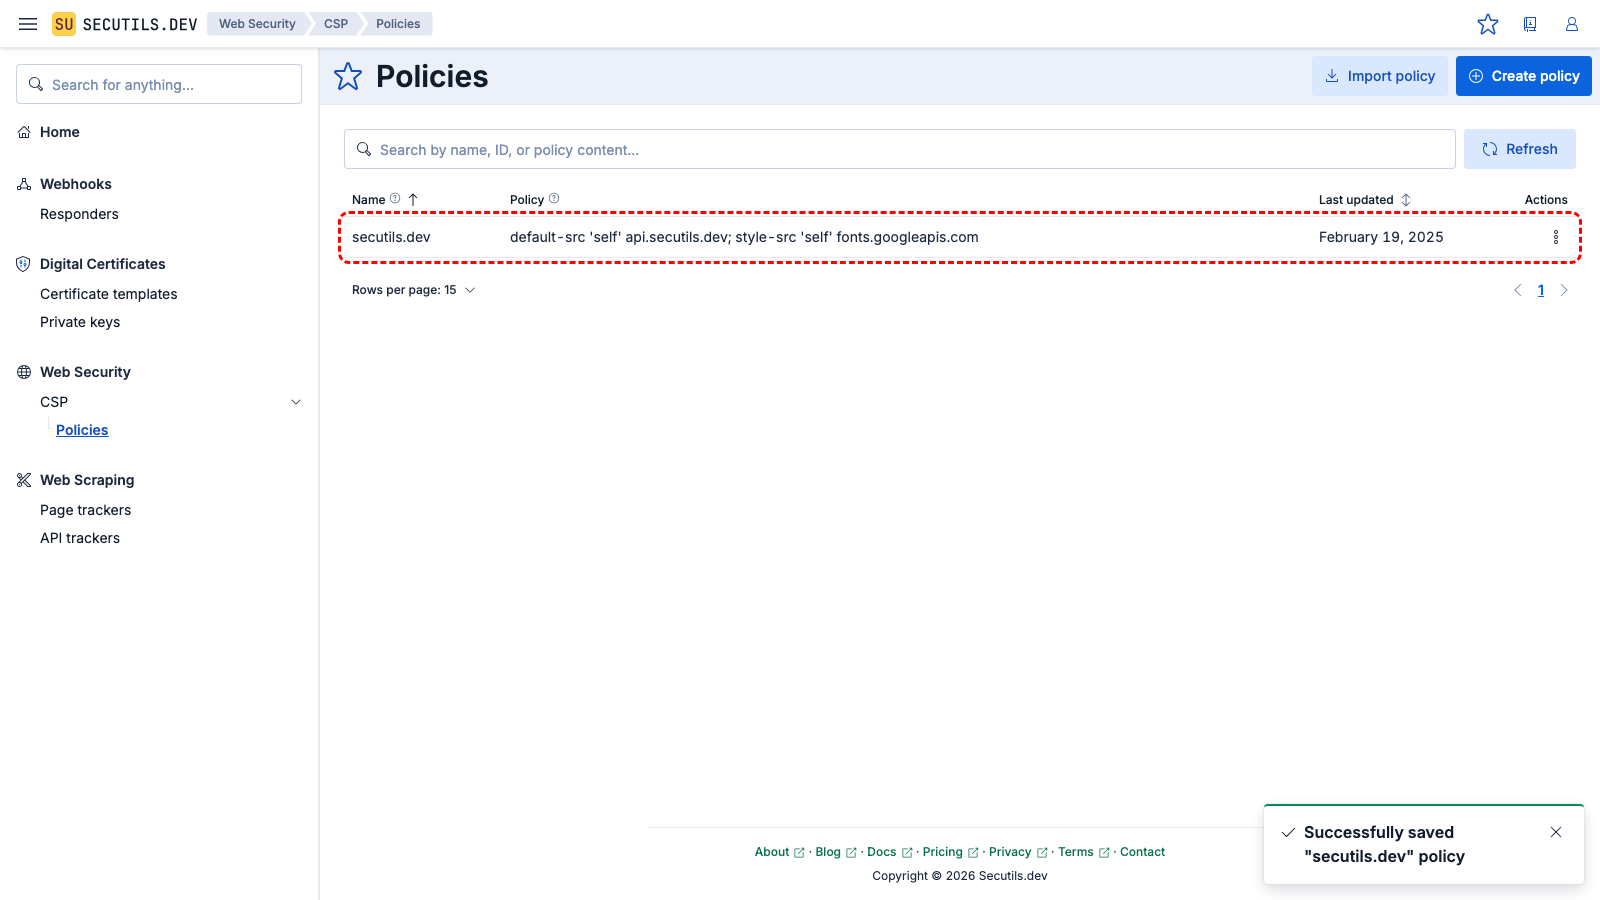
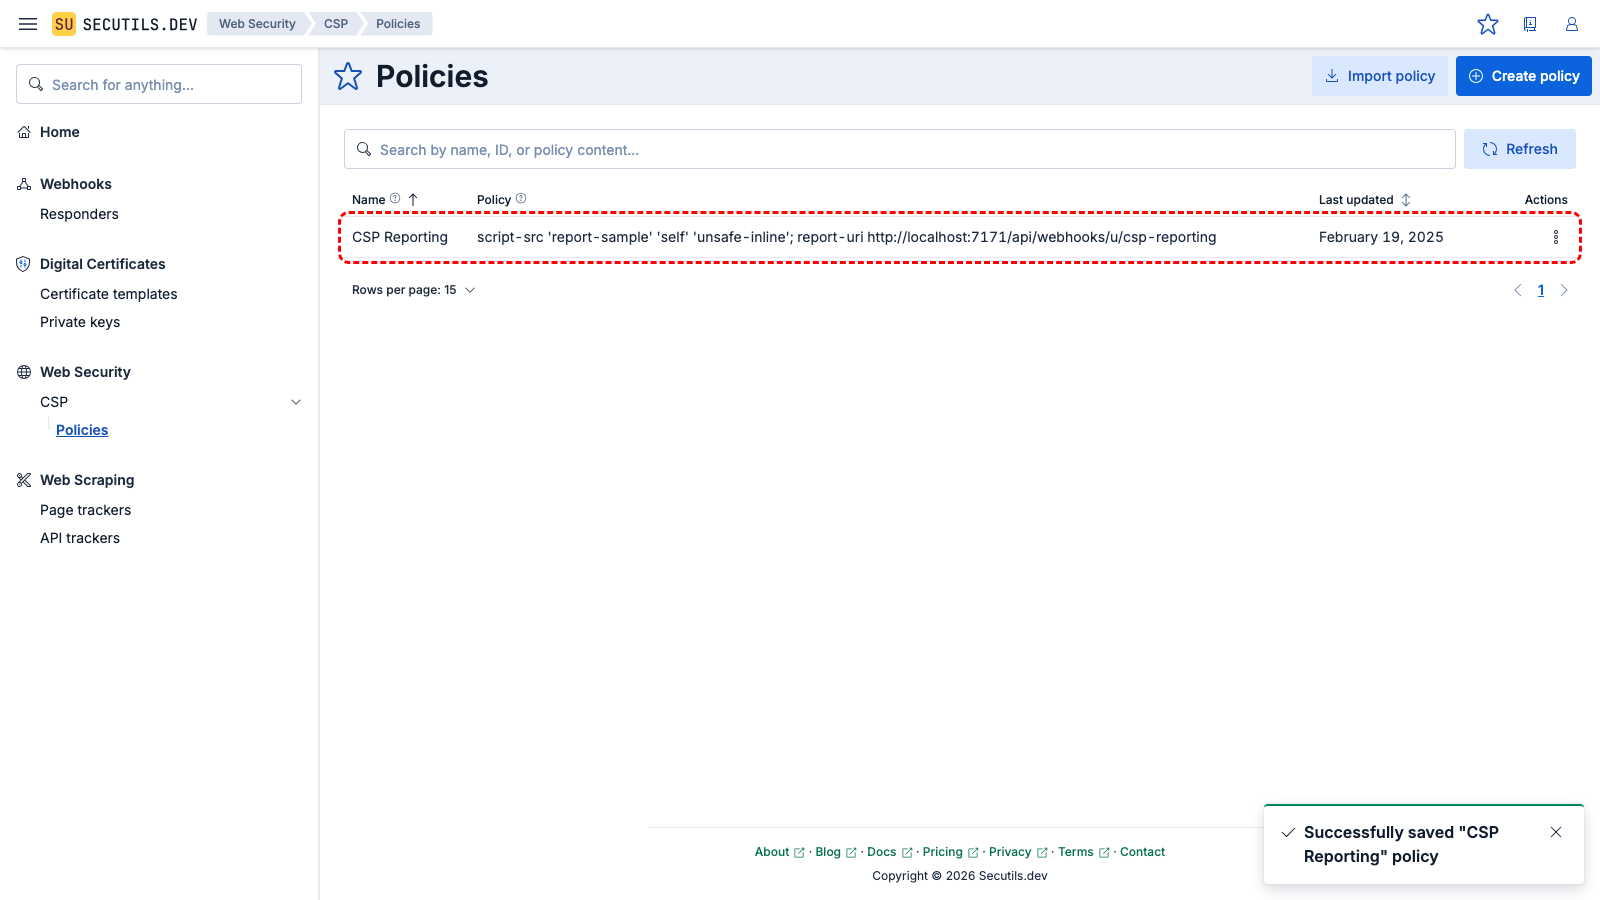
The new policy appears in the grid.
4
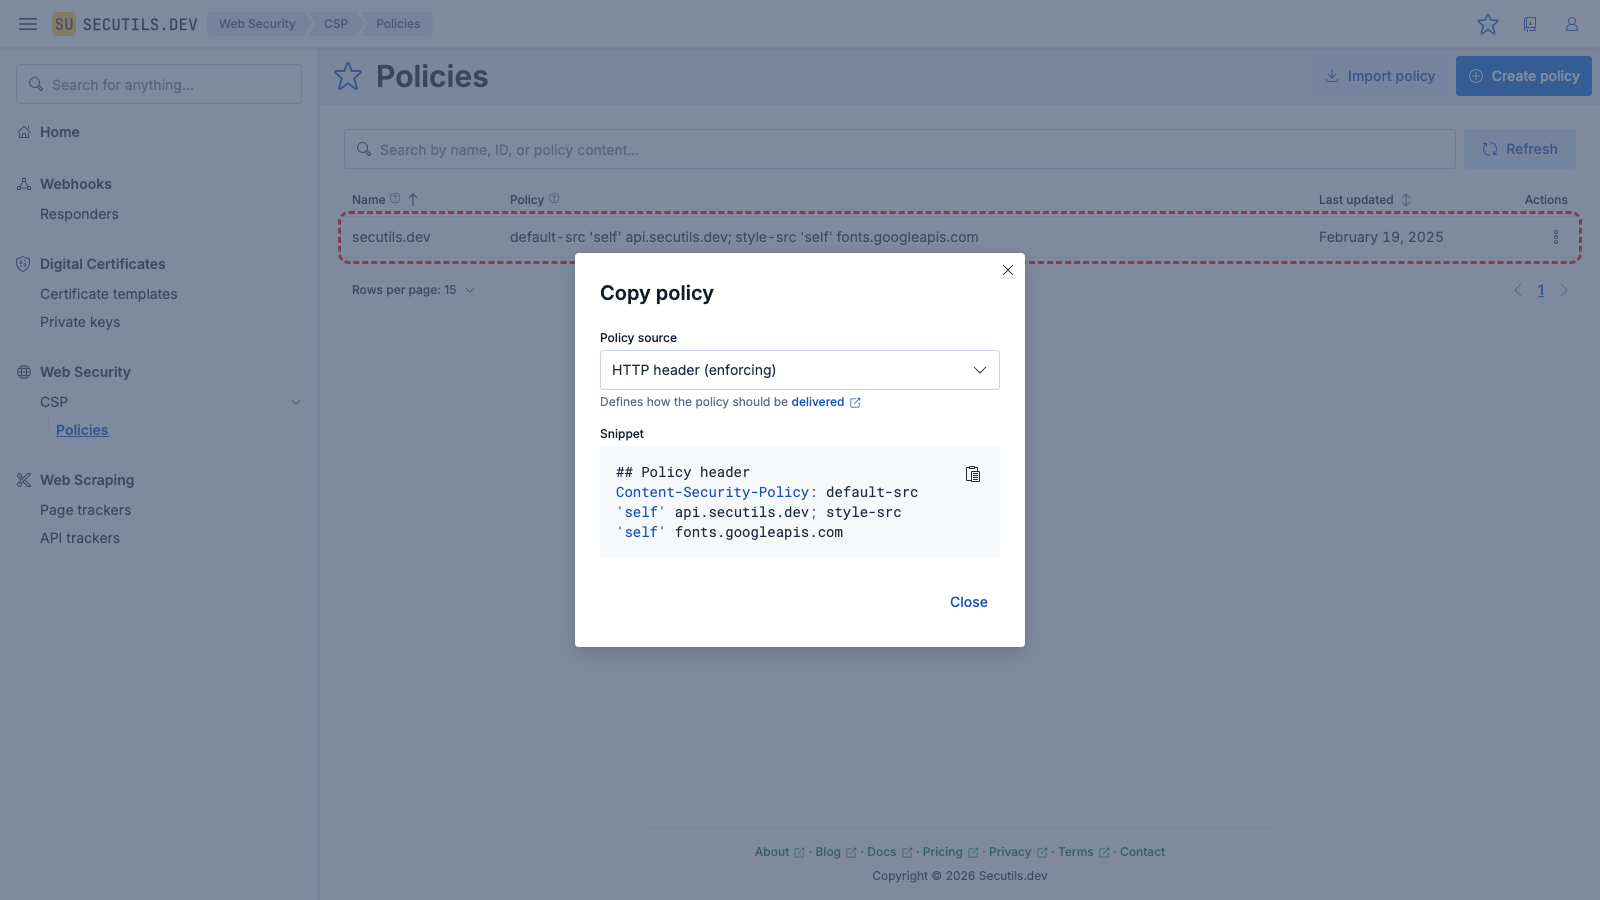
Use the Copy context menu button to get different policy representations.
Import a Content Security Policy from URL
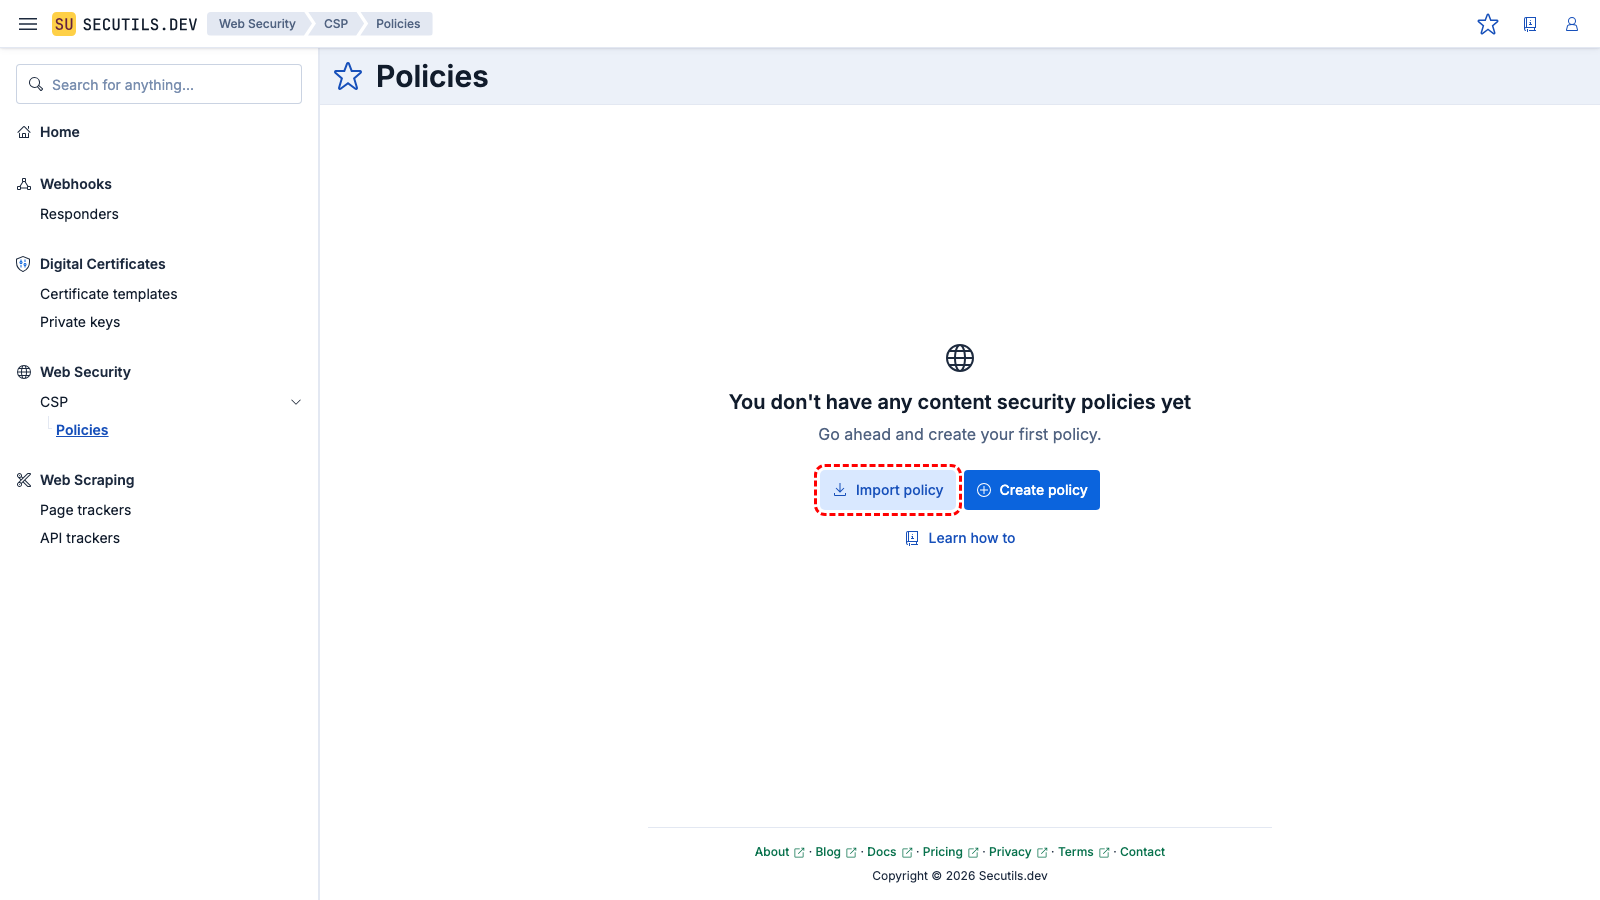
In this guide you'll import a Content Security Policy from an external URL:
2
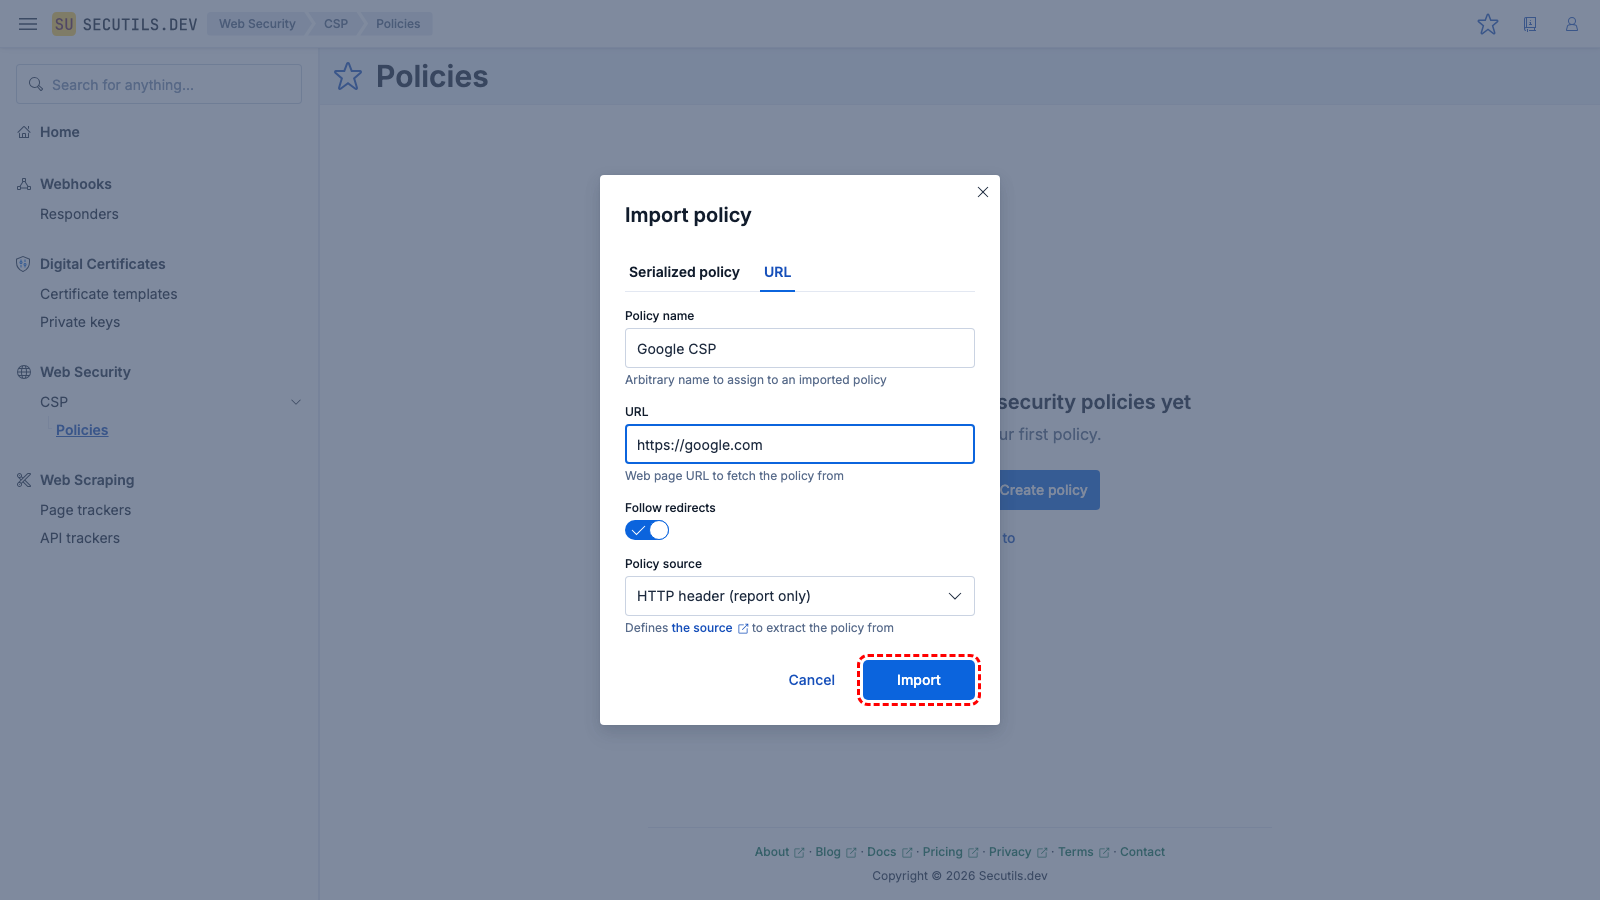
Pick
URL tab, enter the policy name, target URL, select the policy source, and click
Import.
| Policy name | |
| URL | |
| Policy source | HTTP header (report only)
|
3
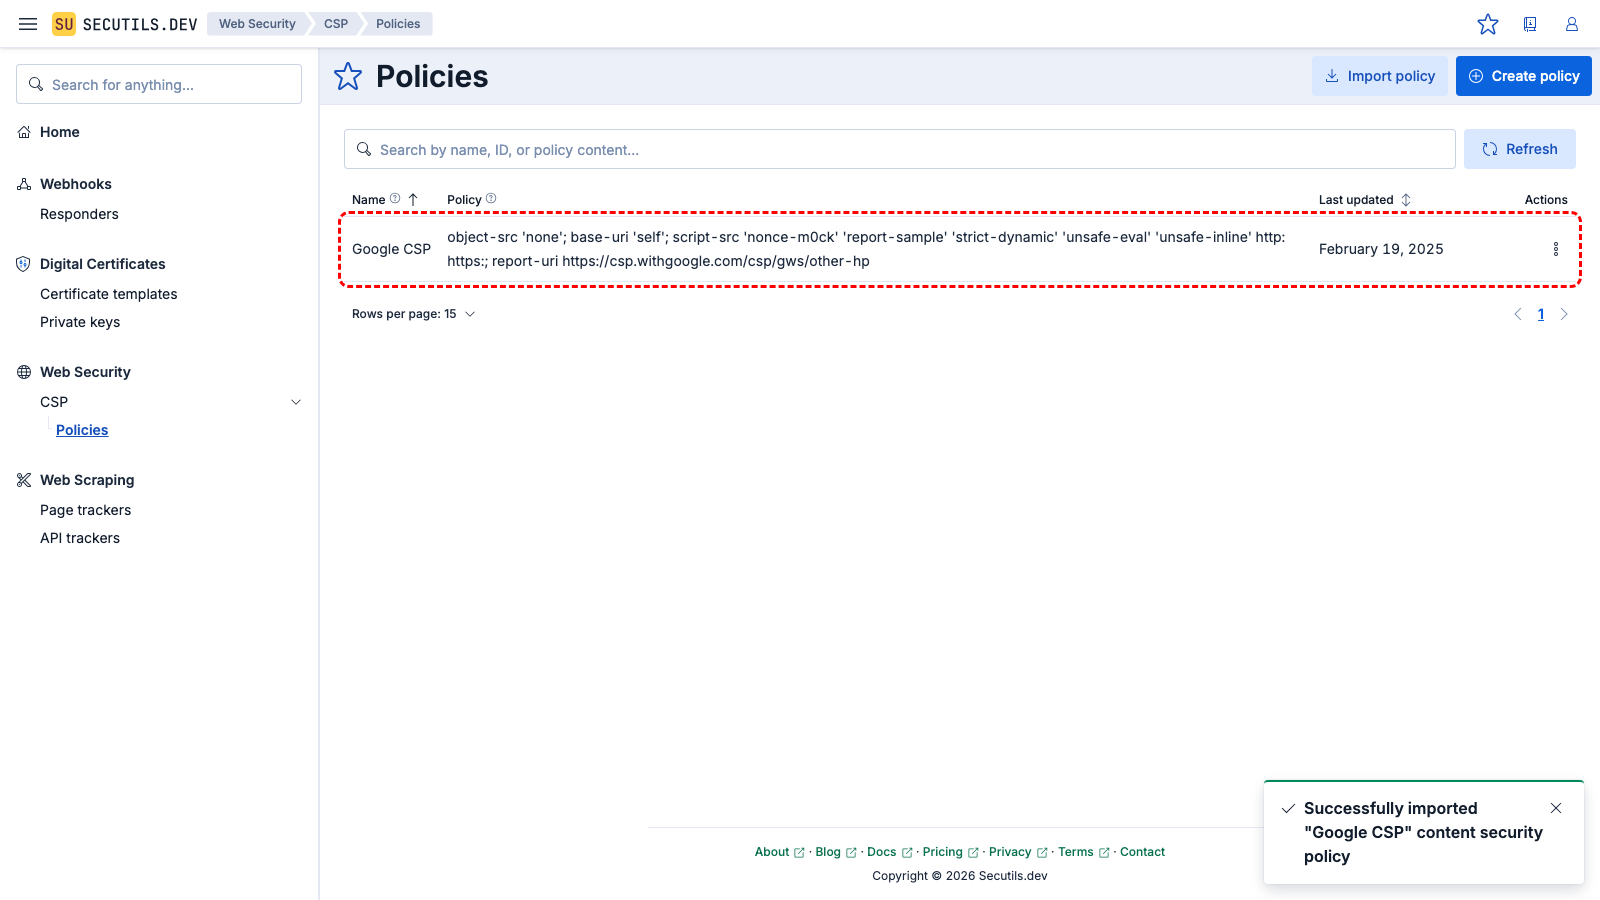
The new policy appears in the grid.
Import a Content Security Policy from a string
In this guide you'll import a Content Security Policy from a string (serialized policy text):
2
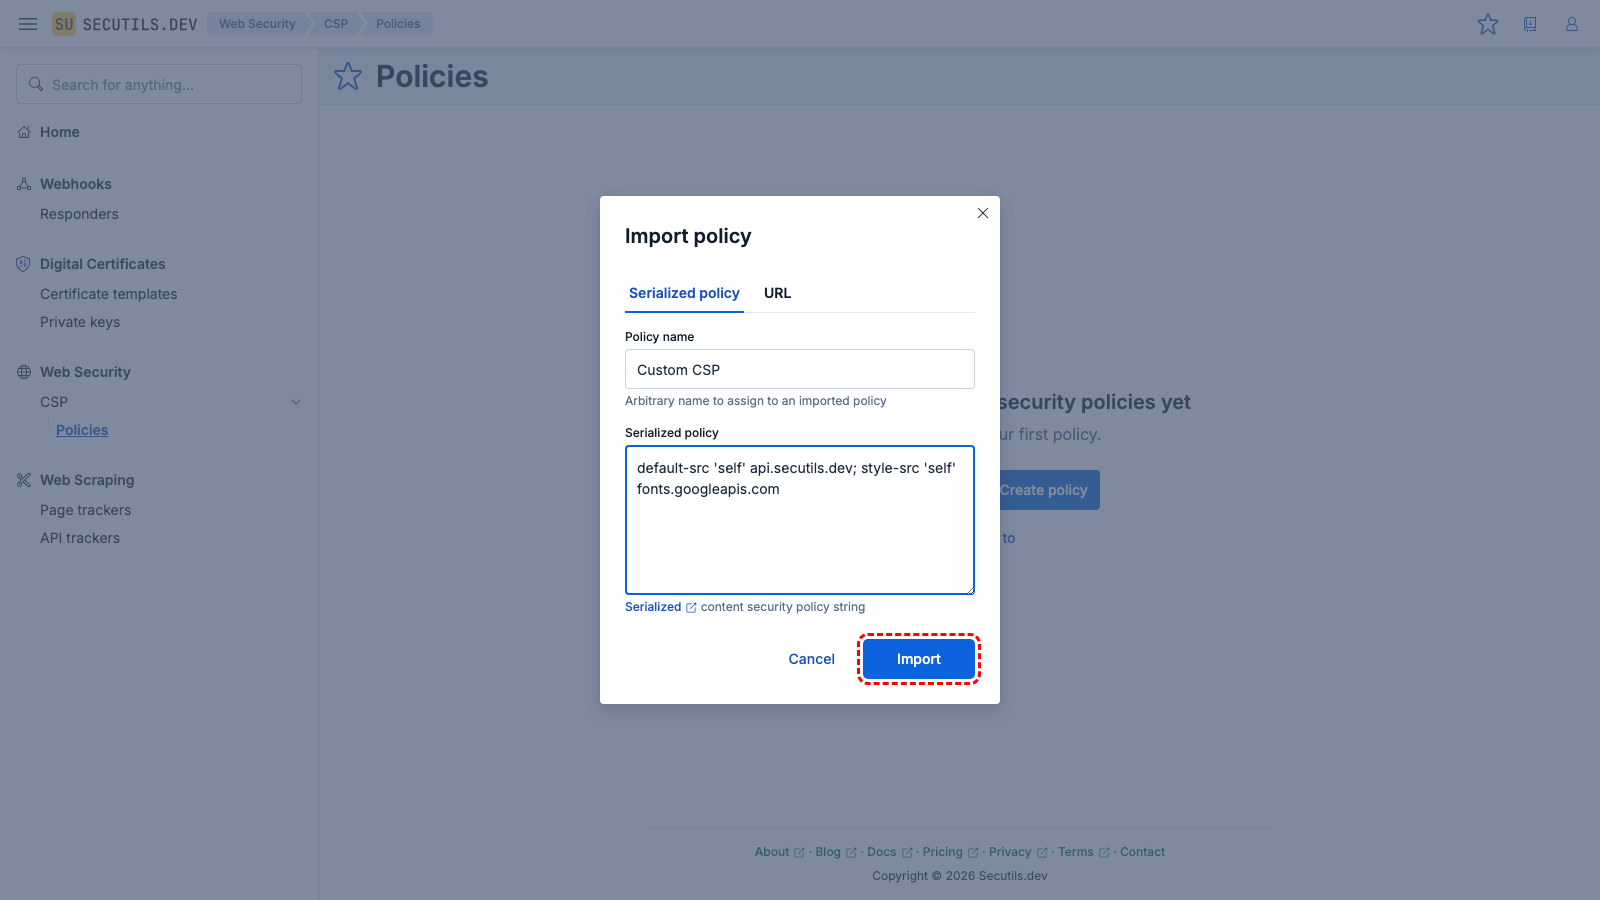
Pick
Serialized policy tab, enter the policy name, policy string, and click
Import.
| Policy name | |
| Serialized policy | default-src 'self' api.secutils.dev; style-src 'self' fonts.googleapis.com
|
3
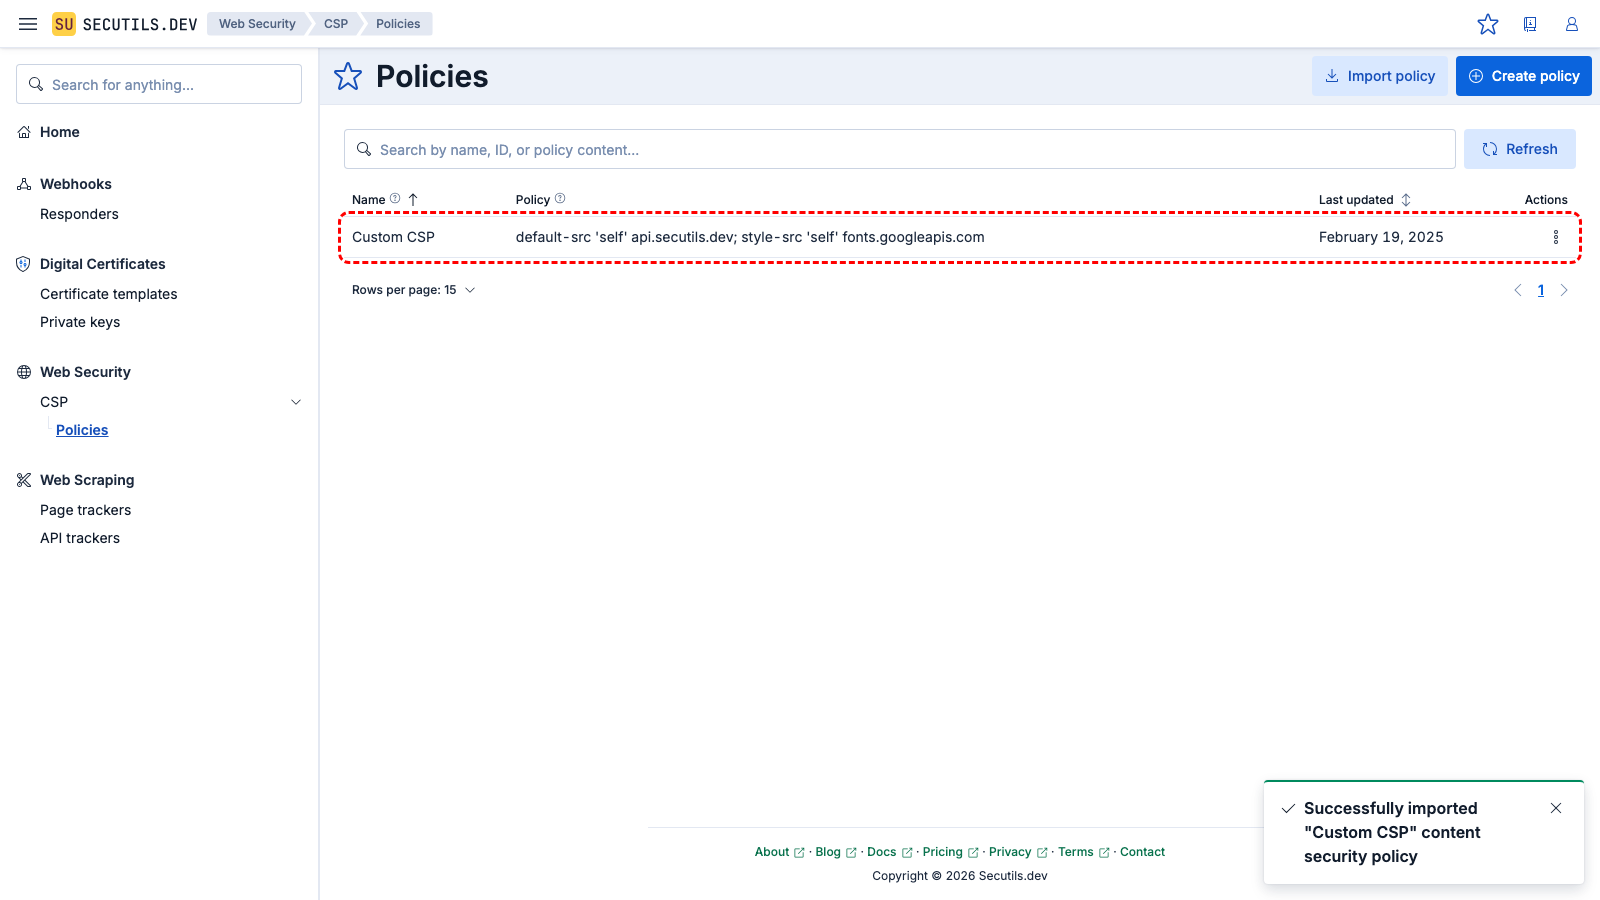
The new policy appears in the grid.
Share a Content Security Policy
This guide will walk you through sharing a Content Security Policy template publicly, allowing anyone on the internet to view it:
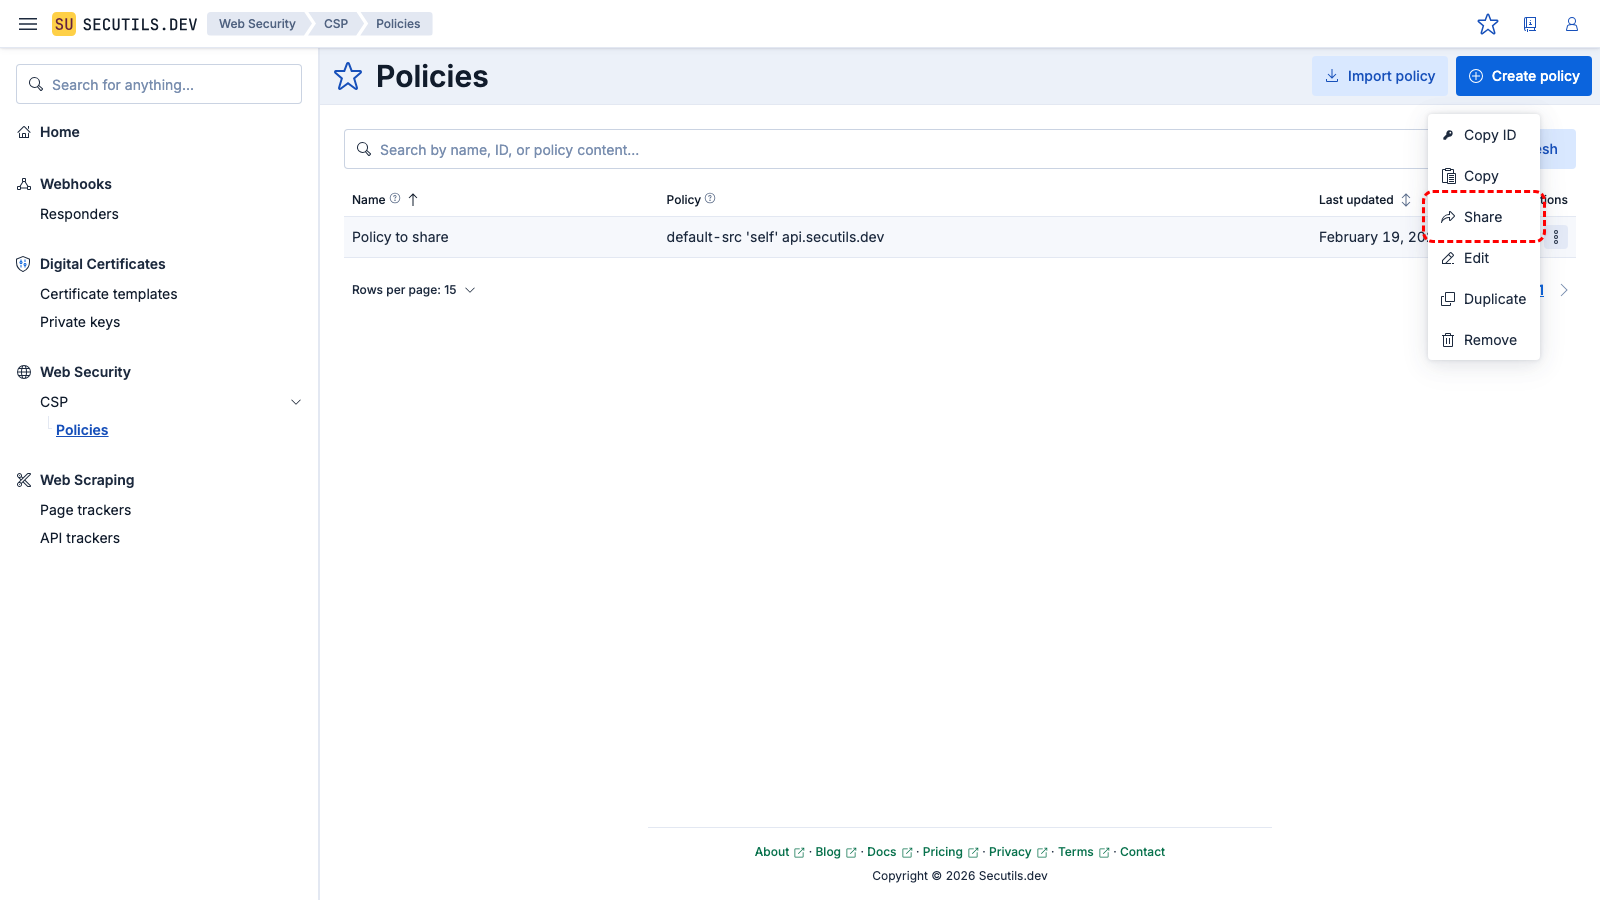
- Navigate to Web Security → CSP and pick the policy you'd like to share
- Click the policy's Share policy button and toggle Share policy switch to on position
- Once the policy is shared, the dialog will show a Copy link button
- Click the Copy link button to copy a unique shared policy link to your clipboard
- To stop sharing the policy, click the Share policy button again, and switch the Share policy toggle to the off position.
2
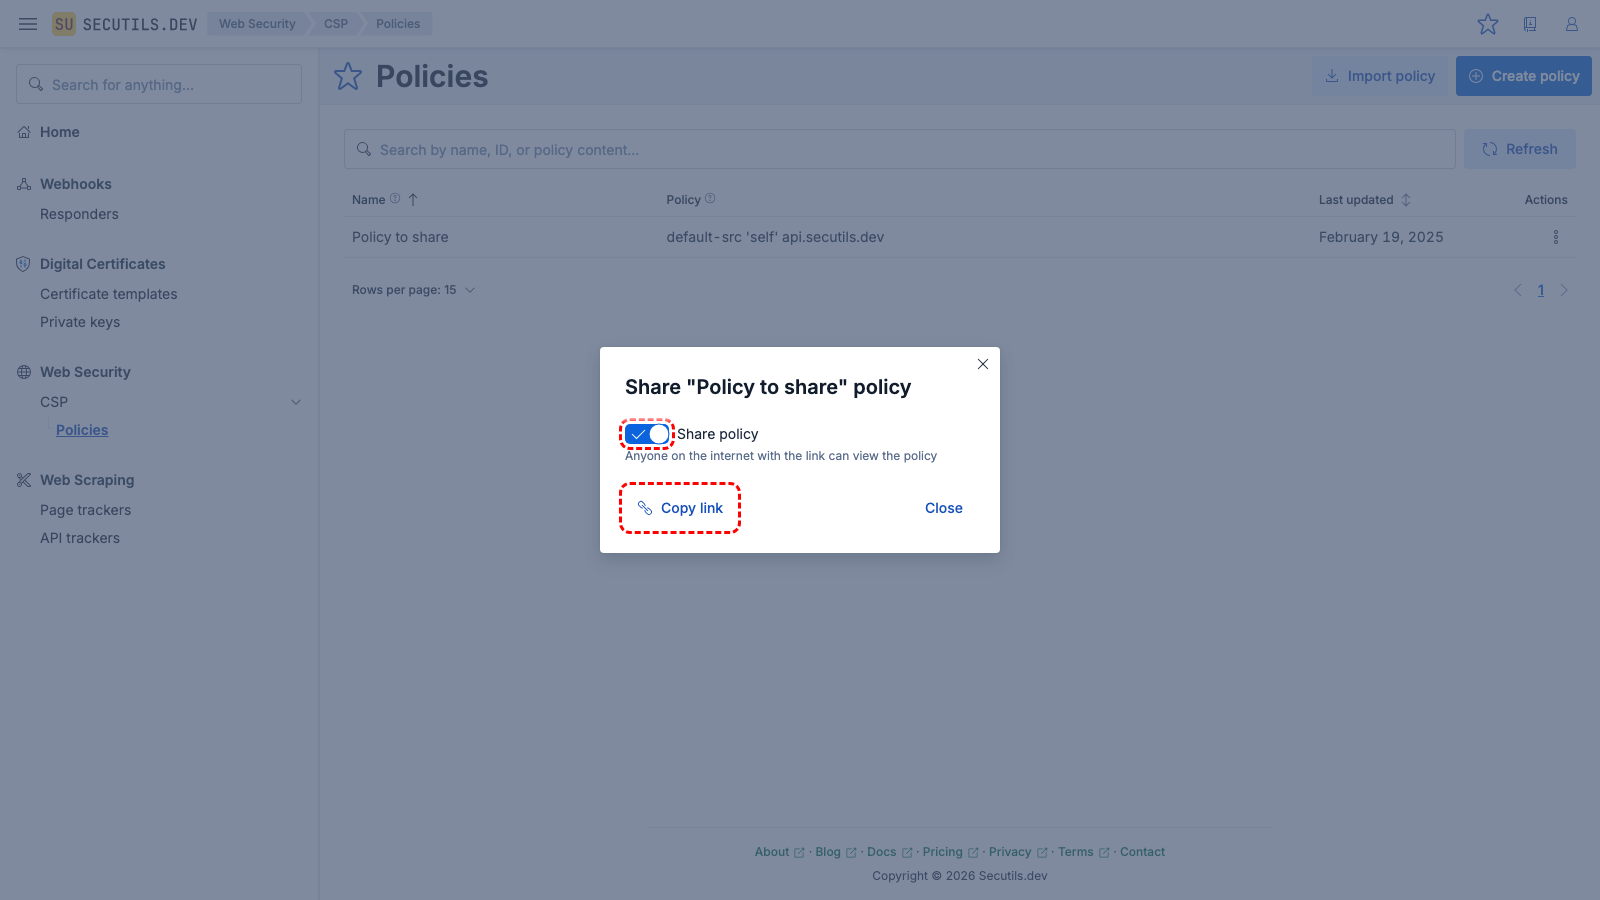
Toggle the Share policy switch to on position, and then click the Copy link button to copy a unique shared policy link to your clipboard.
3
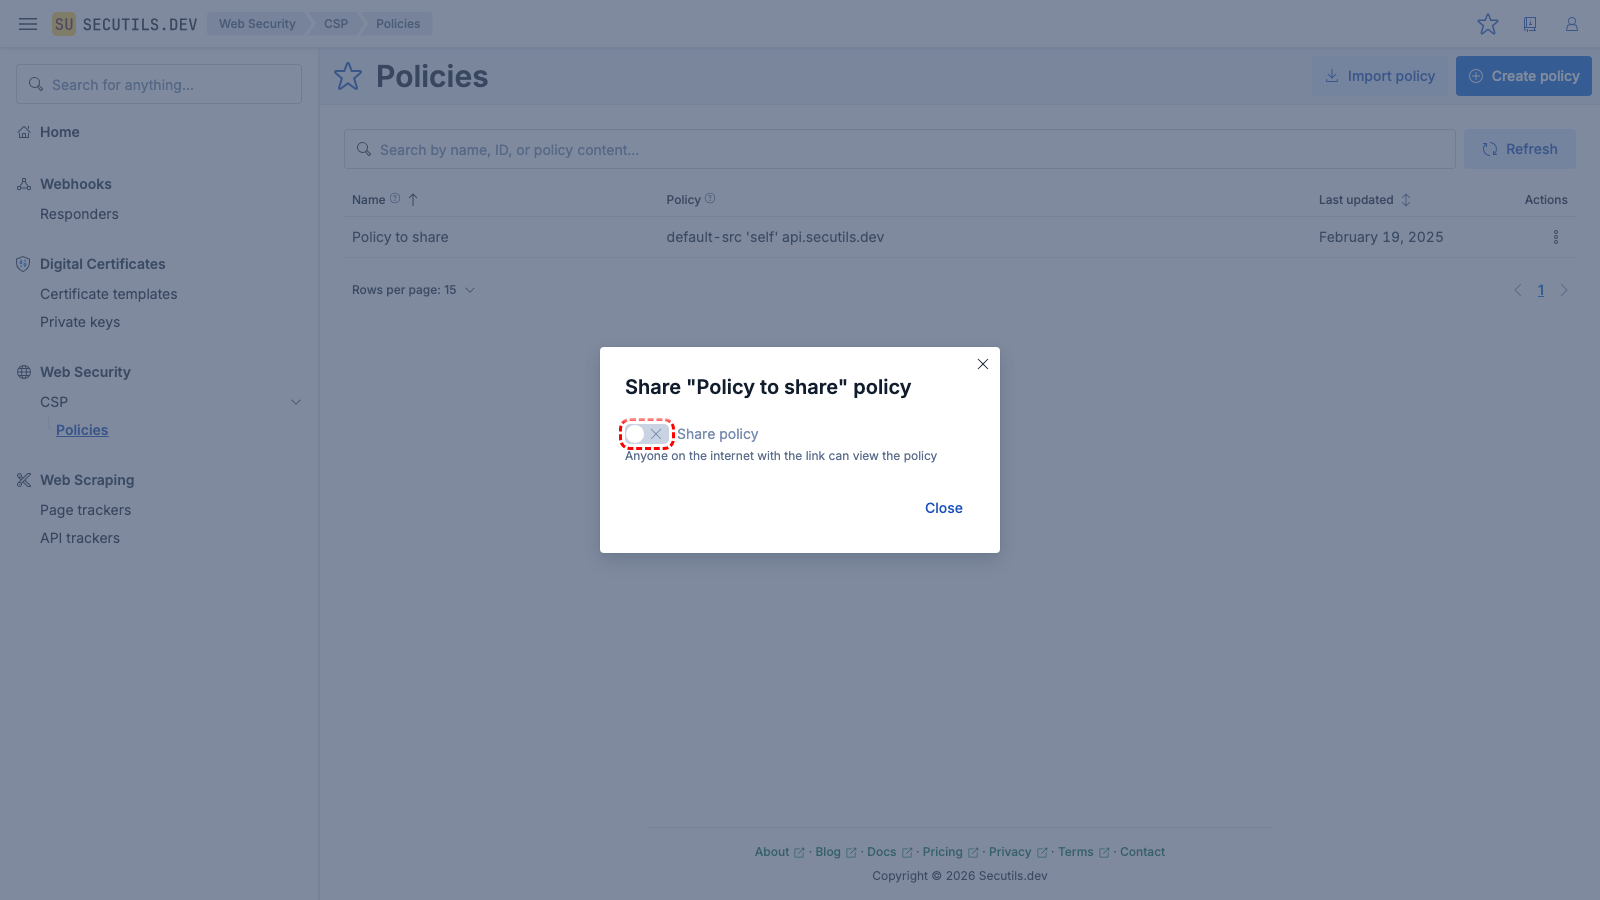
To stop sharing the policy, click the Share policy button again, and switch the Share policy toggle to the off position.
Test a Content Security Policy
In this guide, you will create a Content Security Policy and test it using a custom HTML responder:
1

Navigate to
Webhooks → Responders, click
Create responder, and configure it with a simple HTML page that uses
eval(). Click
Save.
| Name | |
| Path | |
| Method | |
| Body | <!DOCTYPE html>
<html lang="en">
<head>
<title>Evaluate CSP</title>
</head>
<body>
<label for="eval-input">Expression to evaluate:</label>
<input id="eval-input" type="text" value="alert('xss')"/>
<button id="eval-test">Eval</button>
<script type="text/javascript" defer>
(async function main() {
const evalTestBtn = document.getElementById('eval-test');
evalTestBtn.addEventListener('click', () => {
const evalExpression = document.getElementById('eval-input');
window.eval(evalExpression.value);
});
})();
</script>
</body>
</html>
|
2
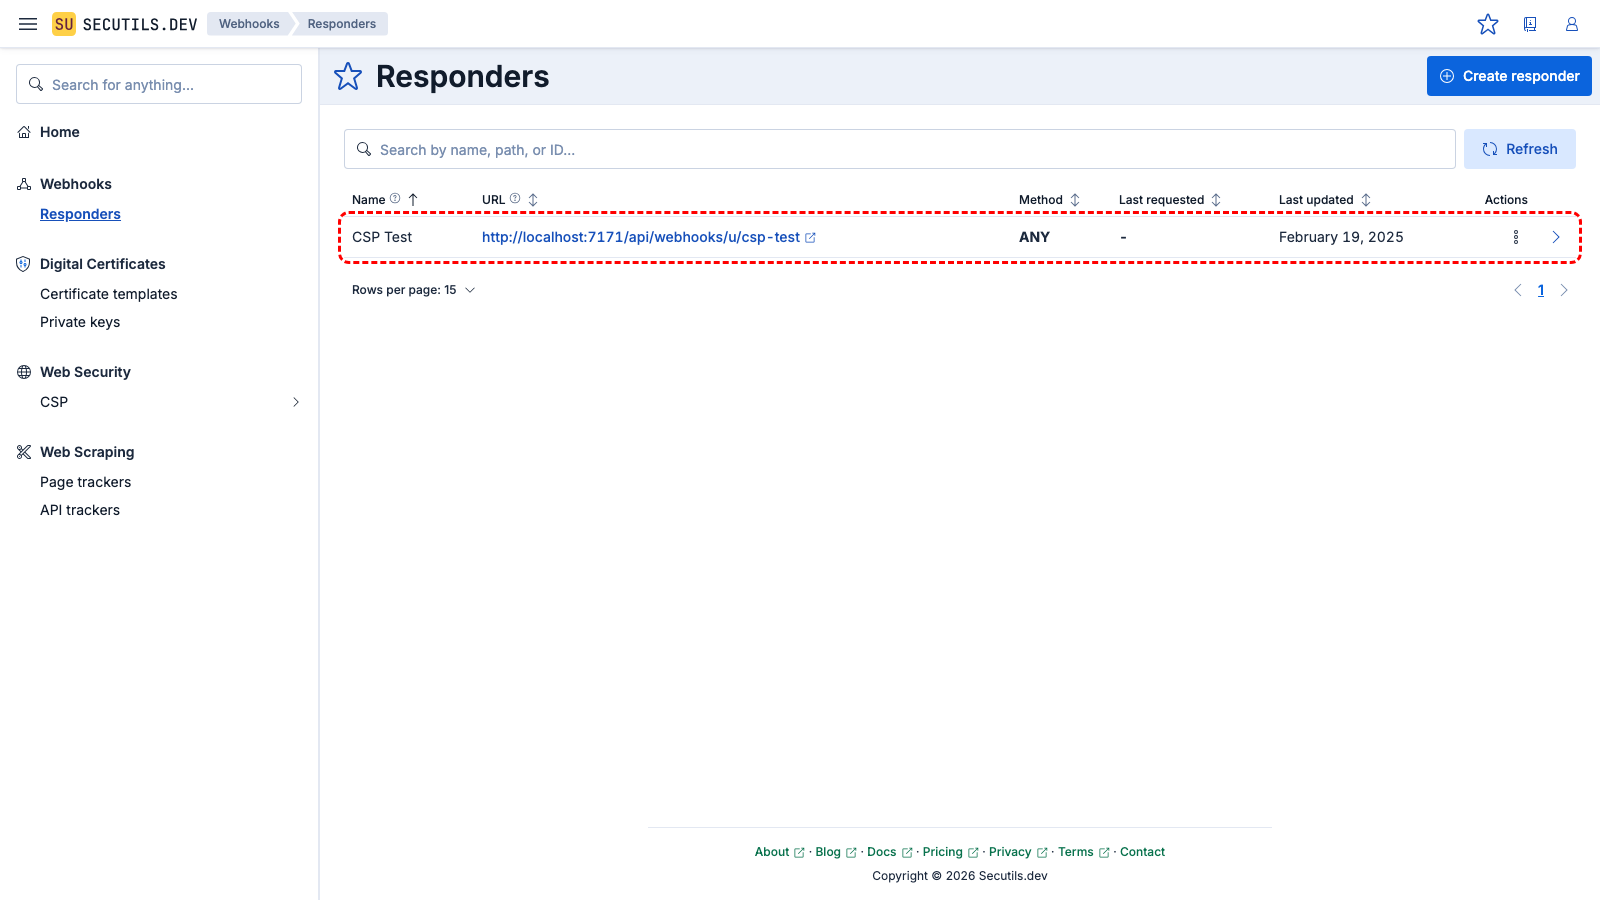
The responder appears in the grid with its unique URL.
3

Click the URL to open the test page and verify that the Eval button works without restrictions.
4
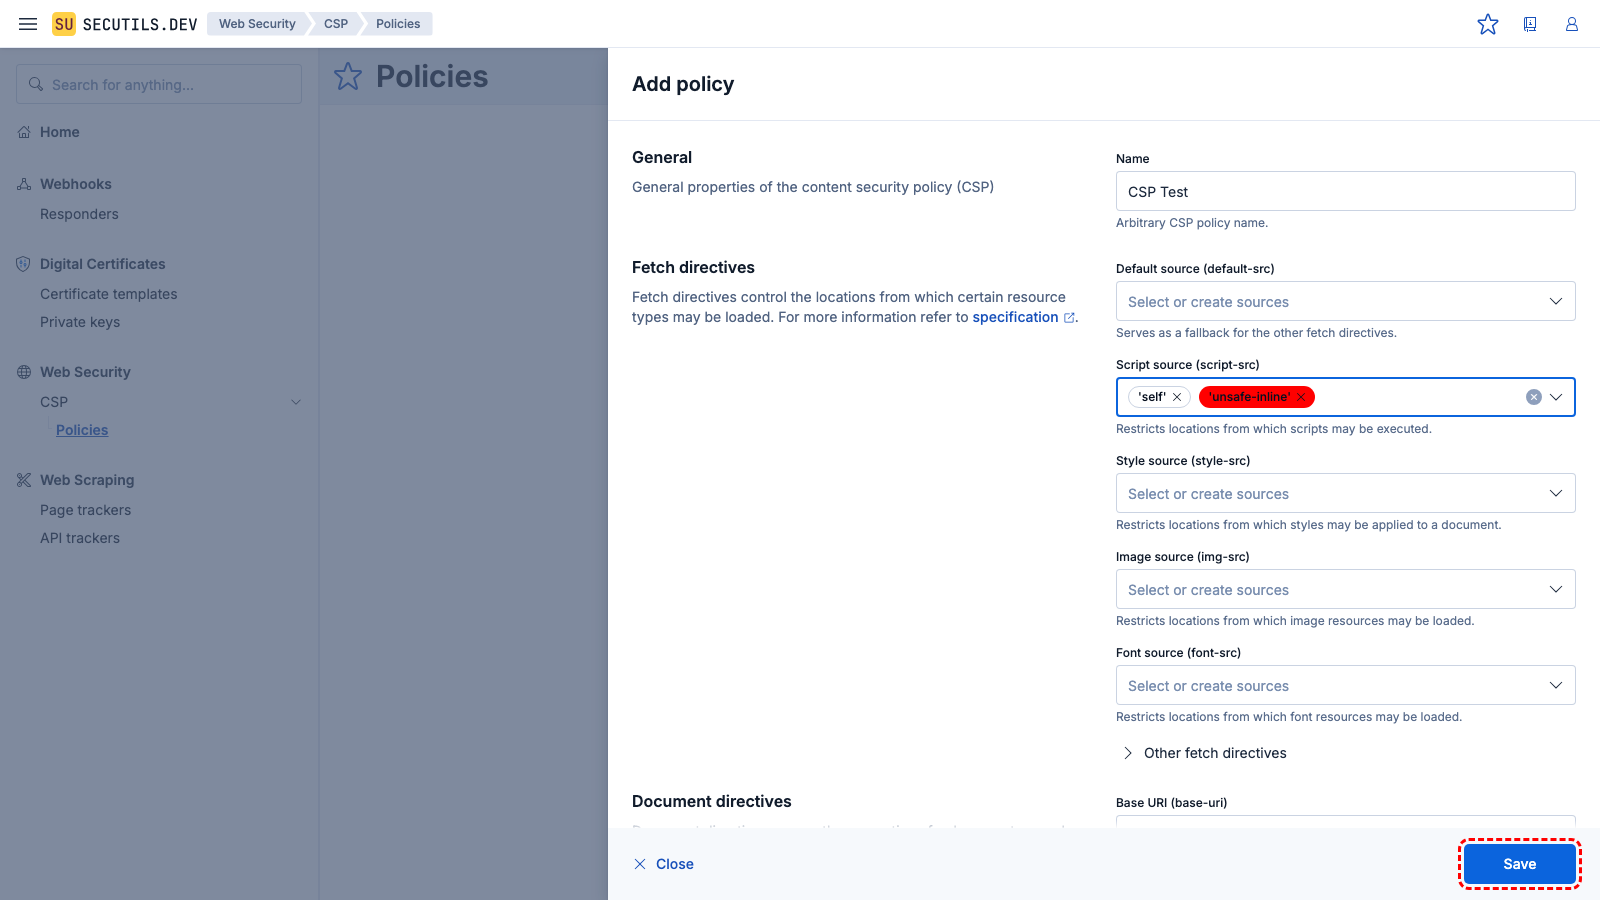
Navigate to
Web Security → CSP, click
Create policy, and configure it to forbid
eval(). Click
Save.
| Name | |
| Script source (script-src) | |
5
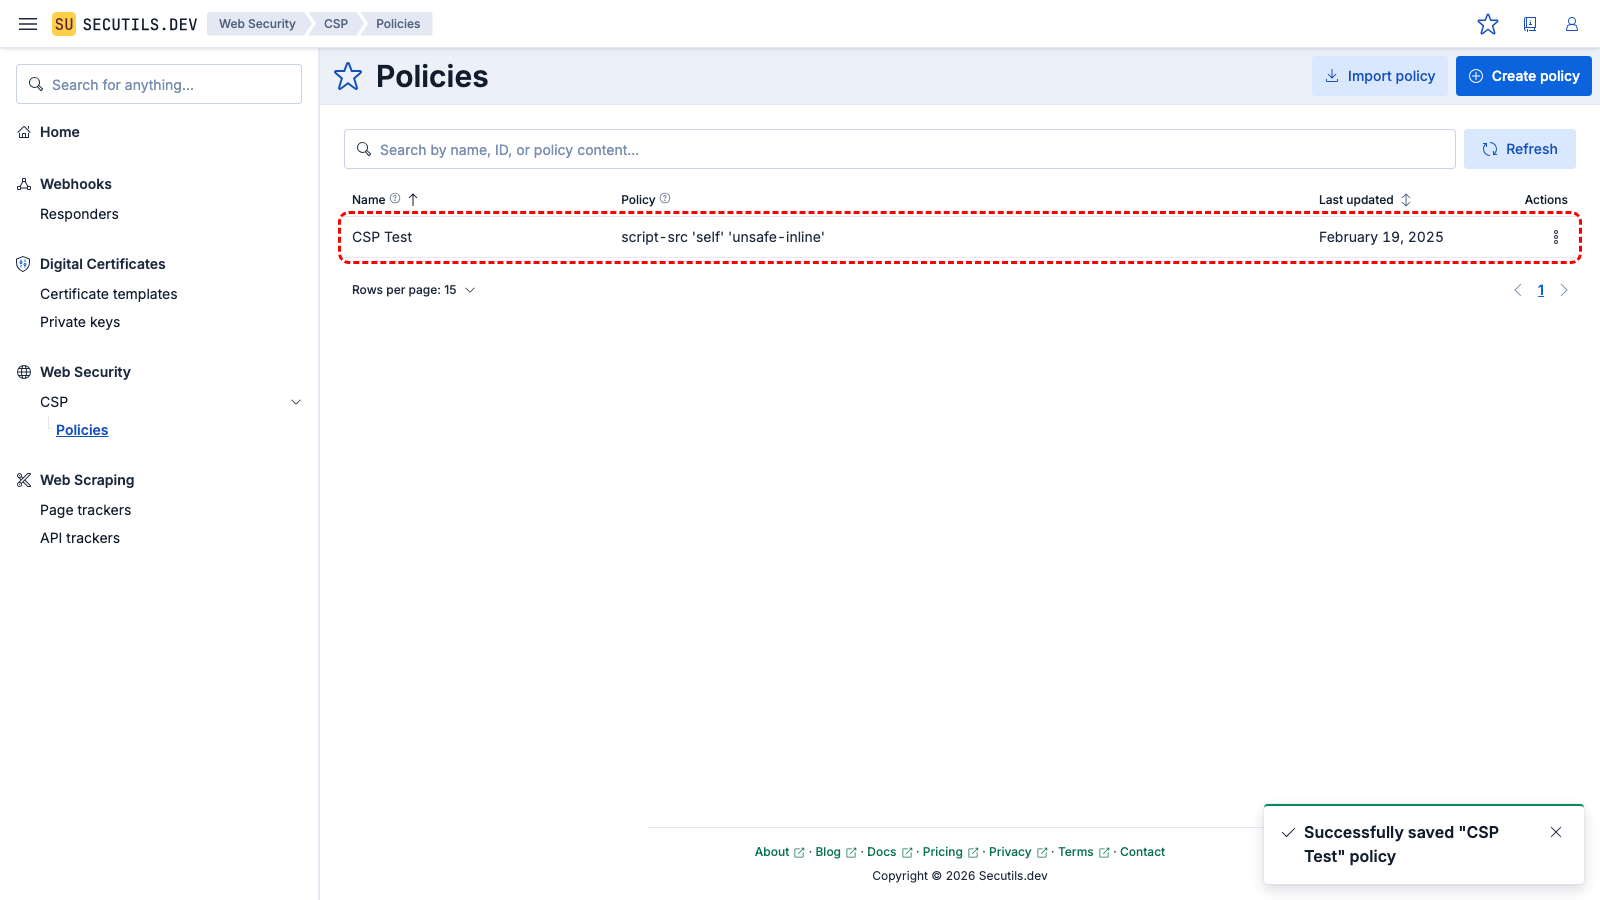
The policy appears in the grid.
6
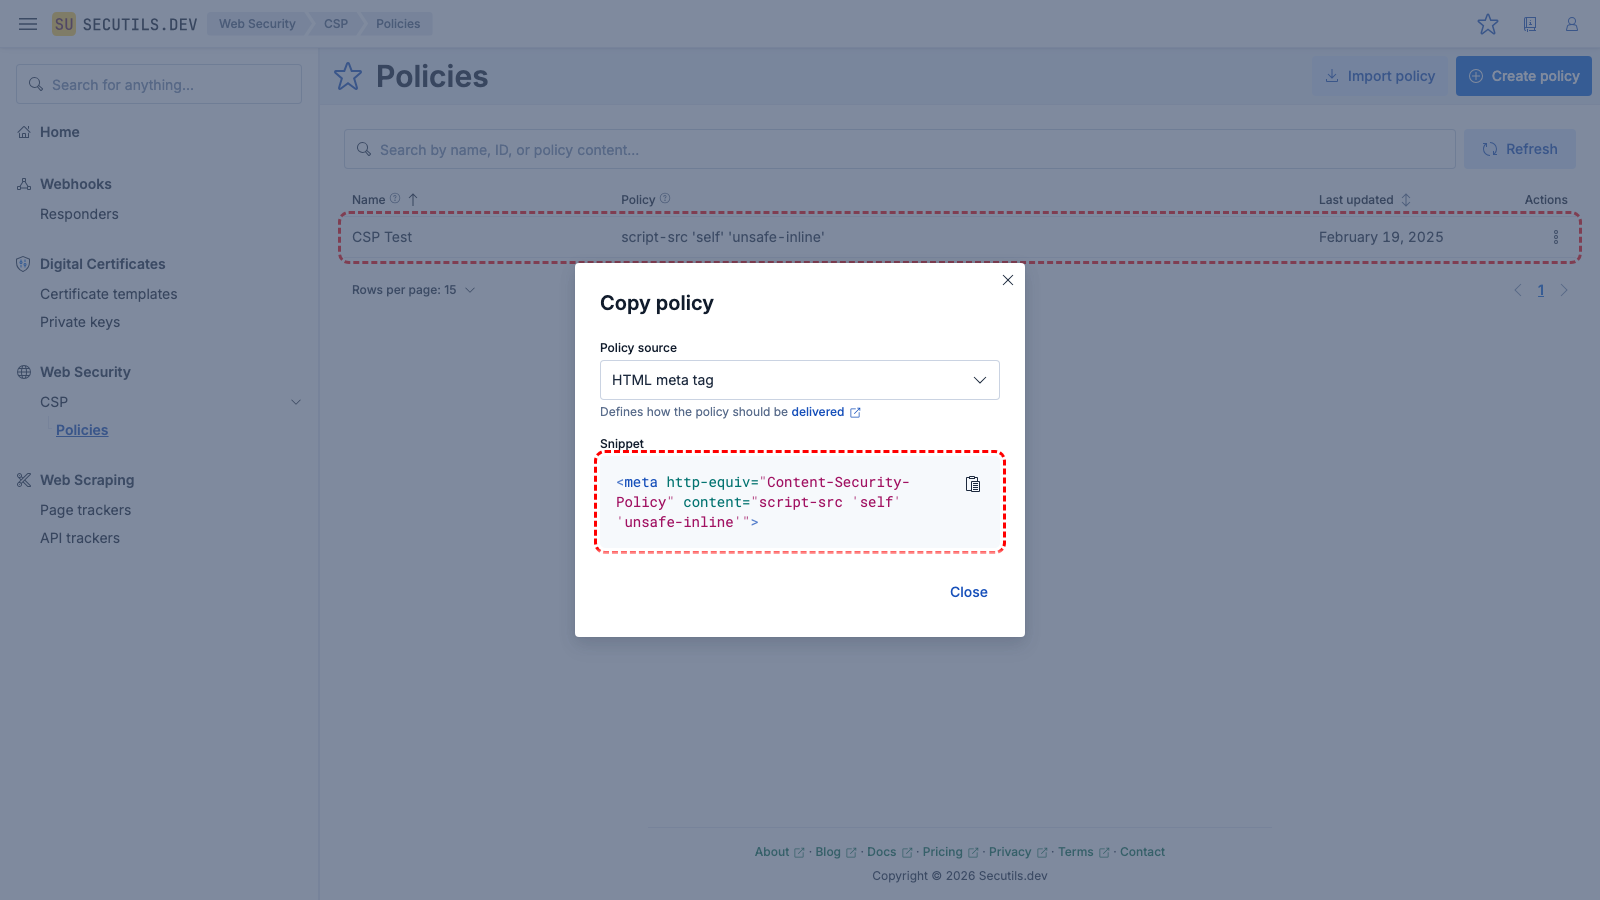
Use the Copy context menu button, switch Policy source to HTML meta tag, and copy the generated <meta> tag.
7
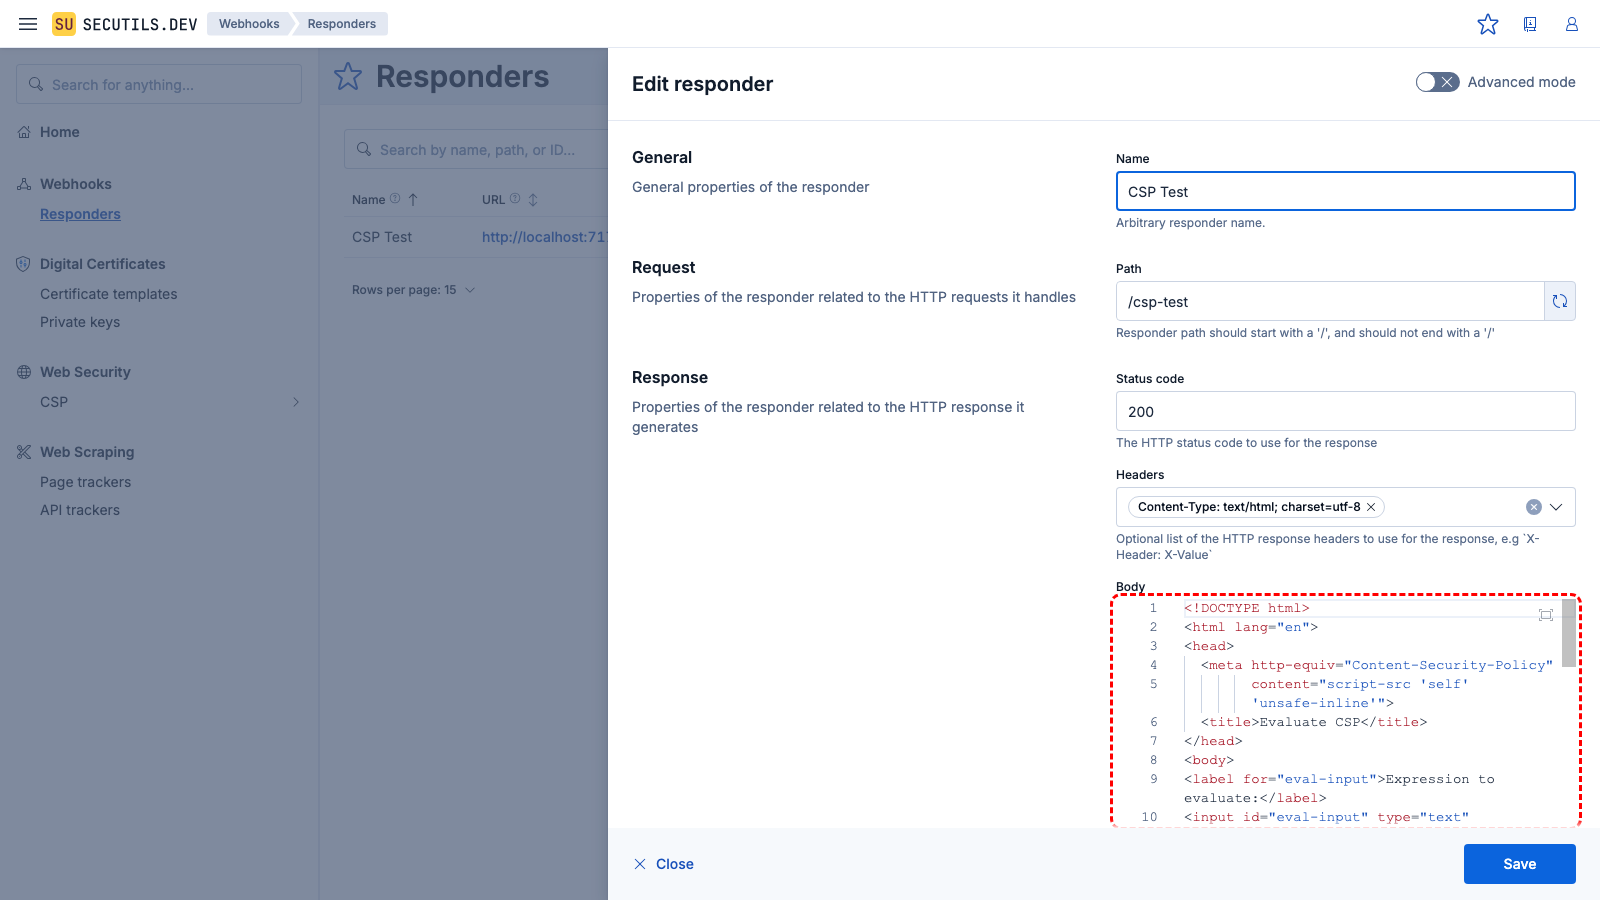
Navigate back to
Webhooks → Responders, edit the
CSP Test responder, and paste the
<meta> tag inside the
<head> of the body. Save and navigate to the responder's URL again - this time, clicking
Eval does nothing and a CSP error appears in the browser console.
| Name | |
| Path | |
| Body (updated) | <!DOCTYPE html>
<html lang="en">
<head>
<meta http-equiv="Content-Security-Policy"
content="script-src 'self' 'unsafe-inline'">
<title>Evaluate CSP</title>
</head>
<body>
<label for="eval-input">Expression to evaluate:</label>
<input id="eval-input" type="text" value="alert('xss')"/>
<button id="eval-test">Eval</button>
<script type="text/javascript" defer>
(async function main() {
const evalTestBtn = document.getElementById('eval-test');
evalTestBtn.addEventListener('click', () => {
const evalExpression = document.getElementById('eval-input');
window.eval(evalExpression.value);
});
})();
</script>
</body>
</html>
|
Report Content Security Policy violations
In this guide, you will create a Content Security Policy and collect its violation reports using a custom tracking responder:
1
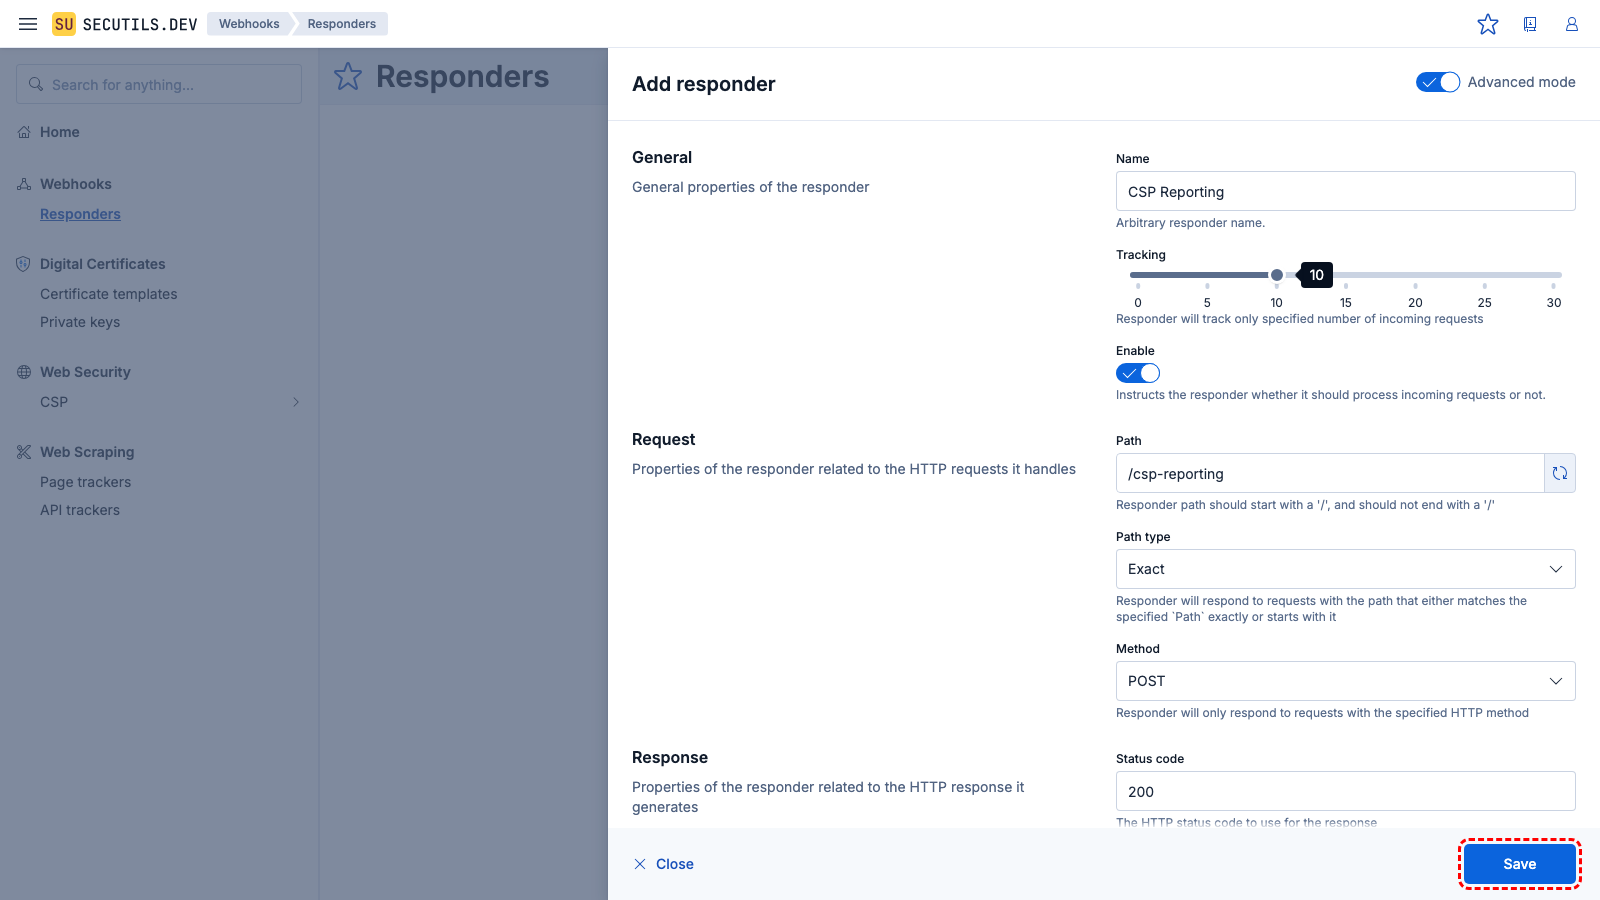
Navigate to
Webhooks → Responders, click
Create responder, enable
Advanced mode, and configure a responder to collect CSP violation reports. Click
Save.
2
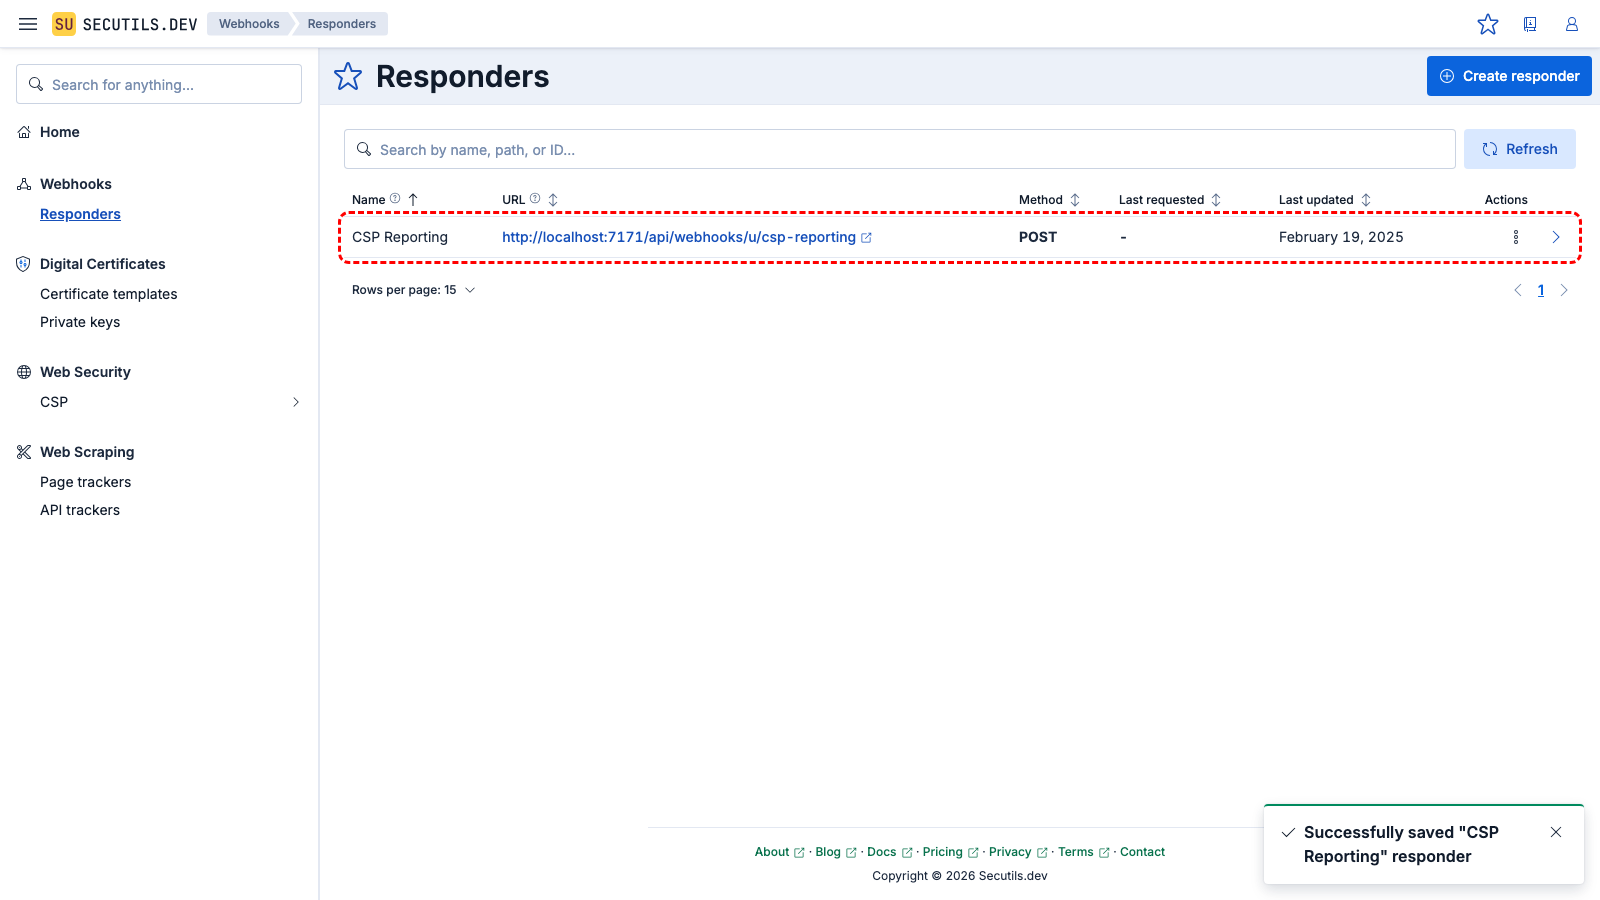
The reporting responder appears in the grid. Copy its URL - you will use it as the report-uri value in the next step.
3
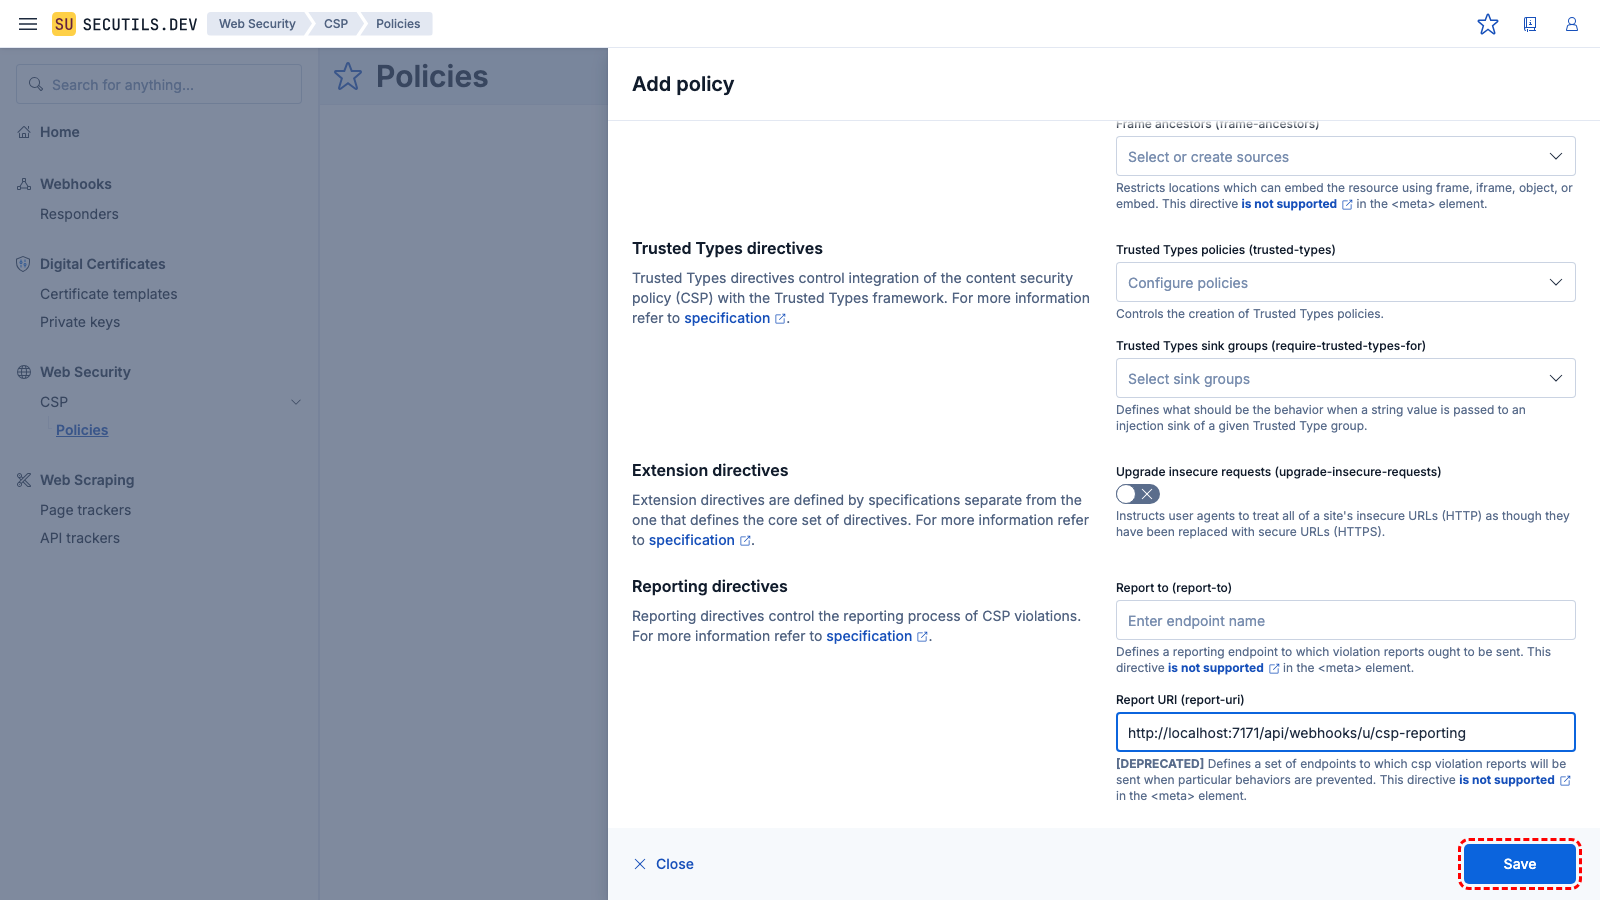
Navigate to
Web Security → CSP, click
Create policy, and configure it with the
report-uri directive pointing to the reporting responder URL. Click
Save.
| Name | |
| Directives | script-src 'self' 'unsafe-inline' 'report-sample'
report-uri [CSP Reporting responder URL]
|
4
The policy appears in the grid.
5
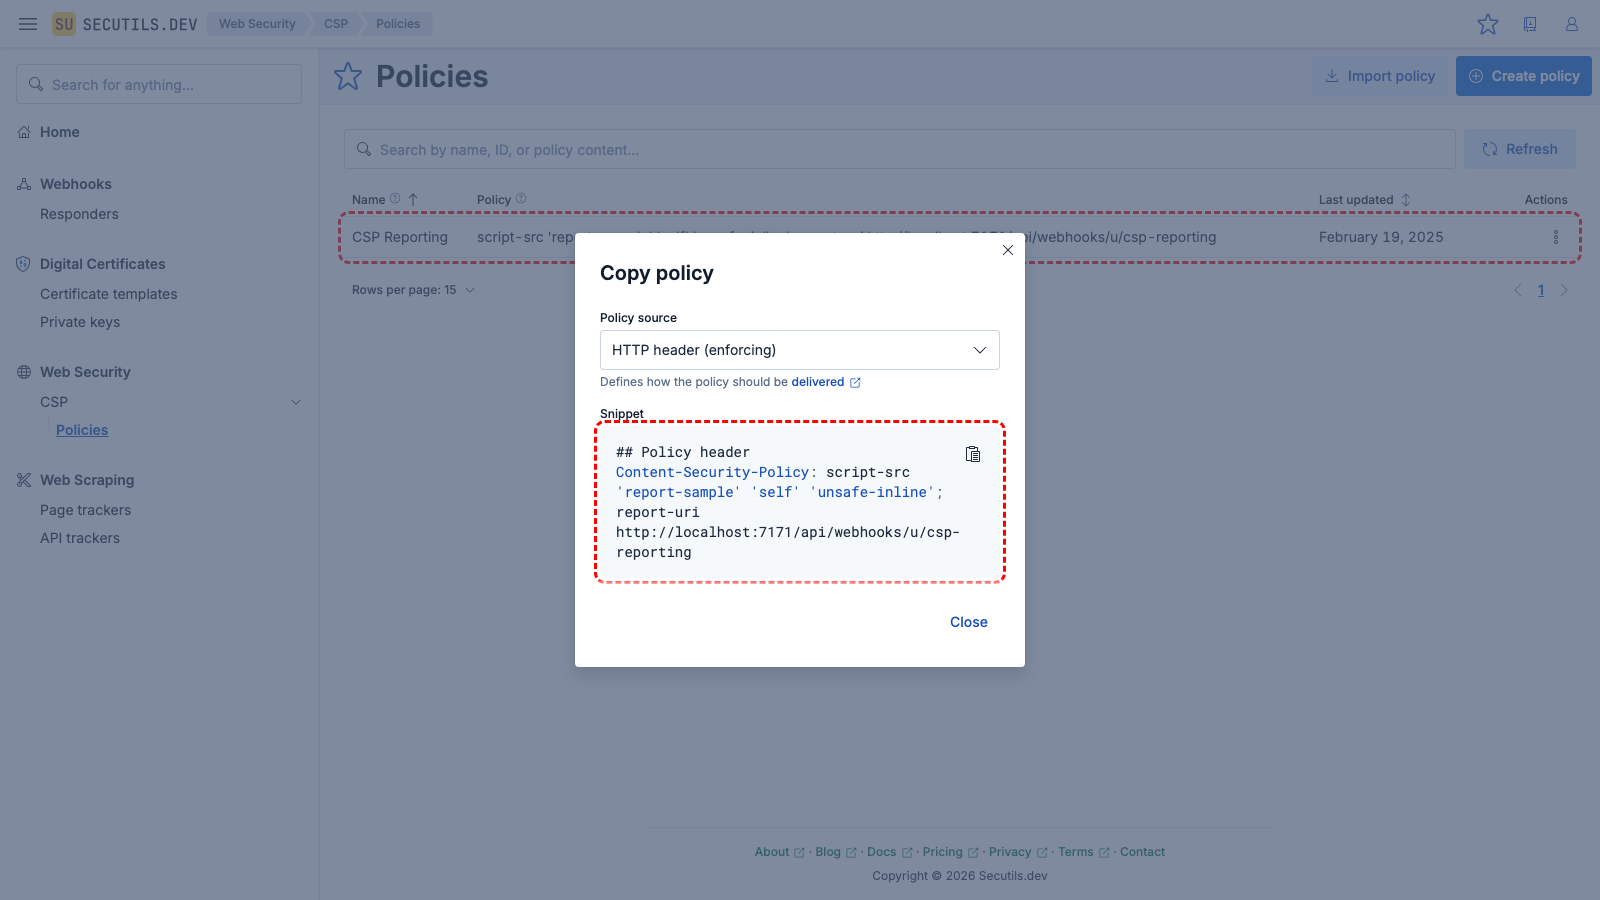
Use the Copy context menu button to view the policy as an HTTP header (enforcing). The generated header includes the report-uri directive with the reporting responder URL.
6

Navigate back to
Webhooks → Responders, click
Create responder, and configure a responder that serves an HTML page with
eval(). Set its
Content-Security-Policy response header to include the policy with the
report-uri directive. Click
Save.
| Name | |
| Path | |
| Headers | Content-Security-Policy: script-src 'self' 'unsafe-inline' 'report-sample'; report-uri [CSP Reporting responder URL]
|
| Body | <!DOCTYPE html>
<html lang="en">
<head>
<title>Evaluate CSP</title>
</head>
<body>
<label for="eval-input">Expression to evaluate:</label>
<input id="eval-input" type="text" value="alert('xss')"/>
<button id="eval-test">Eval</button>
<script type="text/javascript" defer>
(async function main() {
const evalTestBtn = document.getElementById('eval-test');
evalTestBtn.addEventListener('click', () => {
const evalExpression = document.getElementById('eval-input');
window.eval(evalExpression.value);
});
})();
</script>
</body>
</html>
|
Import this sample7
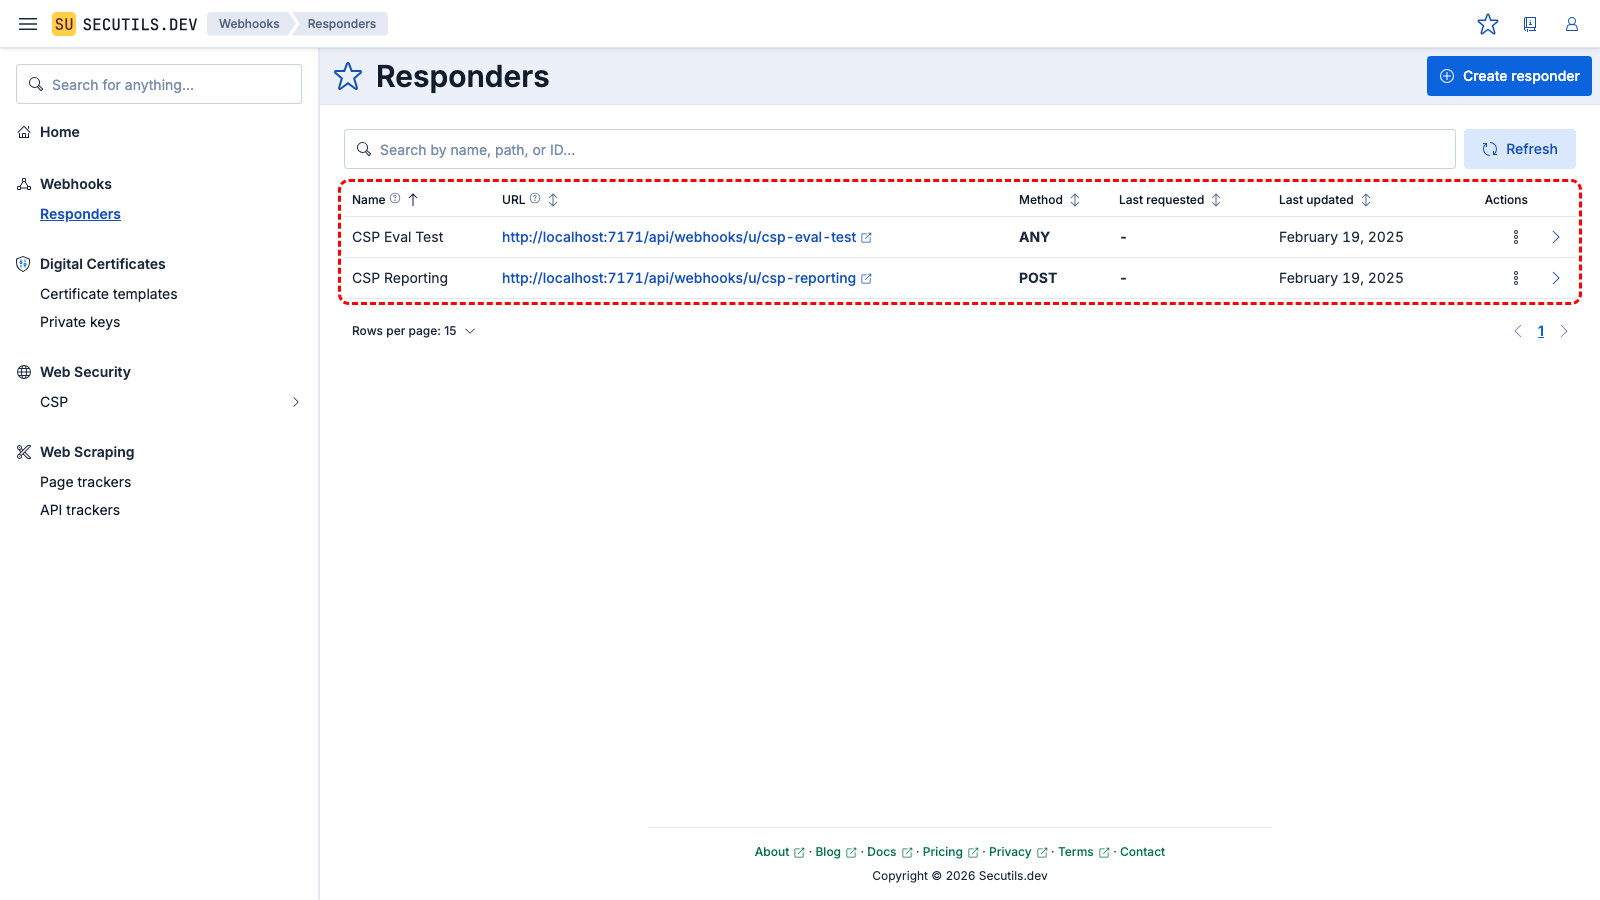
Both responders appear in the grid. The CSP Eval Test responder has a unique URL.
8
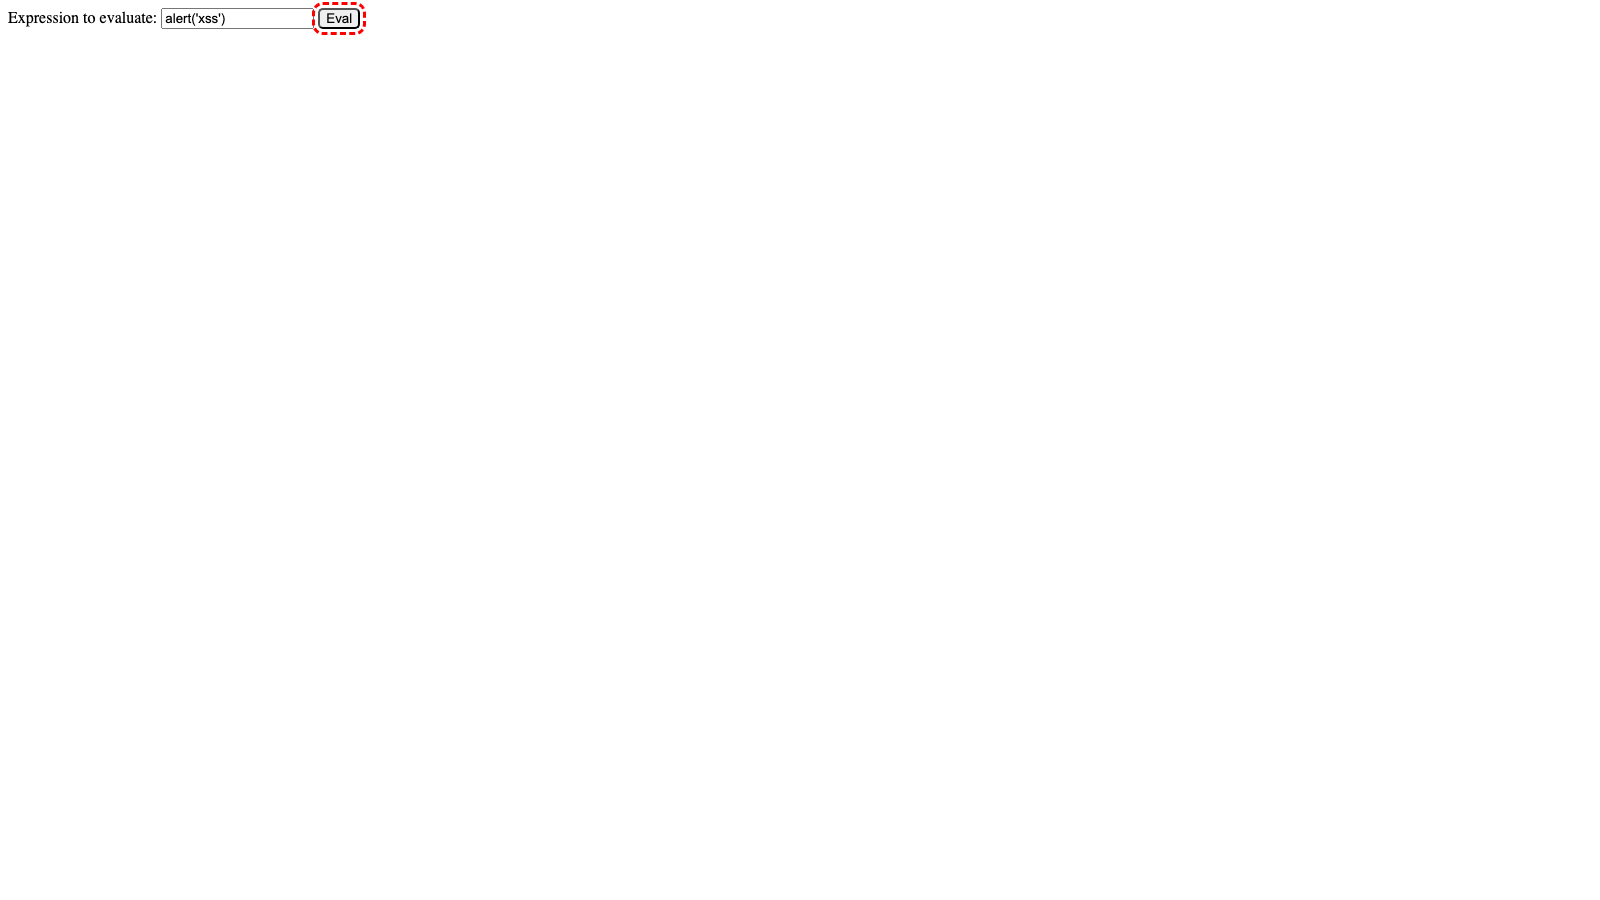
Click the CSP Eval Test responder URL to open the test page. Click Eval - nothing happens because the Content Security Policy blocks eval(). The browser automatically sends a violation report to the report-uri endpoint.
9
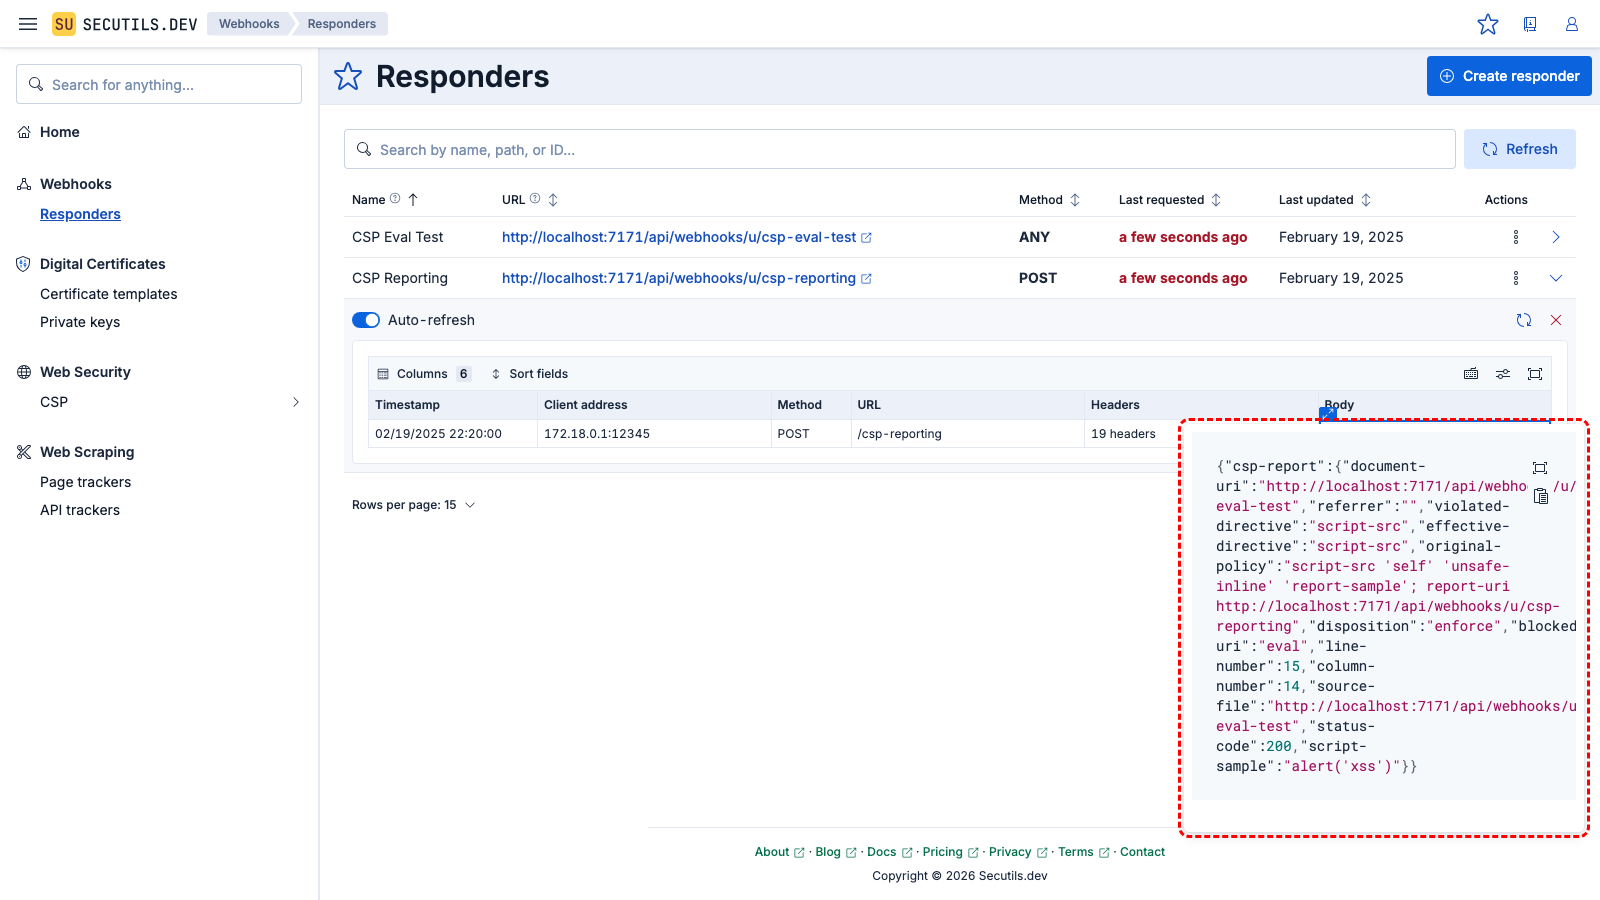
Go back to the responders grid and expand the CSP Reporting responder. The violation report sent by the browser is now visible in the requests list.