Tags
As the number of items in your workspace grows, it becomes harder to find the ones you need. Tags let you label any item - responders, trackers, CSP policies, certificate templates, private keys, scripts, and secrets - with one or more keywords so you can quickly filter and group related items across all tools.
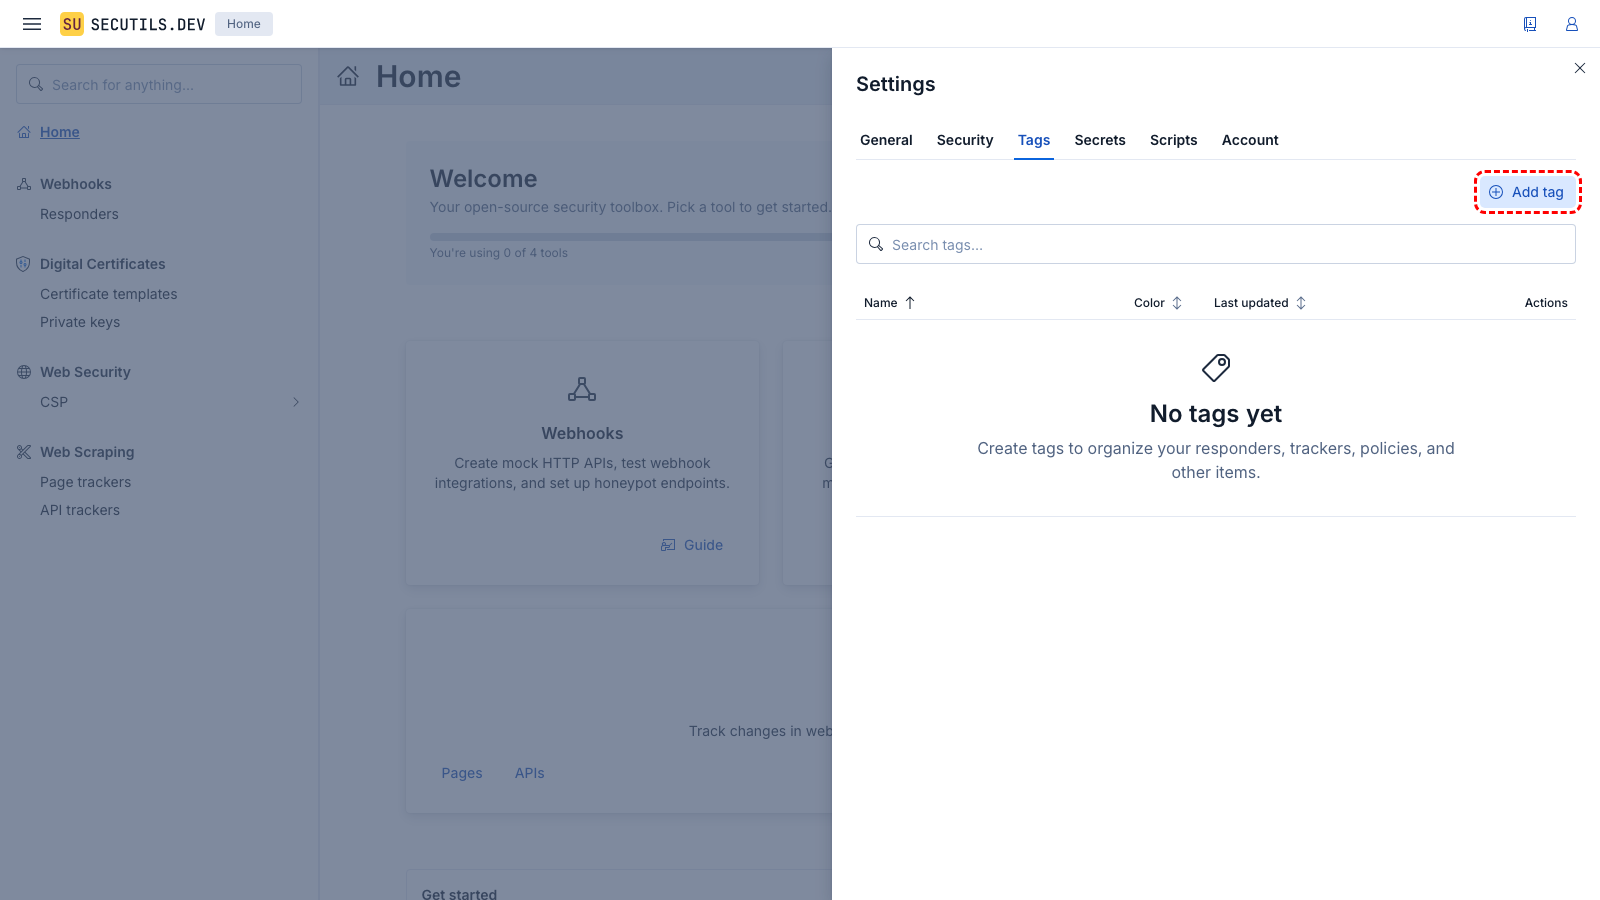
Managing tags
Navigate to Workspace → Tags in the sidebar to manage your tag library. You can:
- Add a new tag with a name and color
- Edit an existing tag's name or color
- Delete a tag - it will be removed from all items that use it
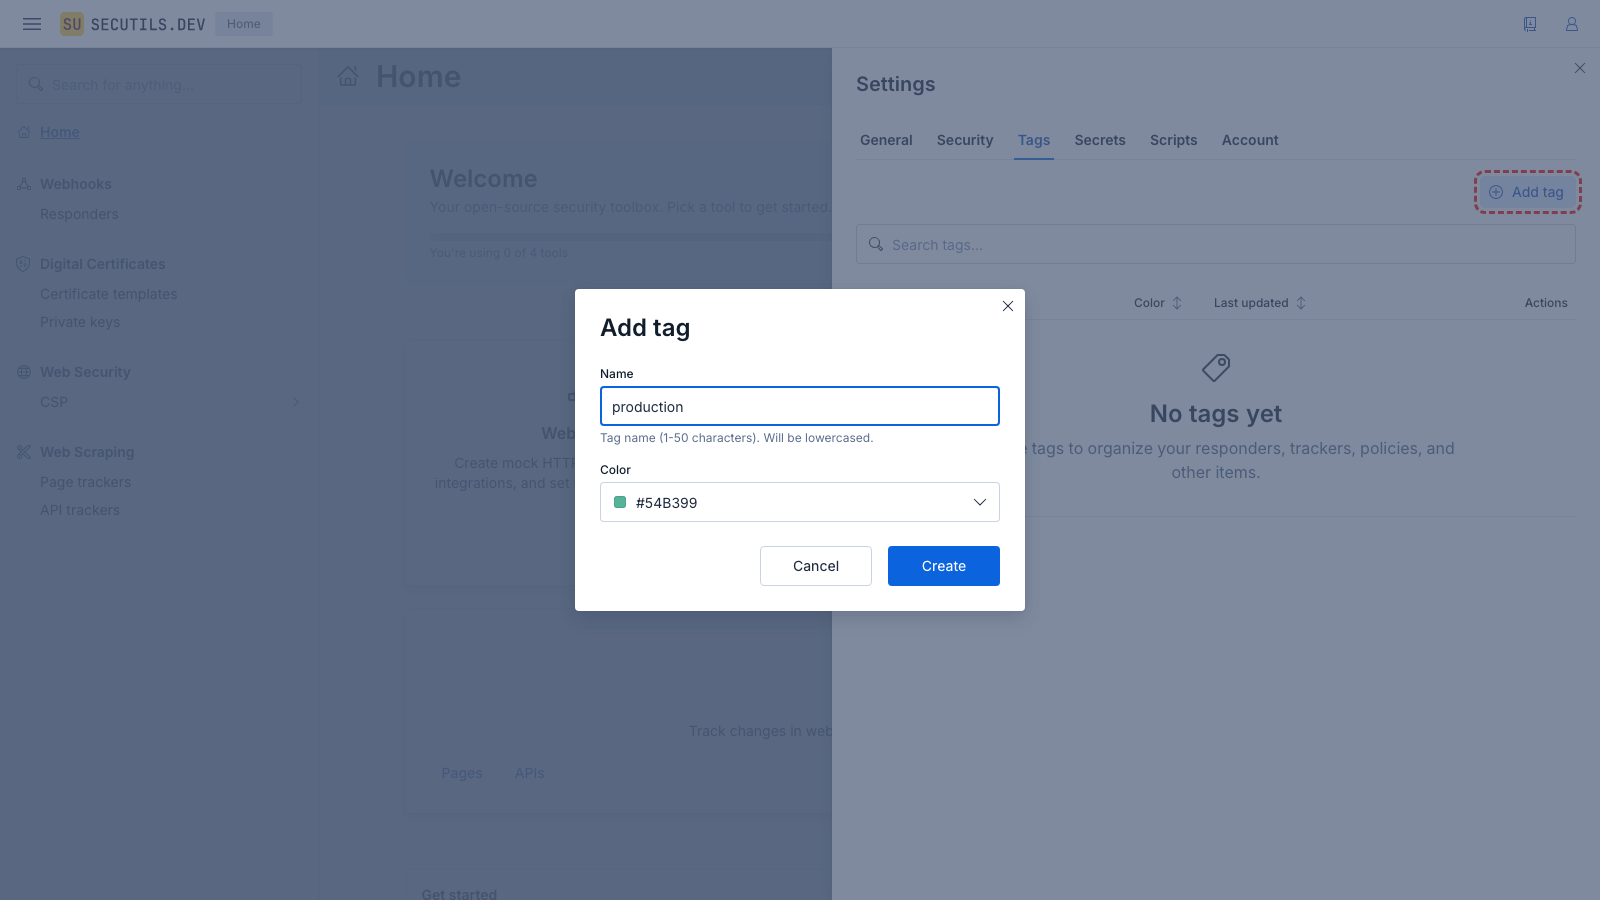
Naming rules
- Tag names are normalized to lowercase and trimmed of leading/trailing whitespace
- Maximum 50 characters
- Names must be unique per user
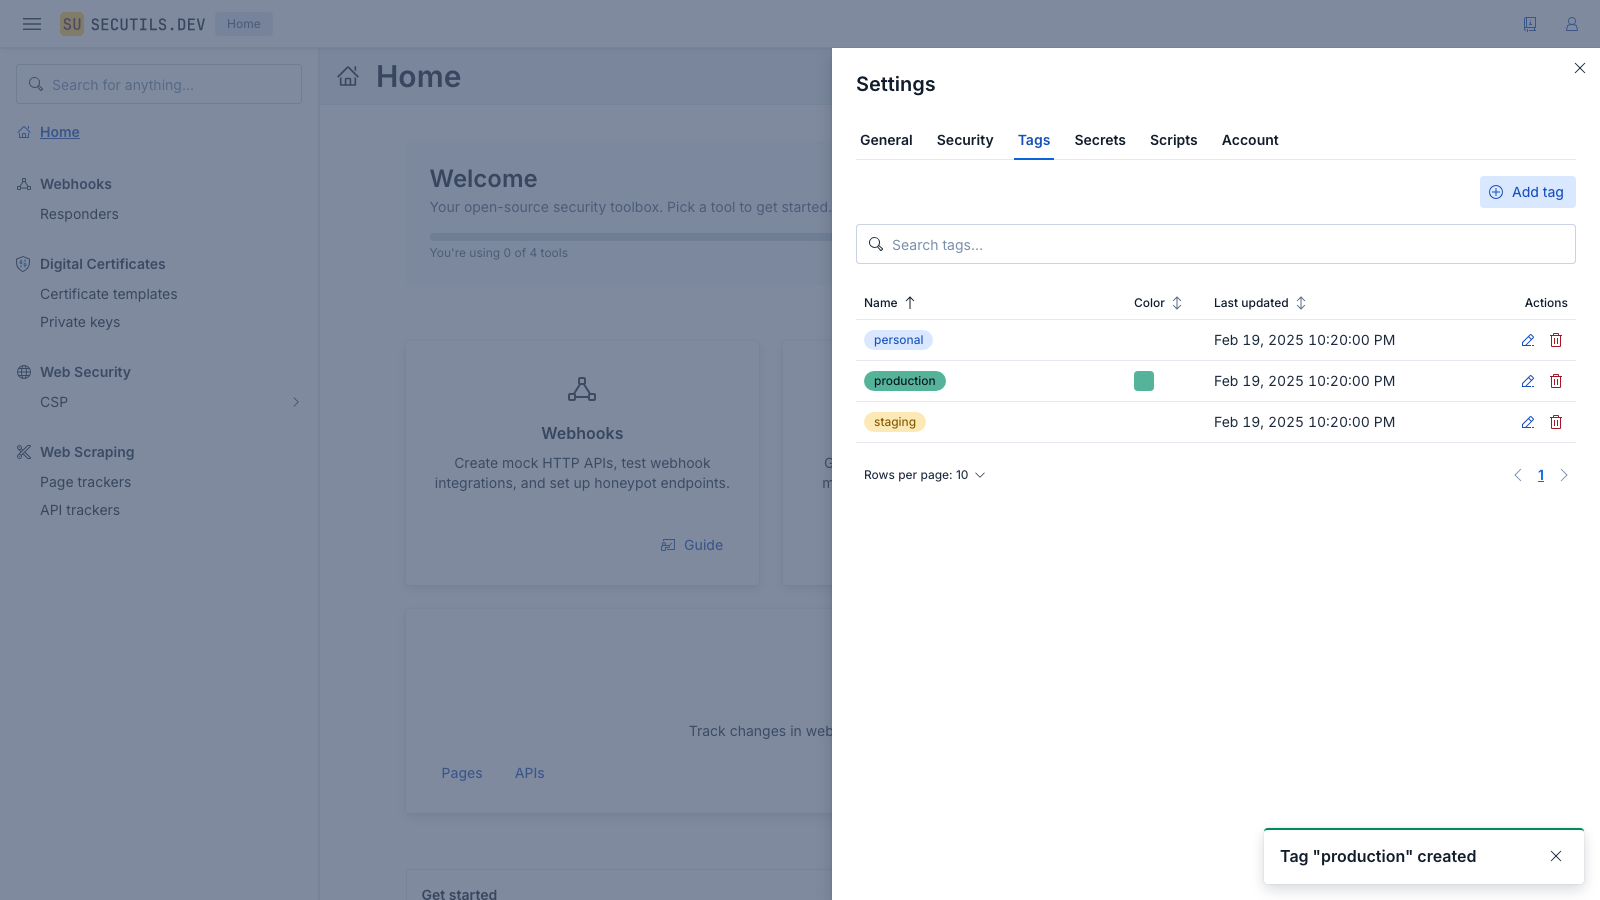
Limits
- Up to 50 tags per user
- Up to 20 tags per item
Available colors
Tags support custom hex colors. When creating or editing a tag, use the color picker to choose from predefined swatches or enter any hex color value (e.g., #54B399).
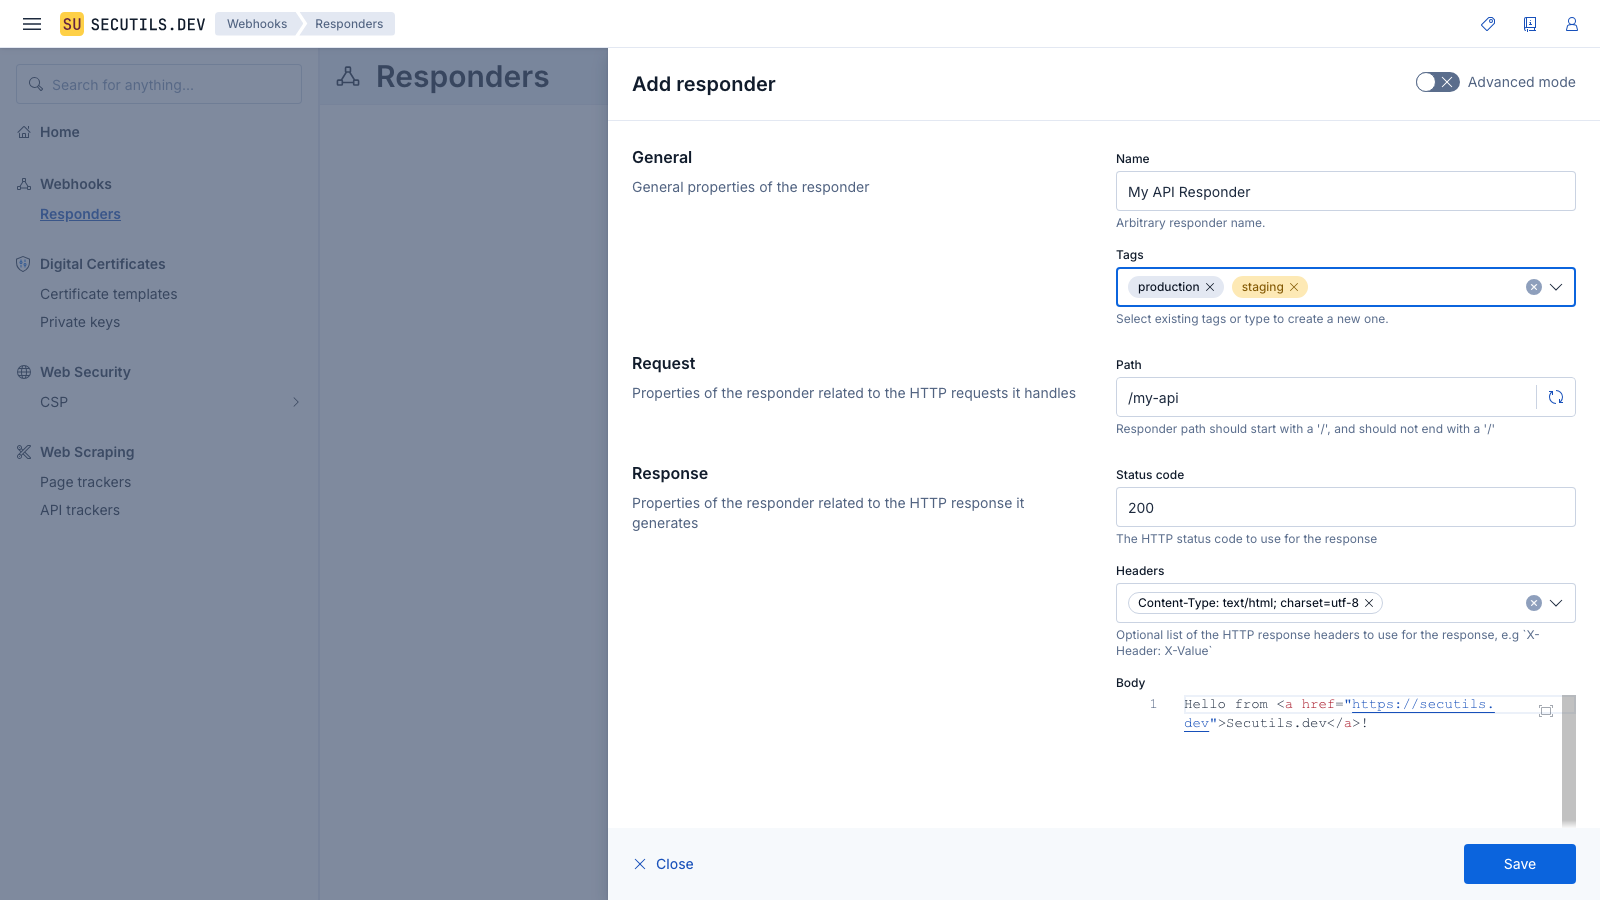
Assigning tags to items
Every item edit form (responder, tracker, policy, certificate template, private key, script, or secret) includes a Tags field in the General section. Select existing tags from the dropdown, or type a new name and press Enter to create a tag inline.
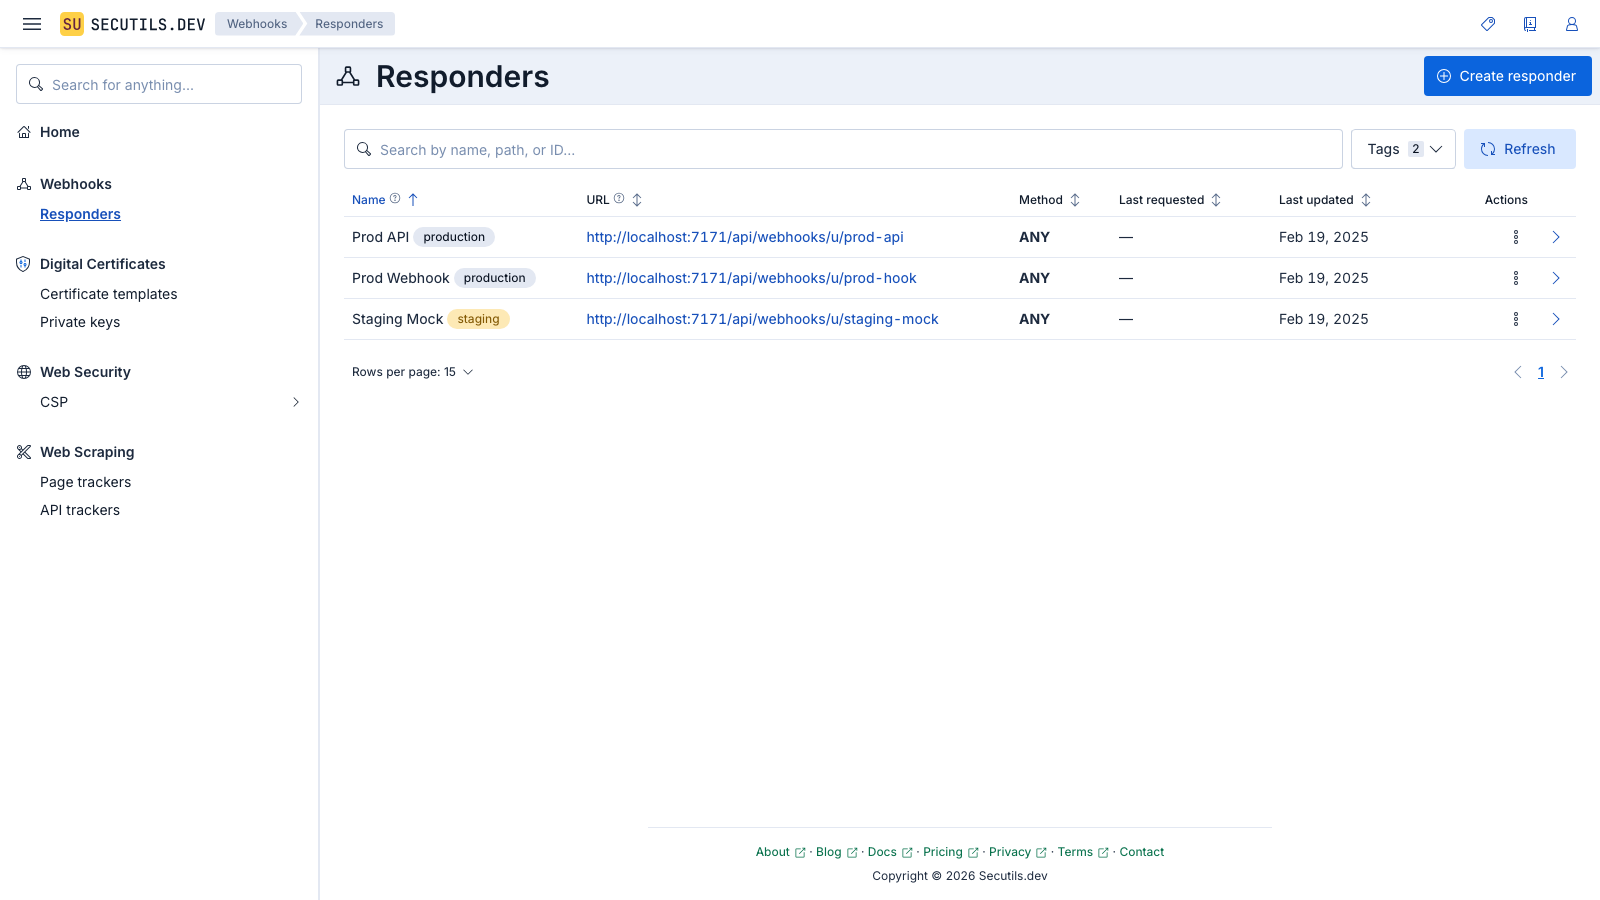
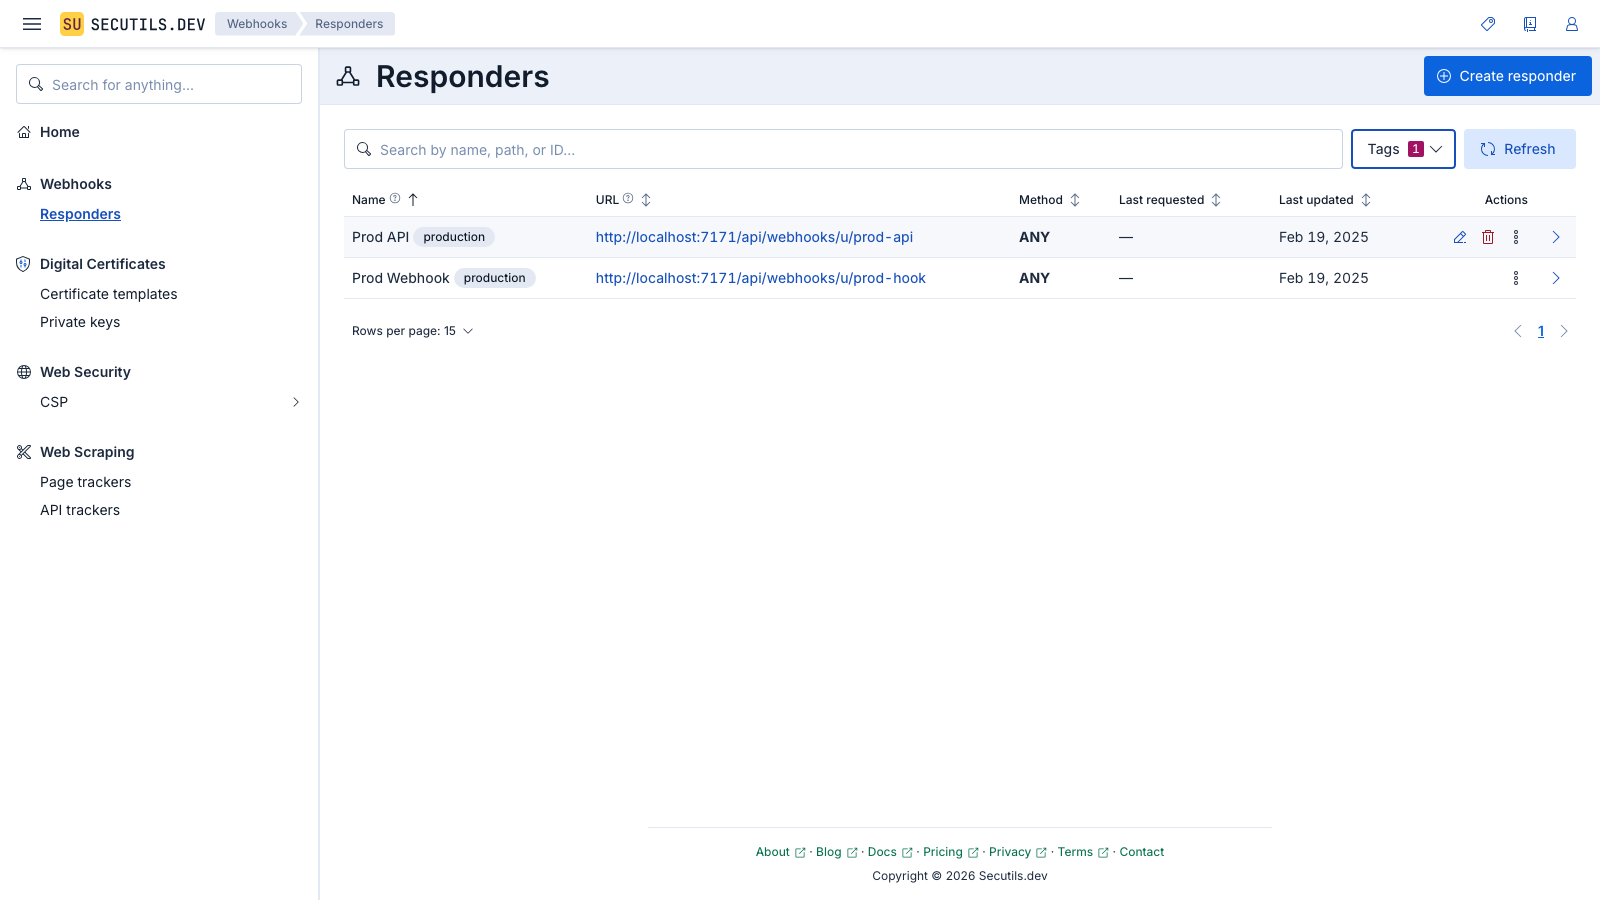
Filtering by tags
Each item list page (responders, trackers, policies, etc.) has a Tags filter button next to the search bar. Click it to select one or more tags. Items that have at least one of the selected tags will be shown (OR logic).
Global tag scope
The workspace header includes a Scope button that applies a tag filter across all pages simultaneously. When a global scope is active, every item list only shows items tagged with all of the selected scope tags (AND logic). This effectively creates lightweight workspaces - select "production" in the scope to see only production items everywhere. Your global scope selection is automatically saved as a user setting and persists across page refreshes and sessions.
The global scope works together with per-page tag filters:
| Filter level | Logic | Example |
|---|---|---|
| Global scope (header) | AND - item must have all scoped tags | Scope = "production" → only items with the "production" tag |
| Page filter (per list) | OR - item must have at least one selected tag | Filter = "api", "webhook" → items with either tag |
Both filters stack: an item must pass the global scope first, then the page-level filter.
Tags in export/import
Tags are included when you export your data. The export file contains:
- The tag definitions (name, color) in a top-level
tagsarray - Each item's assigned tags in its
tagsfield
When importing, tags are recreated automatically. If a tag with the same name already exists, the existing tag is reused.